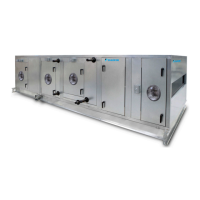
www.DaikinApplied.com 13 IM 915-13 • VISION - EXTENDED SIZES
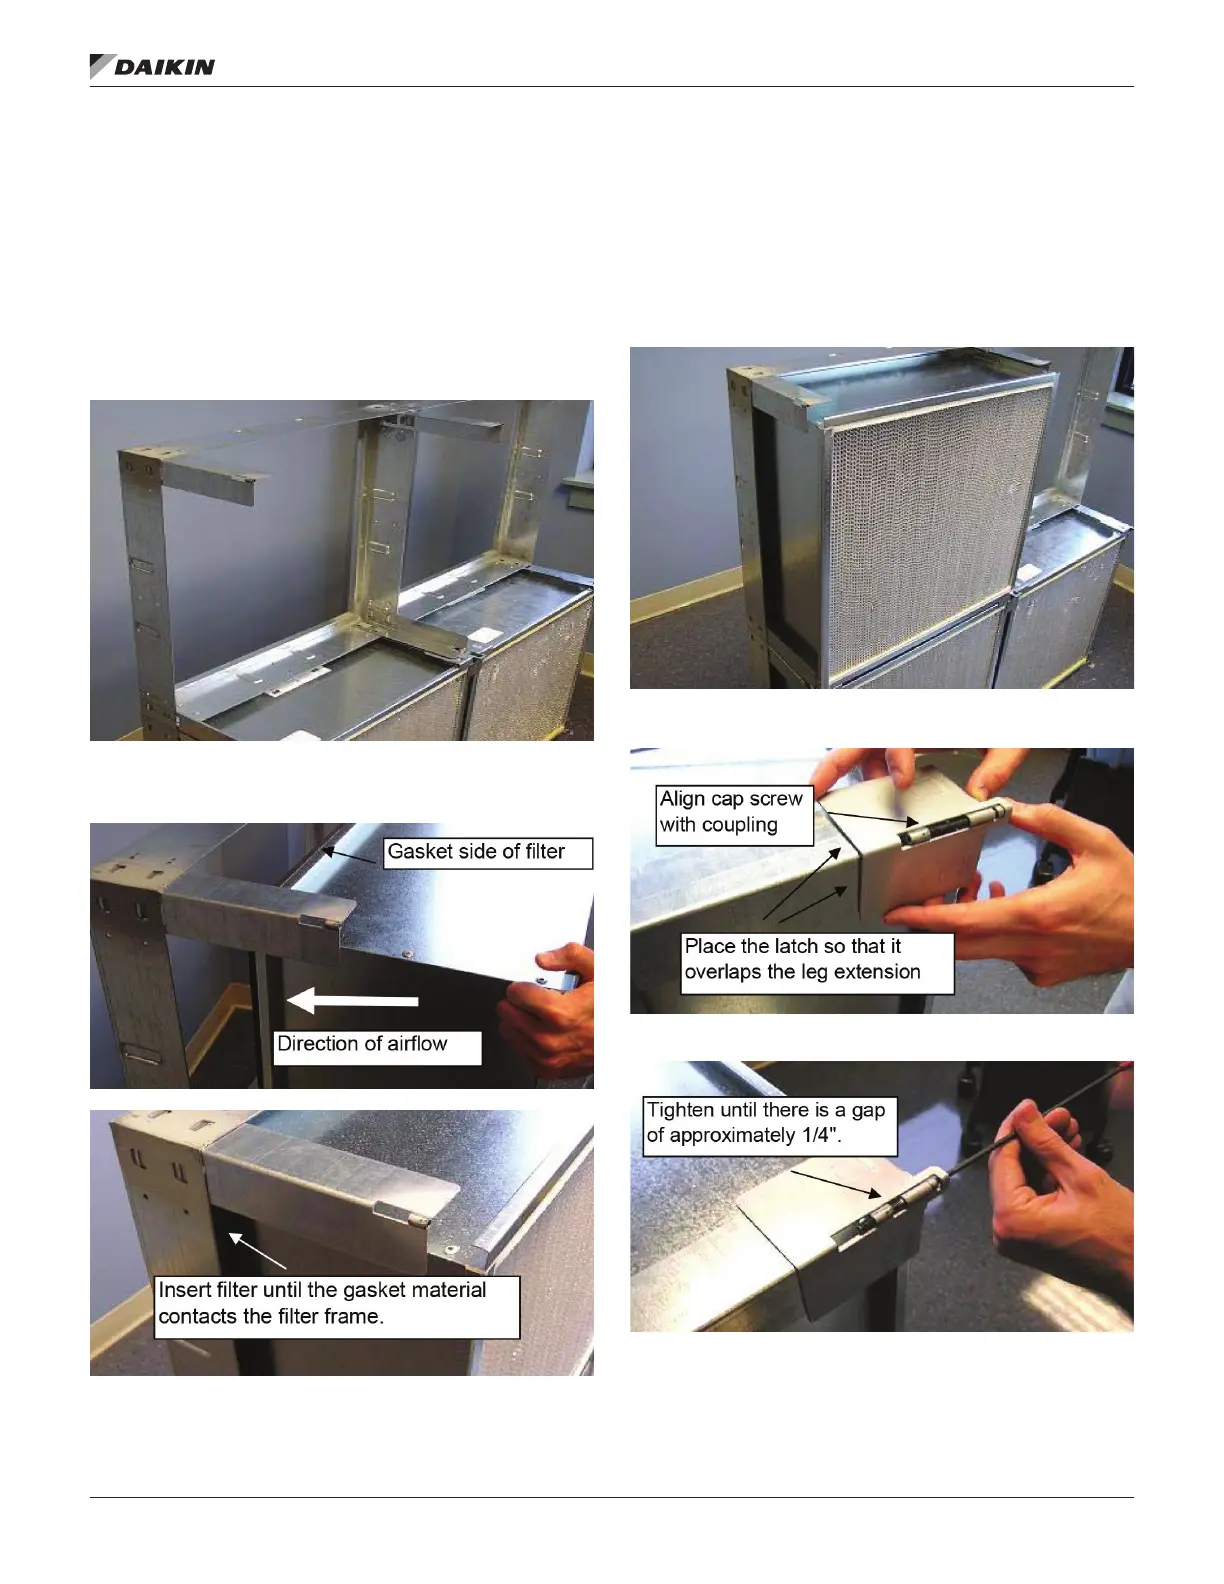
STEP 2: Insert the HEPA lter into the HEPA Holding Frame.
The HEPA should be installed with the gasket side of the
lter facing the frame. Insert the lter as far into the frame as
possible, so that the gasket material is contacting the frame.
See Figure 20.
The lter should now be resting inside of the holding frame.
When installing the lters into a frame bank of multiple frames,
install the lower lters rst so that the upper lters can rest on
the lower lters (Figure 21).
Figure 19: Frame with Leg Extensions Installed
Figure 20: Insert HEPA Filter into Frame, until the Gasket
Comes in Contact with the Holding Frame
STEP 3: Place a latch so that it overlaps the leg extension,
as shown in Figure 22. Align the latches’ cap screw with
the threaded coupling on the end of the leg extension and
tighten using the hexkey. Tighten the cap screw until there
is an approximately 1/4” gap between the latch and the leg
extension coupling as shown in Figure 23. Repeat this step
with all 4 corners.
Figure 21: Filter Placed Inside of Frame
Figure 22: Latch Overlapping Leg Extension
Figure 23: Tighten Cap Screw to 1/4” of the Coupling