8
MOUNTING
(continued)
PUMP NEUTRAL ADJUSTMENT
Use the following procedure to bring the pump to neutral
once the electrical displacement control has been mounted.
1. Install a 600 psi gauge into the charge pressure gauge
port on the pump. See the Pump Port Location
photograph.
2. Using a 10 mm wrench, loosen the hex lock nut on the
null adjustment screw. See the Dimension drawings.
3. Disconnect the electrical source at the connector.
4. Start the prime mover and run at low idle.
To adjust neutral requires operating the pump. Take the
necessary safety precautions, such as having
unnecessary personnel stand away from the machine.
Maximum system pressure may occur upon start-up,
and the machine may move. Ensure that the operator is
not in a position to be injured should the machine move.
1234567890123456789012345678901212345678901234
1
23456789012345678901234567890121234567890123
23456789012345678901234567890121234567890123
23456789012345678901234567890121234567890123
23456789012345678901234567890121234567890123
4
1234567890123456789012345678901212345678901234
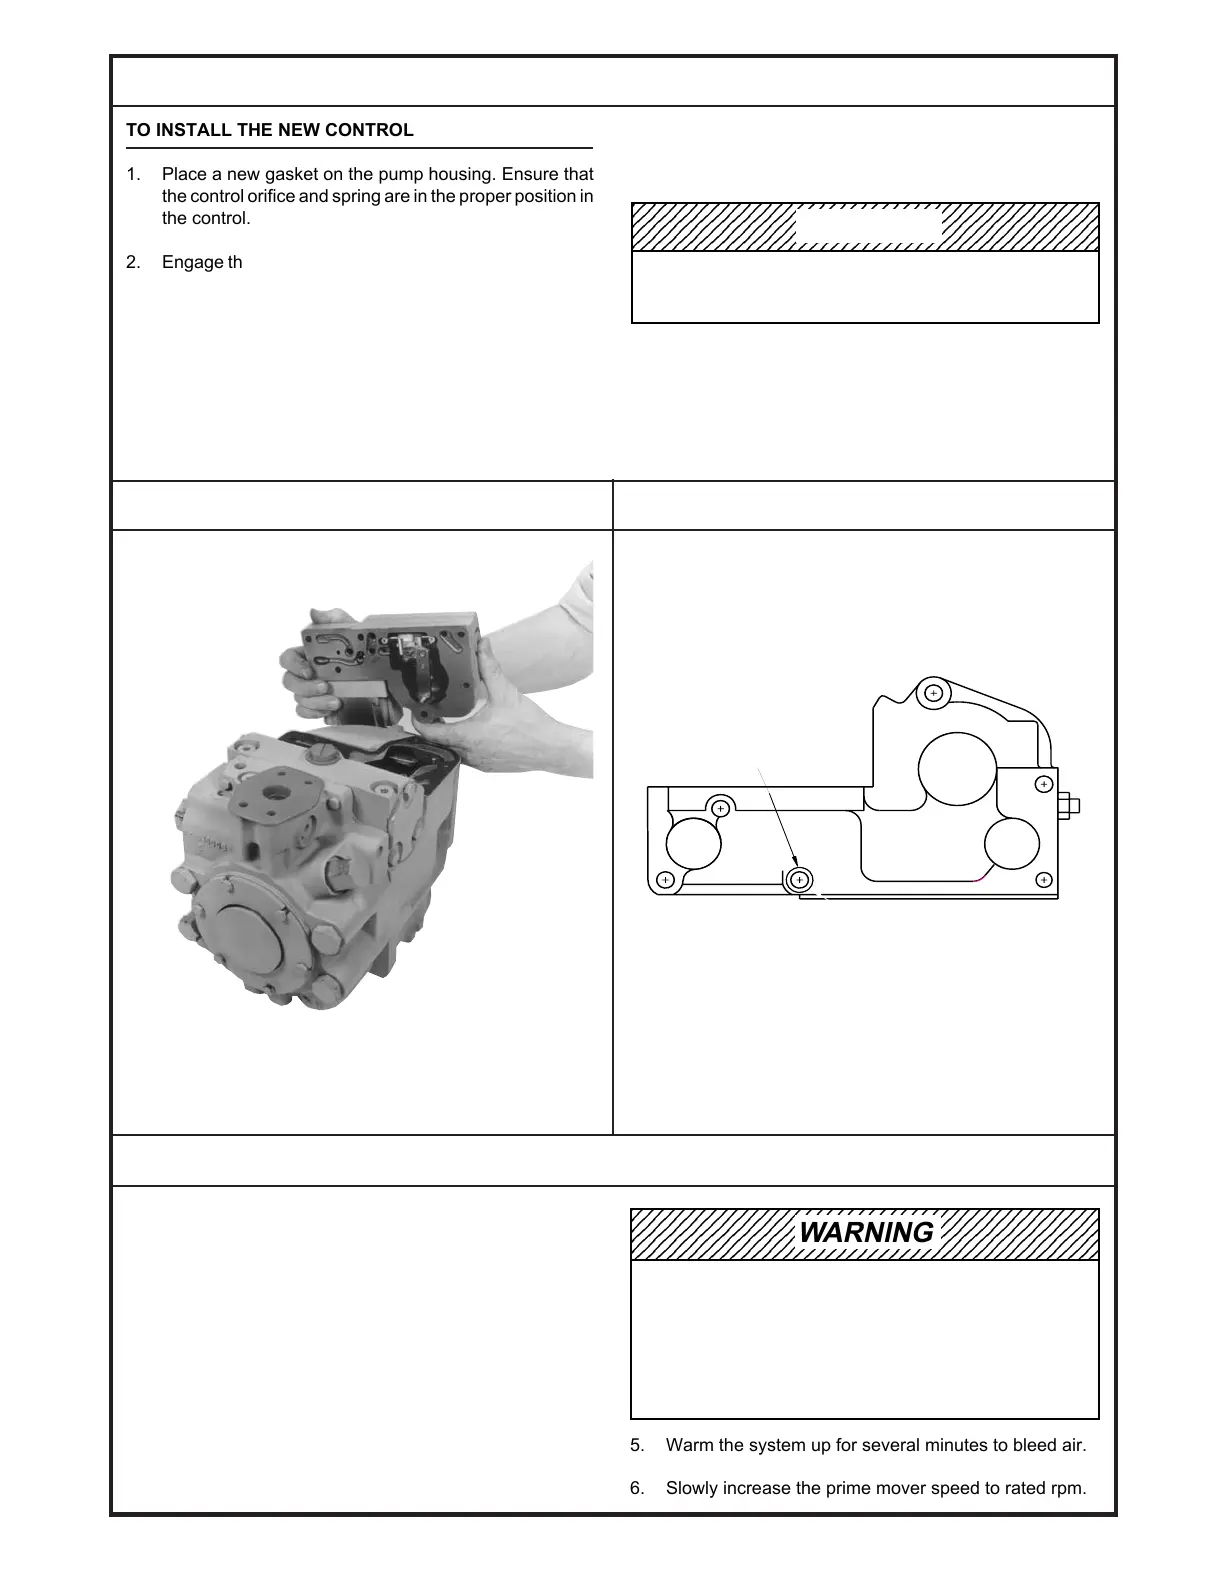
WARNING
5. Warm the system up for several minutes to bleed air.
6. Slowly increase the prime mover speed to rated rpm.
TO INSTALL THE NEW CONTROL
1. Place a new gasket on the pump housing. Ensure that
the control orifice and spring are in the proper position in
the control.
2. Engage the pin on the control linkage in the mating hole
in the link attached to the swashplate. To ensure that
linkage is engaged before adding mounting bolts simply
place a finger under the electrical input connection and
lightly lift. If the control moves more than 3/8-inch the pin
is not engaged. Try again. See the Control Linkage
Assembly photograph.
3. Ensure that the pin is engaged in the link by tilting the
control upwards from the pilot valve end. If the pin
catches in the link and allows only a slight upward tilt,
there is positive engagement. If the control swings up
freely, the pin is not properly aligned.
4. Position the control into place against the pump housing.
Align the gasket. Install the cap screws (On 42 cc and
180/250 cc pumps use the included seal washer per
the Seal Washer Location drawing) and torque to 10-12
ft-lbs.
Ensure positive pin engagement. Failure to do so may
result in pump output, and the vehicle may move.
1234567890123456789012345678901212345678901234
1
23456789012345678901234567890121234567890123
23456789012345678901234567890121234567890123
23456789012345678901234567890121234567890123
4
1234567890123456789012345678901212345678901234
WARNING
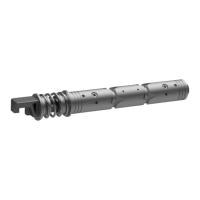
CONTROL LINKAGE ASSEMBLY
SEAL WASHER LOCATION
Assembly of Control Linkage.
Location of Seal Washer on 42, 180, and 250 cc
Pump EDCs.
1394 1396
SEAL WASHER
(USED ON 42, 180, AND
250 cc MODELS ONLY)
BLN-95-8995-4