14
Assembly &
Installation
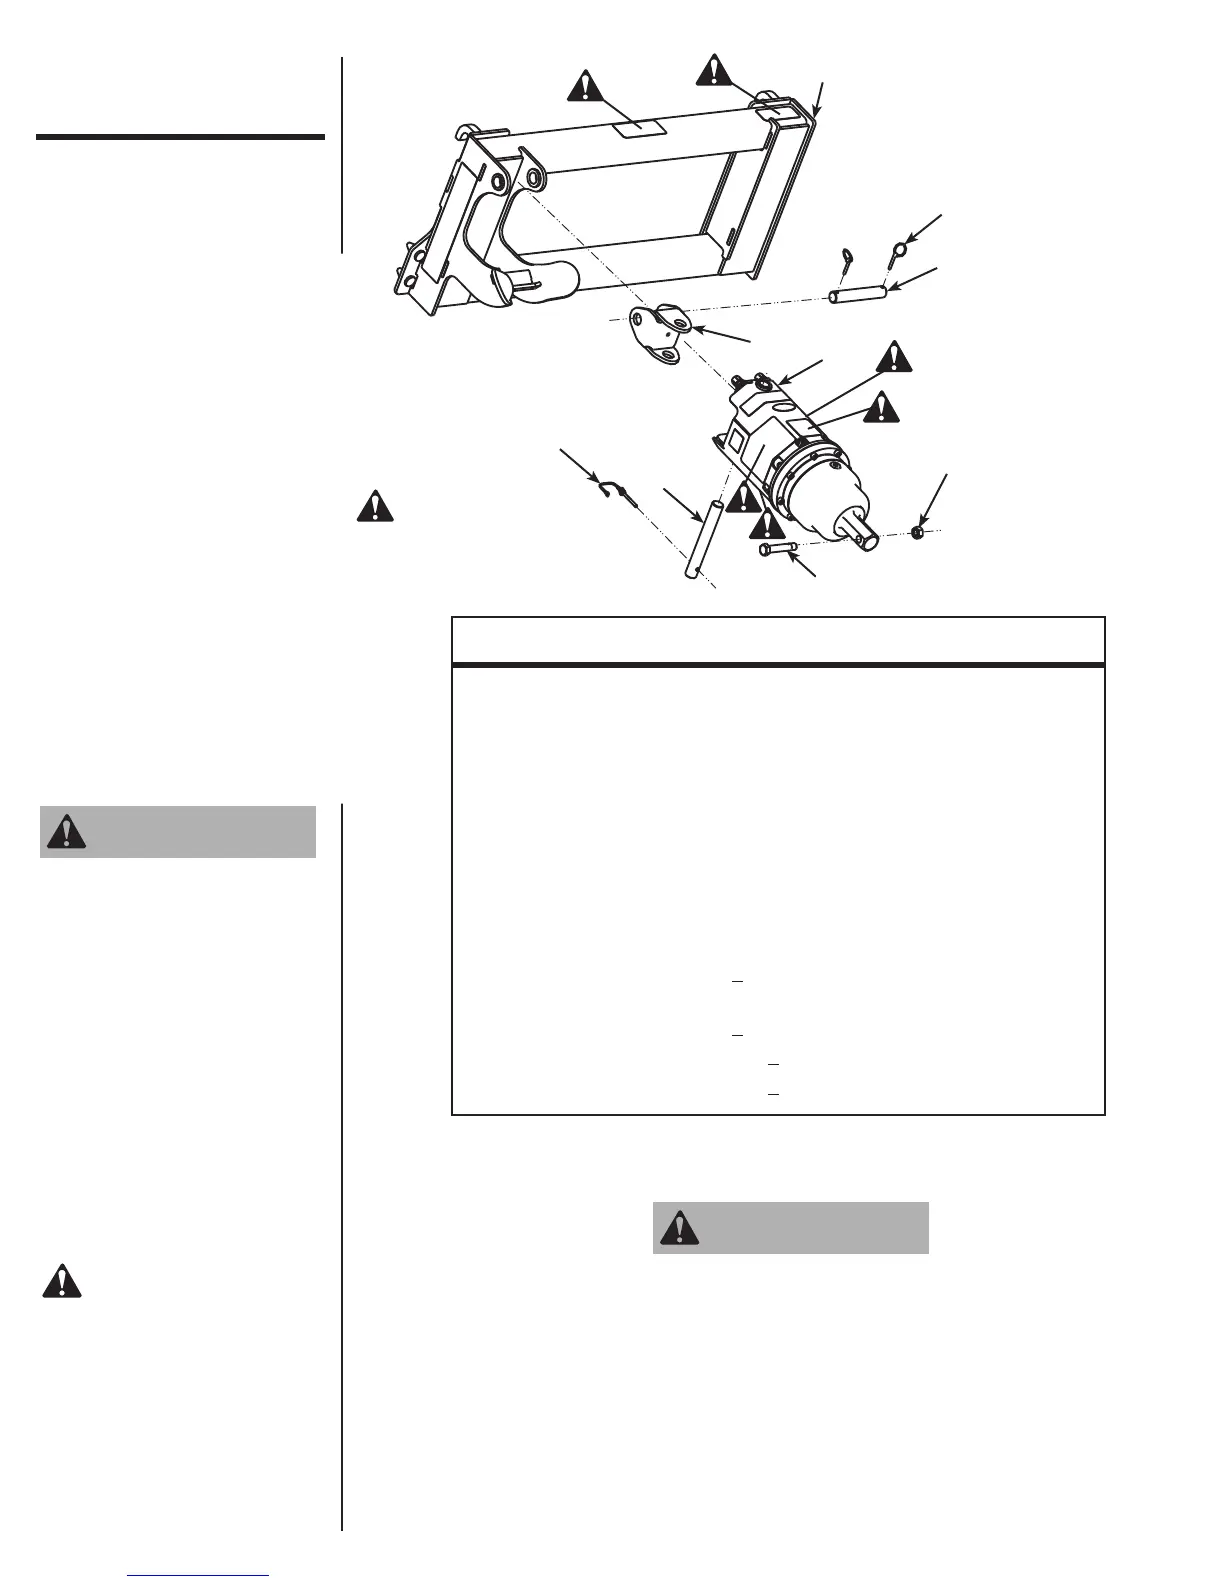
After removing bucket or other attachment from vehicle, secure quick attach plate
assembly (1) to vehicle per vehicle manufacturer’s recommendations.
Attach knuckle assembly (2) to the drive unit (3) using pin (4). Secure pin (4) with
lock pin (5).
Attach knuckle assembly/drive unit to the quick attach plate assembly (1) using
pin (6). Secure pin (6) with klik pins (7).
Proceed to STEP 5 on page 18.
STEP 1:
STEP 2:
STEP 3:
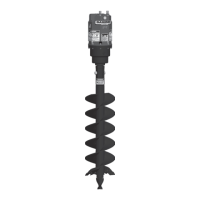
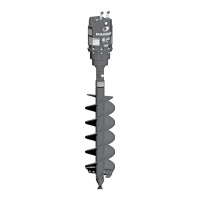
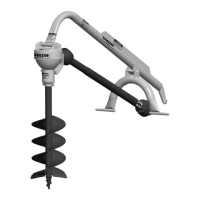
Drive unit and auger
exploded views and part lists
are detailed on separate pages
in this manual.
John Deere
200/300/400/500
Series Mount
1
7
6
2
3
4
5
8
9
= Safety Sign
Location
REF. NO. PART NO. DESCRIPTION QTY.
1 20659 John Deere 200/300/400/500 Series
Offset Mount Assembly
(includes REF. NOS. 1-2 and 6-7)
1
2 10198 Knuckle Assembly 1
3 ----- Drive Unit 1
4 10193 Pin (1-1/4" x 9-1/2") 1
5 20012 Lock Pin 1
6 9598 Pin (1-1/4" x 7-1/8") 1
7 1600 Klik Pin 2
8 10038 Special Retaining Bolt - 2" Hex
(3/4"
10 x 4", Gr. 8, 3/4" of thread)
1
10039 Special Retaining Bolt - 2-9/16" Rd.
(7/8"
9 x 4-1/4", Gr. 8, 3/4" of thread)
9 10041 Nut (3/4"
10) - 2" Hex 1
10042 Nut (7/8"
9) - 2-9/16" Round
Personal protection
equipment including
hard hat, safety glasses,
safety shoes, and gloves
are recommended during
assembly, installation,
operation, maintenance,
service, removal, or
movement of the earth
auger. Do not allow long
hair, loose fitting
clothing, or jewelry to be
around moving and/or
rotating parts.
WARNING
Because of the weight of
some components, and
because some
components are difficult
to balance, two people
are required for safe
assembly and installation
of this equipment.
CAUTION
The earth auger must be securely latched to the vehicle.
Ensure both locking pins are fully seated. An improperly
latched earth auger can fall without warning.
WARNING