You are likely to need a at blade and /or a cross head screwdriver for the installation of the VisionSC-UHD2 card; it would be
useful to have these to hand before you begin.
Power down the PC (including peripherals). Switch o at the mains and disconnect all the cables connected to the computer,
noting the positions for accurate re-connection.
1. Remove the PC cover.
2. Locate a vacant PCI Express slot (x8 or x16) on the motherboard and remove the blanking plate (retain all screws).
3. Reconnect all cables to the PC then connect HDMI cables* (not supplied), distributing the video source signal to the HDMI
connectors on the VisionSC-UHD2 capture card.
4. Power up the PC and commence the software installation.
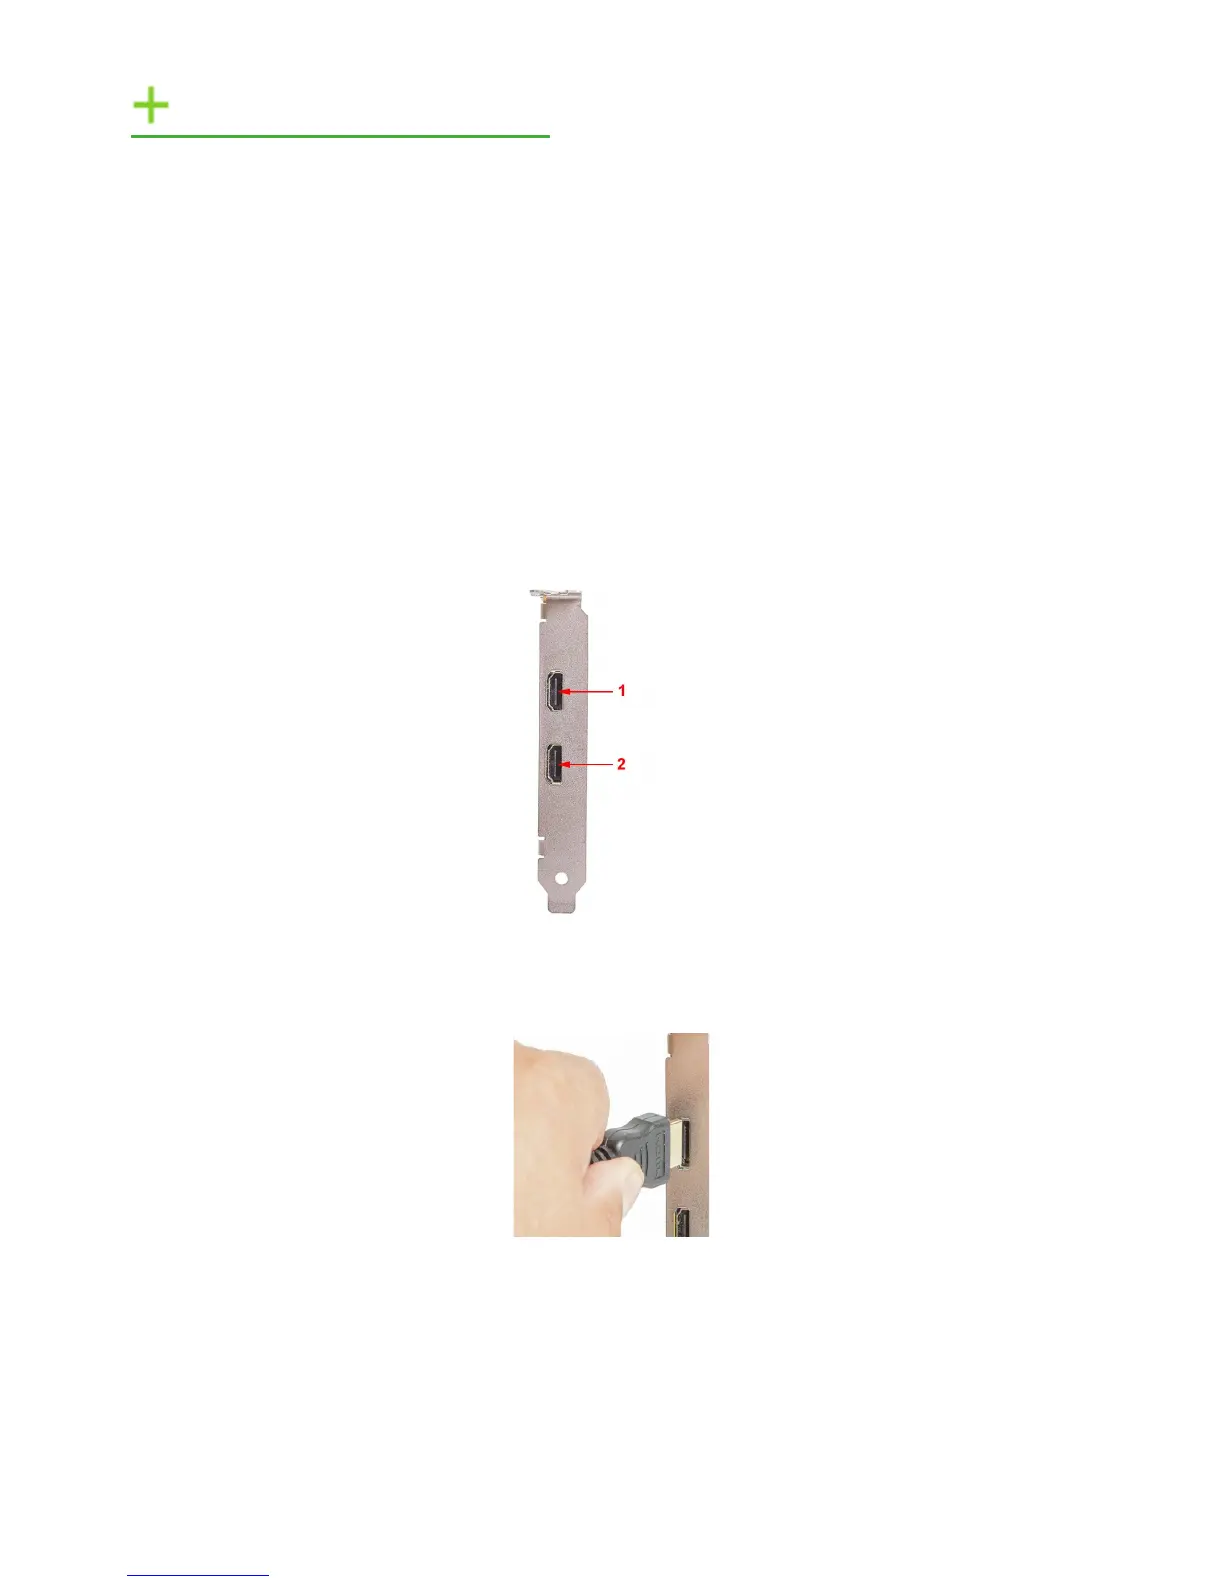
How to Connect Input Sources
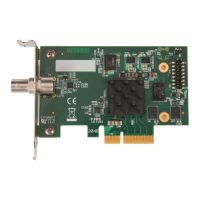
The VisionSC-UHD2 card has two HDMI connectors, input 1 at the top and input 2 at the bottom. See Fig. 1.
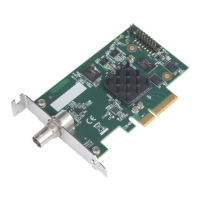
Fig. 2
5
Care must be taken not to damage the connectors internally by forcing cables into the card (Fig. 2).
Fig. 1
Ensure all cables are fully inserted, failure to do so can result in cables falling out and the captured signal being lost.
* Note: It is recommended that only authentic cables, approved and certied by HDMI are used with the VisionSC-UHD2
card. When capturing 4k60p, Premium Certied cables should be used.
Certied cables have a hologram/QR coded label attached.
Installing the Capture Card