14 23
You should carry out the following
steps as per the instructions for
Installation Type 1
Step 2 – Work out the position of your
®
with regard to distance to
issue here.
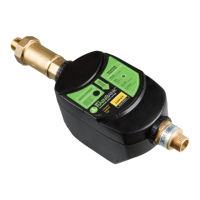
Step 4
®
for easy
fitting to the plumbing. Fit Davey wall
bracket.
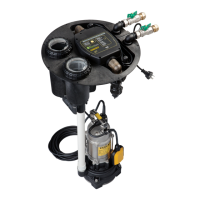
Step 5
®
to your
submersible pump as per instructions on
page 25.
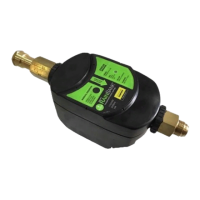
Step 6
®
to the
plumbing.
Step 7
switch lead to plug in)
Step 8
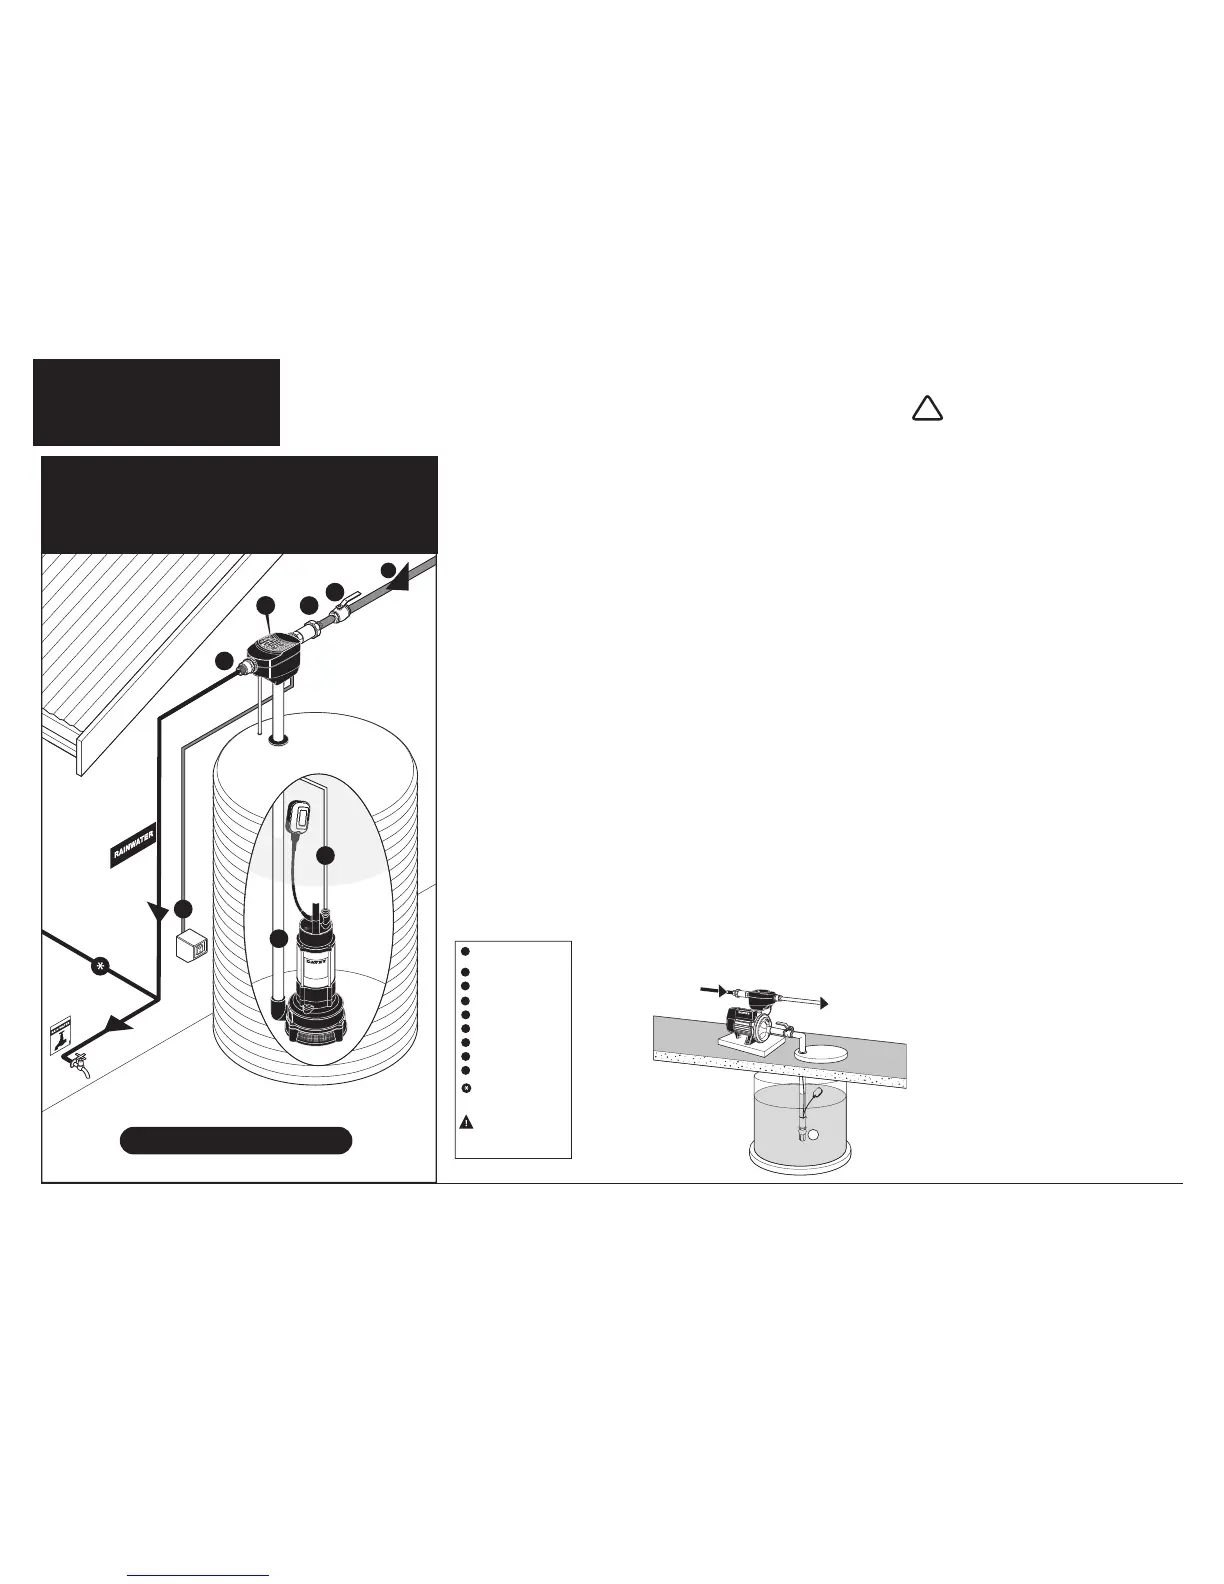
INSTALLATION TYPE 4
Below ground tank with pump above
tank and suction lift
IMPORTANT
collecting/storing rainwater in a
partially buried tank is considered
®
valves to satisfy this requirement.
®
and for
movement of the tank and pump
which may occur over time, the
suction pipe must have a length of
braided hose, reinforced suction
hose or polythene pipe at least 1
metre in length.
The following sections of the Type
1 installation instructions are
applicable to Type 4 installations.
Step 1
pump site as close to the water source
and water level as possible.
Step 2 – Work out the position of your
®
with regard to distance to
power.
 Loading...