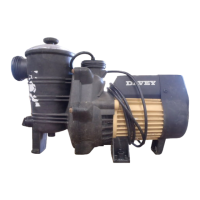
Fit the O-ring to the casing and then insert the
assembled stator and rotor into it with the motor leads at
approximately 1 o’clock to the slot at the bottom of the
casing.
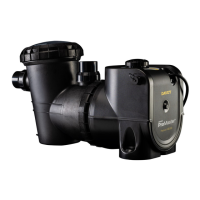
Place the motor shaft down through a hole in the work
bench and stand the unit on end. Next replace the end
shield by bringing the stator wires through the slot in the
end shield while the other slot should line up with the cut
out in the casing.
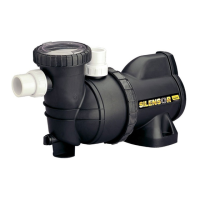
Bring the power lead out through the bottom slot and
push it into the cut out in the casing thread now you
can replace the casing nut and tighten it with the small
Silensor spanner (part 13810-1SP).
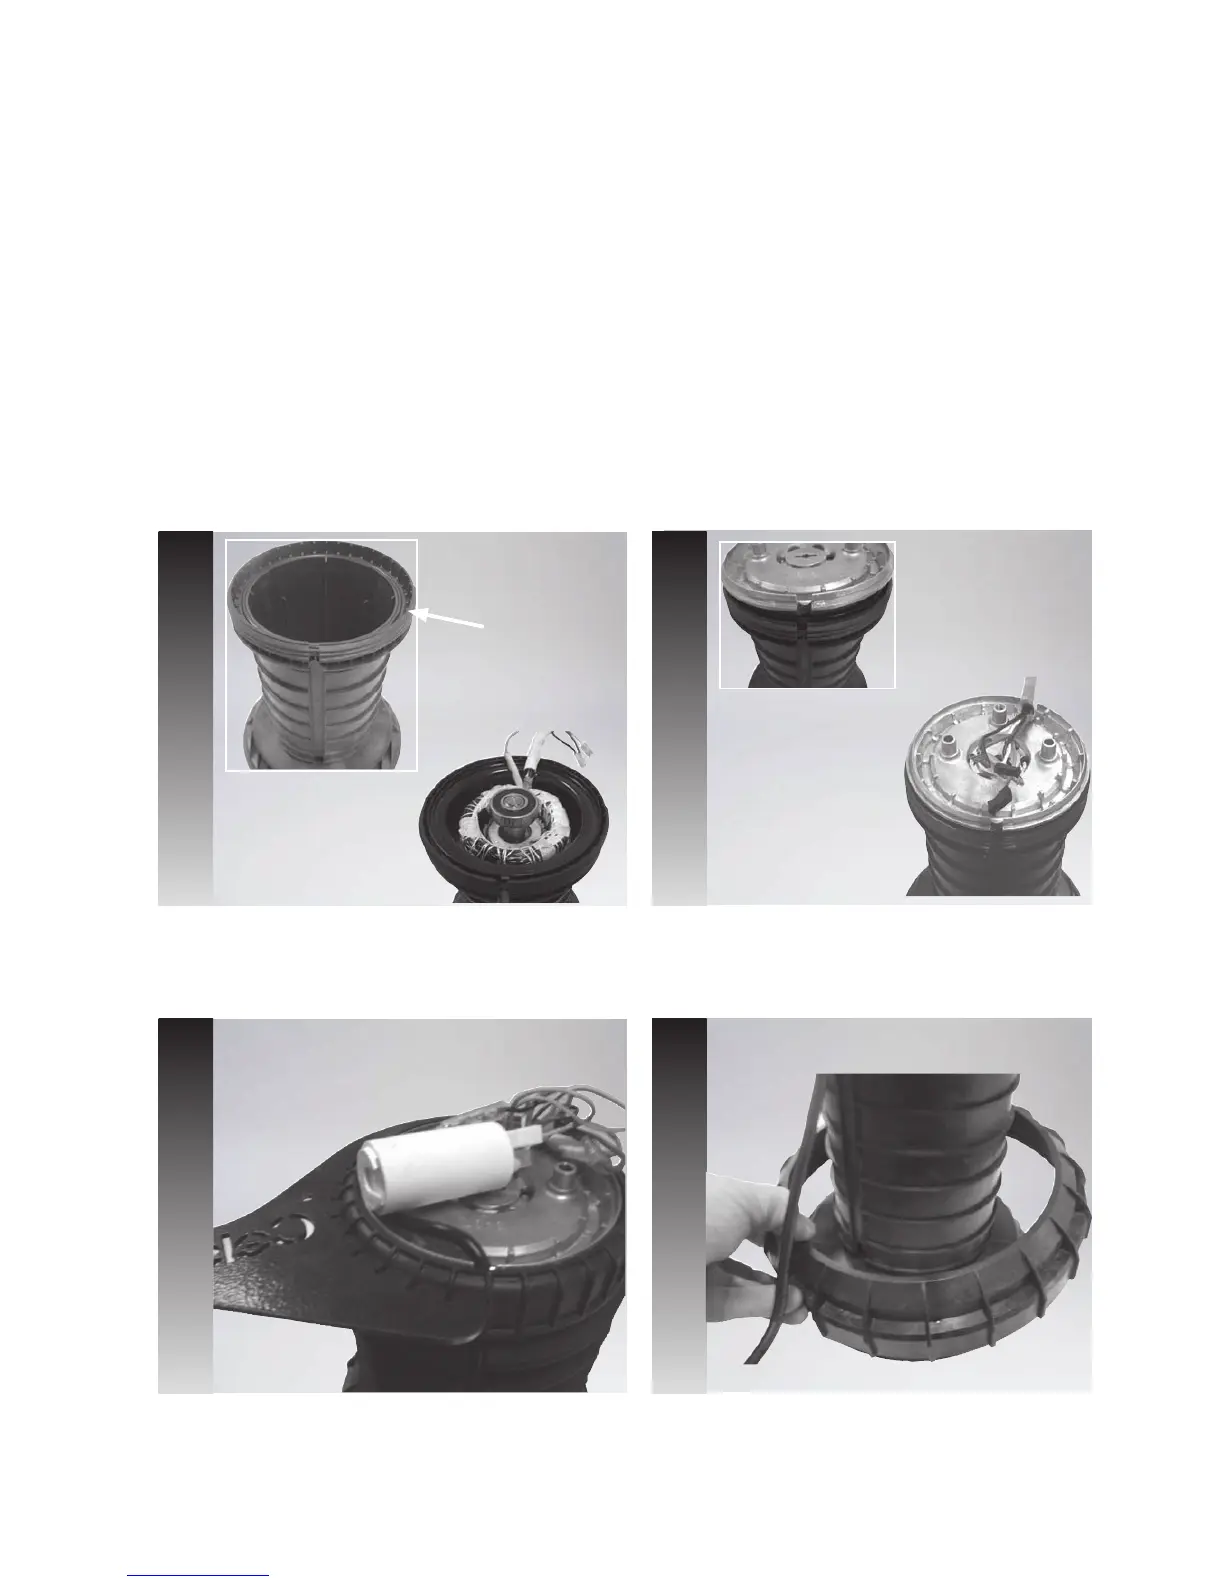
Replace the large case nut and bring the power lead
through it .
1.
2.
3. 4.
8
Note: It is a good idea to
have a hole in the work
bench to be able to stand
all motors on end.
O-ring
Re-assembly
Procedure
Re-assembly
Procedure