64
Sect/Secc 7
DriveRack
™
DriveRack™ User Manual/Manual de instrucciones
The key element to establishing a DriveRack™ network system, is
distinguishing a Master controller unit from the slaves units. Every unit in
the DriveRack™ system has the ability to be assigned as a master or slave
unit, but only one master must be assigned. A unit is designated as a
master by setting the ID to 0 for the 481 or 482, or select Mst on a 480.
Setting Identification Numbers:
The following information explains the procedure for setting ID numbers
on all units in the DriveRack™ network system:
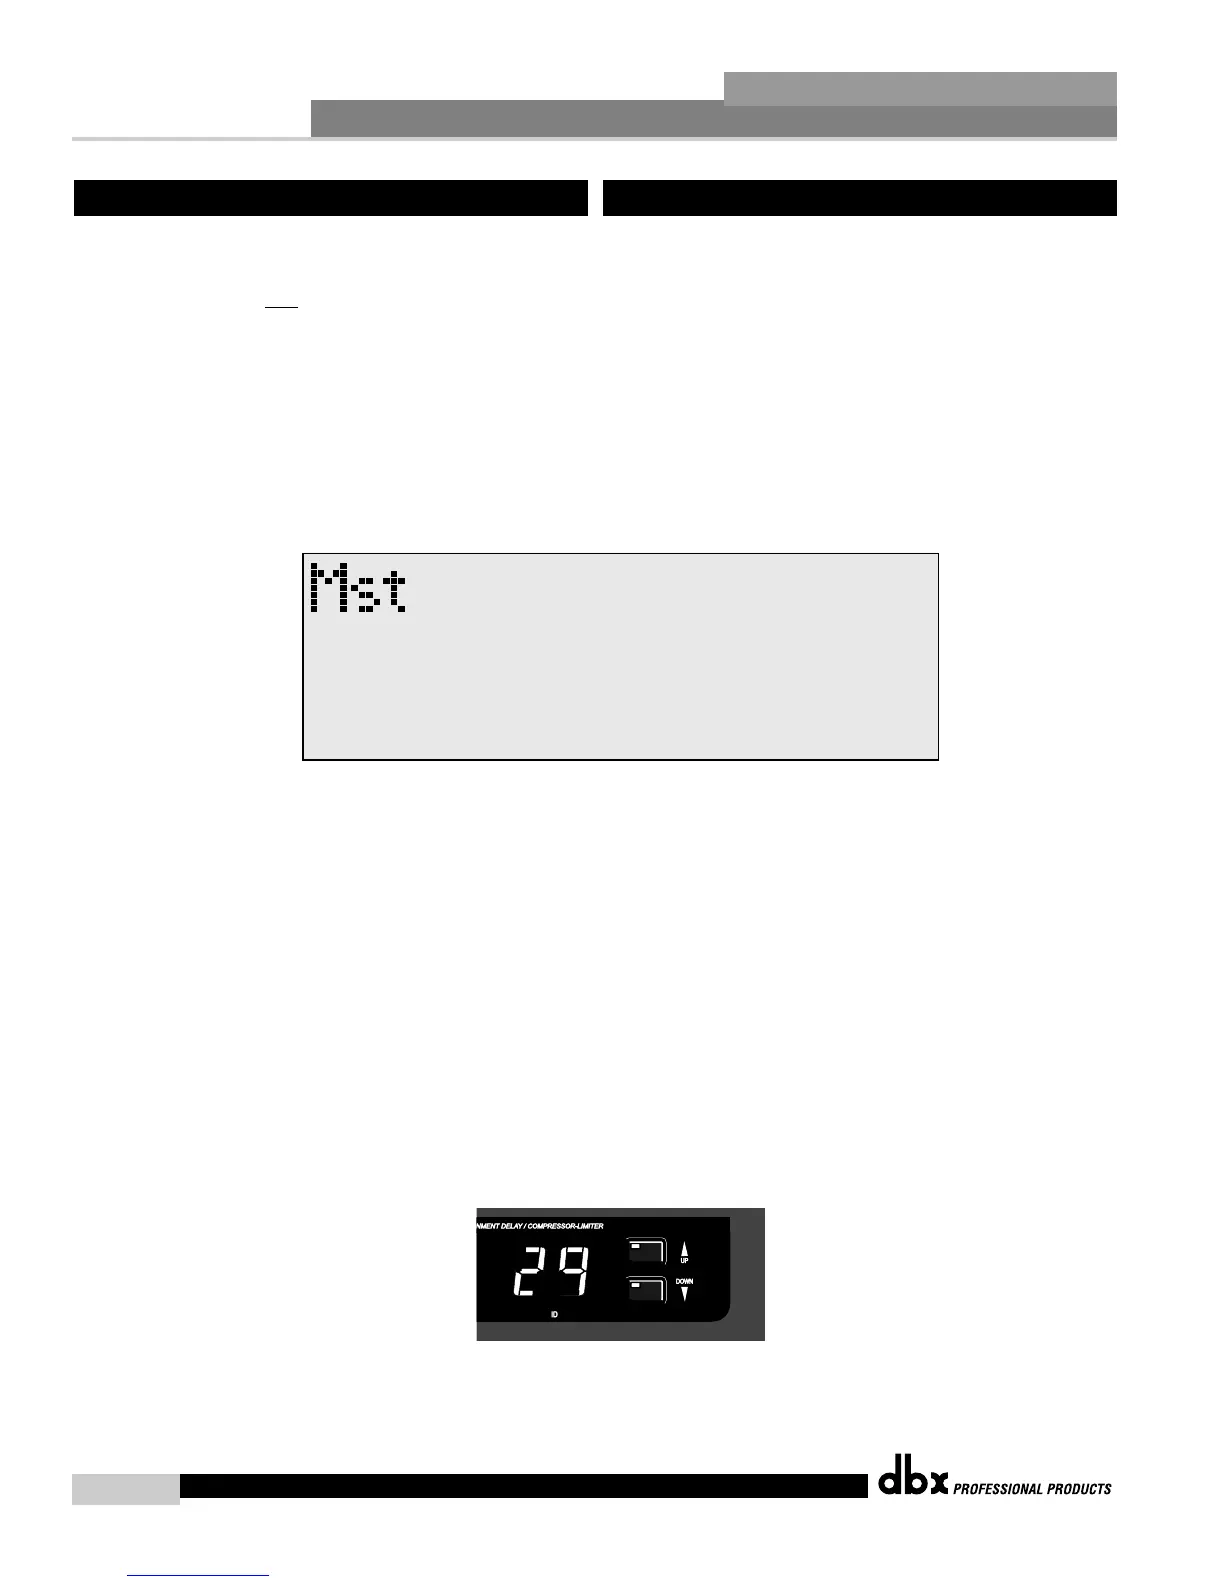
480 DriveRack™- From program mode, press the UTILITY button and
use the PREV PG and NEXT PG buttons to move to
page 1 of the Utility menu. The display will appear:
• At this point, use the PARAMETER 1 knob to either assign the unit as
the master controller, or to give it it’s own unique ID number.
• Once the desired ID is selected, press the PARAMETER 3 knob to
change the ID. Press the PROGRAM/CONFIG button to cancel.
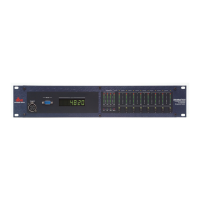
481 and 482- The procedure for setting ID numbers on both the 481 and
482 units is quite simple. From the front panel, use the ID
UP and DOWN buttons to select a unique ID number for
the selected unit. The following illustration shows the ID
display, as well as the ID UP and DOWN buttons.
7.3 Master/Slave Assignments
El elemento clave para establecer un sistema de red DriveRack™ es
diferenciar la unidad controladora o maestra de las unidades esclavas.
Cada unidad del sistema DriveRack™ tiene puede ser asignada como
maestra o como esclava, pero sólo debe asignar una única unidad maestra.
Una unidad es designada como maestra ajustando su ID a 0 en el caso del
481 ó 482, o eligiendo Mst en un 480.
Ajuste de los números de identificación:
La siguiente información explica el procedimiento de ajuste de los
números ID en todas las unidades del sistema de red DriveRack™:
DriveRack™ 480- Desde el modo de programa, pulse el botón UTILITY
y use los botones PREV PG y NEXT PG para
desplazarse a la pàgina 1 del menú de utilidades. La
pantalla mostrará:
• En este punto, use el mando PARAMETER 1 para asignar la unidad
como controlador maestro o para darle su propio número de
identificación único.
• Una vez que haya elegido el ID deseado, pulse el mando
PARAMETER 3 para fijarlo. Pulse el botón PROGRAM/CONFIG para
cancelar la asignación.
481 y 482- El procedimiento para el ajuste de los números ID en ambas
unidades es bastante simple. Desde el panel frontal, use los
botones ID UP y DOWN para elegir un número de ID único
para la unidad elegida. La siguiente ilustración le muestra la
pantalla ID, así como los botones ID UP y DOWN.
7.3 Asignaciones maestro/esclavo