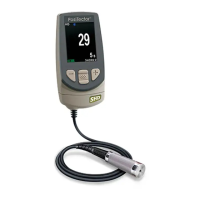
Reset (menu reset) restores factory settings and returns the
Gage to a known condition. The following occurs:
- All batches, stored measurements, batch names and screen
captures are erased.
- Calibration adjustments are returned to factory settings.
- Menu settings are returned to the following:
Reset
Memory = OFF
Auto Sub-Batch = OFF
Statistics = OFF
Hi Lo Alarm = OFF
Hi Res = OFF
Bluetooth & Stream = OFF
WiFi & Access Point = OFF
Auto Ignore 20/90 = OFF
Auto Dim = ON
Setup Menu
Setup Menu
4
Cal Reset
Restores the gage back to factory calibration and range settings.
The icon will appear on the display.
Cal Settings Menu
Cal Settings Menu
Adjusts the Gage to a known material hardness.
Step 1: Select 1 Pt Adjust from the Cal Settings menu.
Step 2: Press the (+) button to select the number of readings to
be used to obtain an average, typically 3 to 10 readings. The
greater the variation between readings, the more readings should
be taken to obtain an average.
Step 3: Repeatedly measure the known hardness sample using
the on-screen green arrows as a guide. After the final reading,
the Gage will calculate and display an average measurement
value of all readings taken on the sample. If the expected
hardness value is not obtained (within tolerance), adjust the
displayed value up (+) or down (-) to the known hardness value
and press to enter the value.
1 Pt Adjust

 Loading...