Page 9
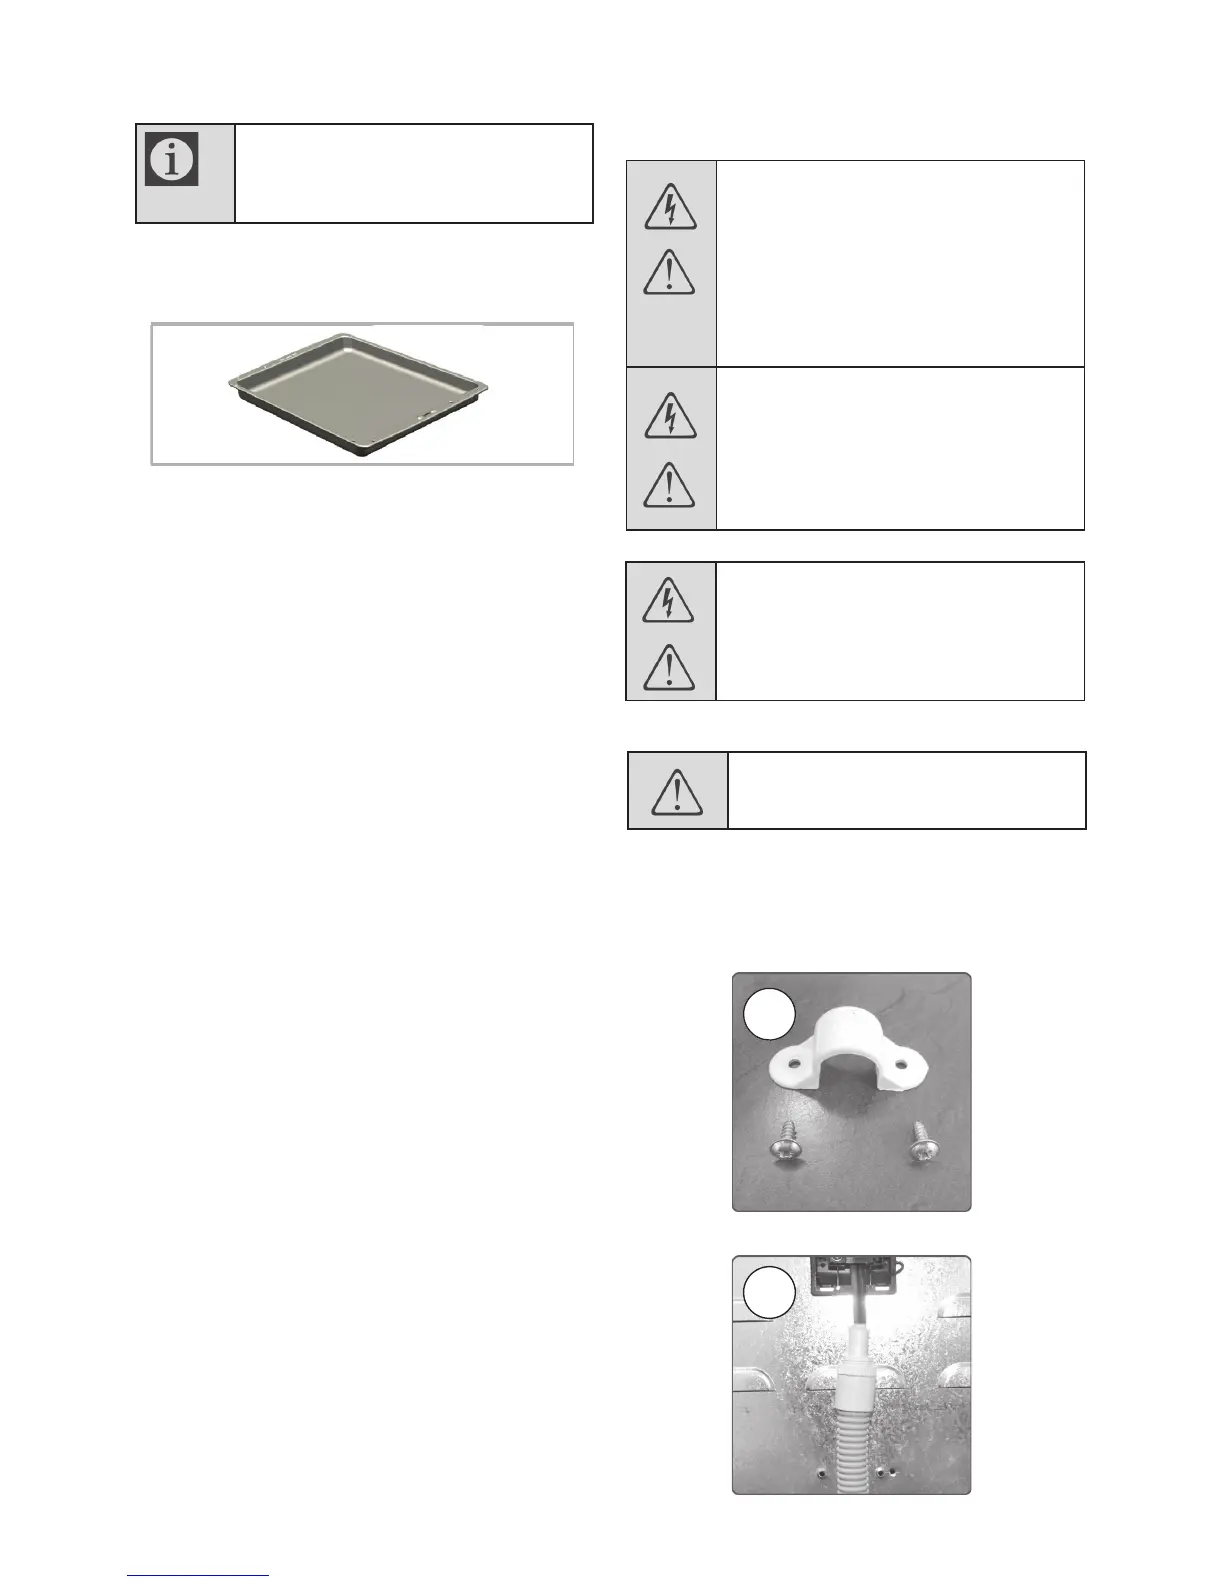
Oven tray
Suitable for large roasts, chicken portions and roast
potatoes.
Package contents
Accessories supplied can vary depending
on the appliance model. Not all
accessories in the user manual may be in
your appliance.
Wire Shelf
Used for roasting and for placing food to be baked,
roasted or cooked in casserole dishes on to the
desired shelf runner.
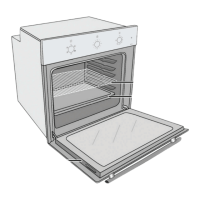
Placing the wire shelf and tray onto the shelf
runners properly
It is important to place the wire shelf and/or tray onto
the runner properly.
Slide the wire shelf or tray between the runners and
make sure that it is properly fitted before placing any
food on it.
Installation and connection
The appliance must be installed in accordance with all
electrical regulations.
DANGER: Risk of electric shock! Before
starting any work on the electrical
installation, please disconnect the
appliance from the mains supply.
DANGER: The appliance must be
connected to the mains supply only by
authorised and qualified persons. The
appliances warranty period starts only
after correct installation. The
manufacturer shall not be held
responsible for damages arising from
procedures carried out by unauthorised
persons.
DANGER: Risk of electric shock, short
circuit or fire by damage of the mains
lead! The mains lead must not be
clamped, bent or trapped or come into
contact with hot parts of the oven. If the
mains lead is damaged, it must be
replaced by a qualified electrician.
Electrical installation
This appliance must be earthed and the manufacturer
and the seller do not accept responsibility for any
damage due to incorrect installation or electrical
connection.
This appliance should not be connected through an
earth leakage system. Refer to S.A.N.S.10142
Support the oven in front of the aperture and make
the electrical connection before installing. This will
ensure enough cable length for subsequent
servicing.
Connection to the power supply
The connection must be carried out by a licensed
electrician, who will ensure that the oven is correctly
connected and safely earthed. The rated current is
printed on the serial number label attached to the
oven side trim.
The appliance must be connected to the mains
through a double pole isolating switch which has a
minimum clearance between the contacts of 3 mm. in
both poles.
A means for disconnection must be provided in the
fixed wiring.
Connecting the sprague to the oven
WARNING! ELECTRICAL
CONNECTION MUST ONLY BE DONE
BY A QUALIFIED ELECTRICIAN!
Purchase a standard plastic/metal saddle type
bracket, capable of going around the 20 mm diameter
sprague and with a hole pitch of 38 mm (Plastic) 45
mm (Metal), from your local hardware and 2 off 4.2
mm x 12 mm self tapping screws.
Connect the cabling onto the stove connecter.
1
2