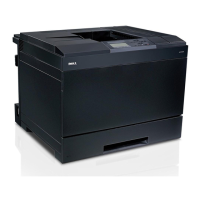
Maintenance 41
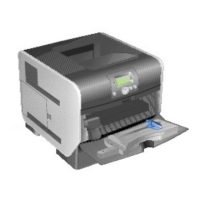
3.
Grab the imaging drum by the handle, and pull it up and out.
NOTICE: Please put the removed imaging drum on a flat even desk without things, such as a pencil and
a clip. Please cover the removed imaging drum by a newspaper or so not to expose the direct light.
CAUTION: Do not touch inside the printer with your hands. Some parts may be hot. Allow time for the
printer to cool before attempting to remove parts in this area.
Installing the New Imaging Drum
CAUTION: Make sure nothing touches or scratches the surface of the light-sensitive drum surface
(green-colored roller) or the transfer roller (black-colored roller). Scratches, dirt, or oil from your hands
on the imaging drum or transfer roller may reduce the print quality.
1.
Remove the protective cover from the imaging drum.
2.
Holding the imaging drum by the handle with the flat part facing the back of the printer, align
the plastic guides on both sides of the imaging drum with the slots in front of the arrows on
the printer.