Removing and Installing Parts 77
Installing a Hard Drive
1
Unpack the replacement hard drive, and prepare it for installation.
2
Check the documentation for the drive to verify that it is configured for your computer.
3
Remove the hard drive bracket (see page 75).
4
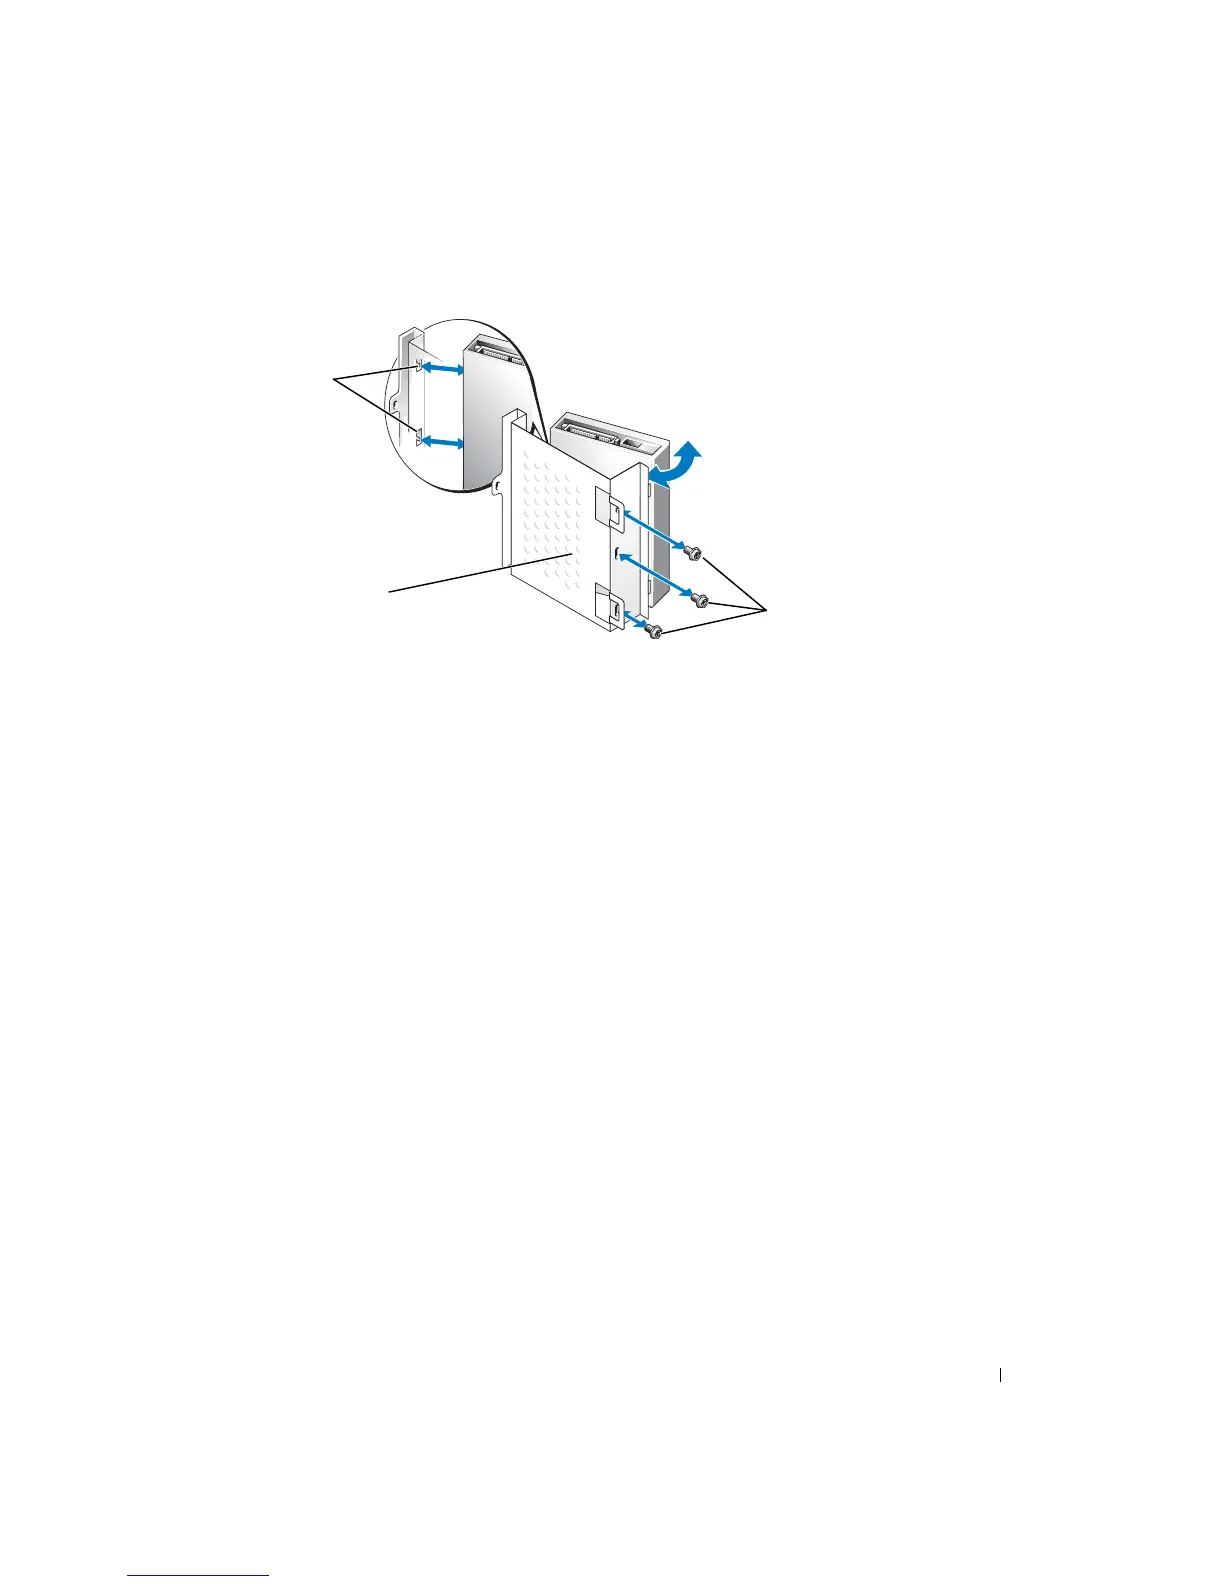
Attach the hard drive to the hard drive bracket:
a
Place the small bracket tabs into the drive-securing screw holes on one side of the drive.
b
Gently swing the drive toward the bracket and align the three screw holes on the other
side of the drive with the screen holes on the bracket.
c
Attach the hard drive bracket to the hard drive.
d
Insert and tighten all three drive-securing screws.
5
Install the hard drive:
a
Place the two bracket tabs into the drive slots inside the bracket for the additional hard
drive.
b
Swing the bracket forward so that it is flush with the bracket for the additional hard drive.
c
Replace the bracket-securing screws.
6
Connect a power cable to the drive.
7
Connect the data cable to the drive and to the system board (see page 56).
8
Close the computer cover (see page 89).
drive bracket
small bracket
tabs (2)
drive
securing
screws (3)

 Loading...