Using the Dell™ E-Port Plus 9
2
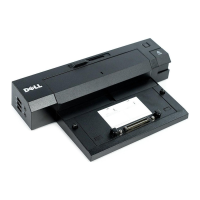
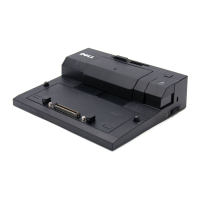
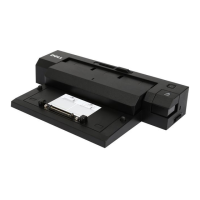
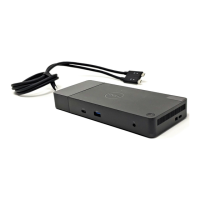
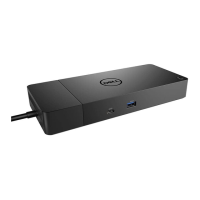
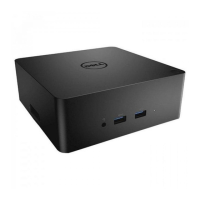
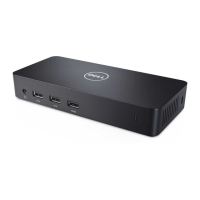
Using the Dell™ E-Port Plus
CAUTION: Before you begin any of the procedures in this section, follow the
safety instructions that shipped with your computer.
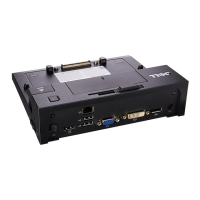
Setting Up Your E-Port Plus
NOTE: If the cable connector of the external device has thumbscrews, tighten the
screws to ensure a proper connection.
1
Connect the device’s cable to the appropriate connector on the E-Port
Plus.
2
Connect any external devices to electrical outlets.
If you attach an external monitor to the E-Port Plus, you may need to press
<Fn><F8> one or more times to switch the screen image to the desired
location. If the laptop cover is closed, press <Scroll Lck> <F8> on an
attached external keyboard to switch the image.
Before You Dock for the First Time
Before you initially connect your laptop to the E-Port Plus, the operating
system must complete its setup process. To verify that the operating system
has completed the setup process:
1
Ensure that the laptop is not connected to the E-Port Plus (docked).
2
Turn on the laptop.
3
Verify that your laptop operating system has completed the setup process.
4
Verify that your battery is installed before docking your laptop.