Getting Started Guide 15
2
Secure the bracket as in item 3 in Figure 1-6 to the chassis by tightening
the screws as in item 2 in Figure 1-6 provided with the mount bracket.
3
Repeat Steps 1 and 2 to attach the left rack-mount bracket on the device.
4
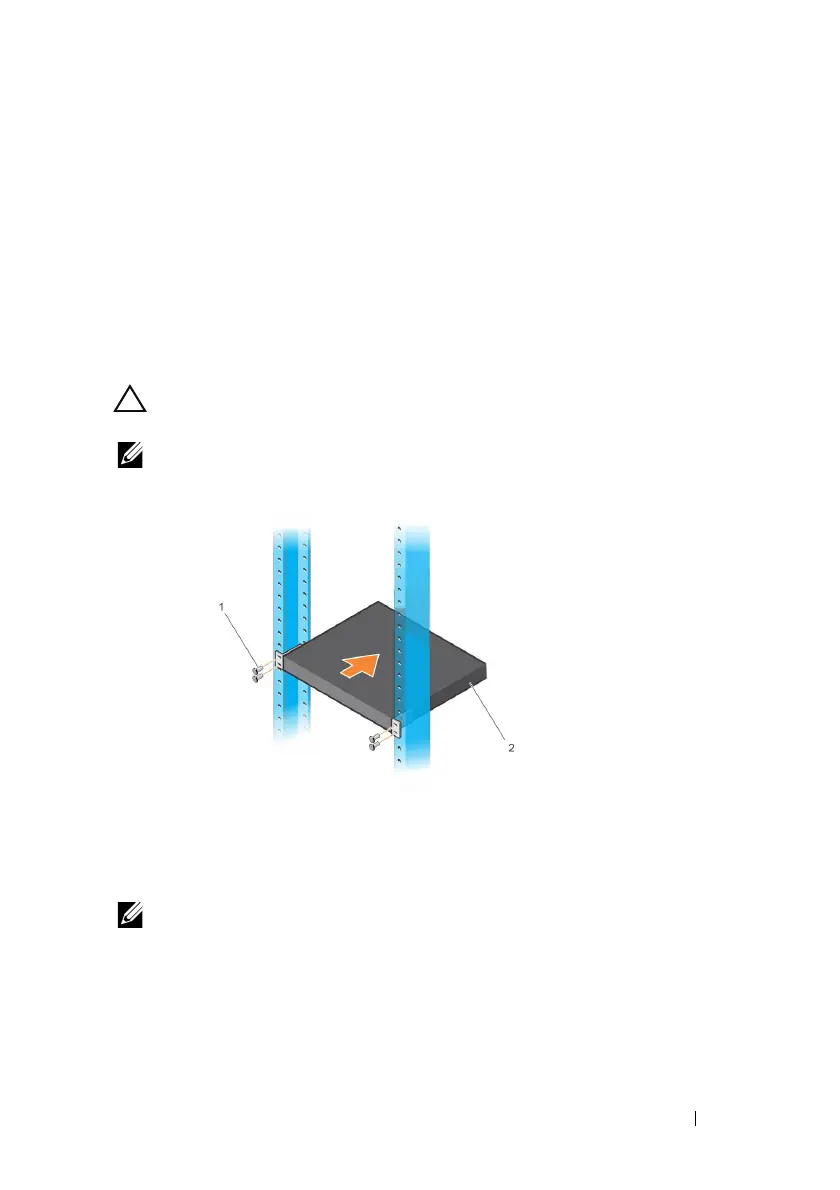
Mount the switch into a 48.26 cm (19 inch) rack. Align the holes on each
bracket flange with the holes on a rack post.
5
Secure the bracket to the rack with either the rack bolts or cage nuts and
cage-nut bolts with washers (depending on the kind of rack you have).
Tighten the bolts on the bottom before tightening the bolts on the top
(item 1 in Figure 1-7).
CAUTION: Make sure that the supplied rack bolts fit the pre-threaded holes in the
rack.
NOTE: Make sure that the ventilation holes are not obstructed.
Figure 1-7. Mounting in 2-post Rack
Installing as a Free-standing Switch
NOTE: Dell strongly recommends mounting the switch in a rack.
Install the switch on a flat surface if you are not installing it in a rack. The
surface must be able to support the weight of the switch and the switch
cables. The switch is supplied with four self-adhesive rubber pads.
1
Attach the self-adhesive rubber pads on each location marked on the
bottom of the switch.

 Loading...