Getting Started Guide 9
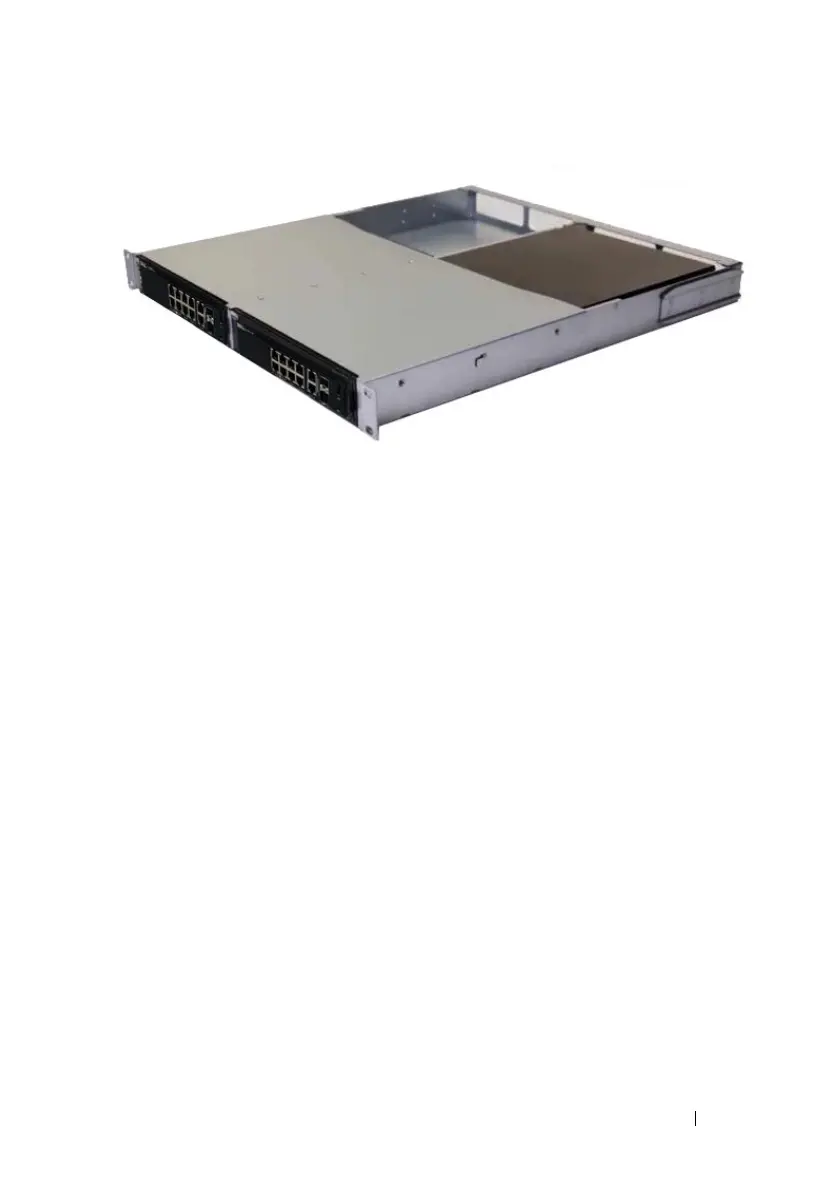
Figure 1-1. Dell Tandem Tray Kit
2
Insert the switch into the 48.26 cm (19 inch) rack, ensuring that the rack
mounting holes on the kit line up to the mounting holes in the rack.
3
Secure the kit to the rack with either the rack bolts or cage nuts and cage-
nut bolts with washers (depending on the kind of rack you have). Fasten
the bolts on the bottom before fastening the bolts on the top.
Mounting an N1108T-ON/N1108P-ON/N1108EP-
ON on a Two-Post Rack Using Large L-brackets
NOTE: The AC power connector is on the rear panel of the N1108T-ON/N1108P-ON
switches. The DC power connector for the N1108EP-ON is at the center of the rear
panel.
NOTE: The N1108EP-ON switch uses an external power adaptor. There is no mounting kit
available for the N1108EP-ON external power adaptor. When installing the
N1108EP-ON, place the external power adaptor away from the switch.
CAUTION: As the N1108EP-ON is a fanless switch, do not place the external power
adaptor on top of the switch to avoid overheating.
1
Place the supplied rack-mounting bracket on one side of the switch
making sure that the mounting holes on the switch line up to the
mounting holes on the rack mounting bracket. See item 1 in Figure 1-2.

 Loading...