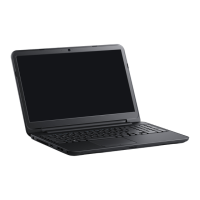
3. Using the alignment posts, press the hinges down on the system board and the palm-rest and keyboard assembly.
4. Replace the five screws (M2.5x5) that secure the left and the right hinges to the system board and the palm-rest and keyboard
assembly.
NOTE:
For computers shipped without optical drive, there is an additional screw on the left hinge.
5. Route the display cable through the routing guides on the fan and the palm-rest and keyboard assembly.
6. Slide the display cable to the connector on the system board and close the latch to secure the cable.
Removing and installing components
47

 Loading...


