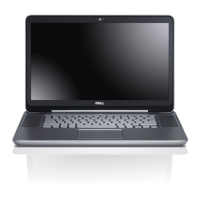
Adding and Replacing Parts 127
Display Latch
CAUTION: Before you begin this procedure, read the safety instructions at the front of this document
(see page 11).
NOTICE: To avoid electrostatic discharge, ground yourself by using a wrist grounding strap or by
periodically touching a connector on the back panel of the computer.
NOTICE: To avoid damaging the system board, you must remove the main battery before you begin
working inside the computer.
1
Follow the procedures in "Before You Begin" (see page 103).
2
Remove the display (see page 124).
3
Remove the eight rubber display bumpers.
4
Remove the two M2.5 x 6-mm shoulder screws and six M2.5 x 6-mm screws, and remove the
display bezel.
display bezel
rubber display bumpersM2.5 x 6-mm screws (6)
M2.5 x 6-mm shoulder screws (2)
 Loading...