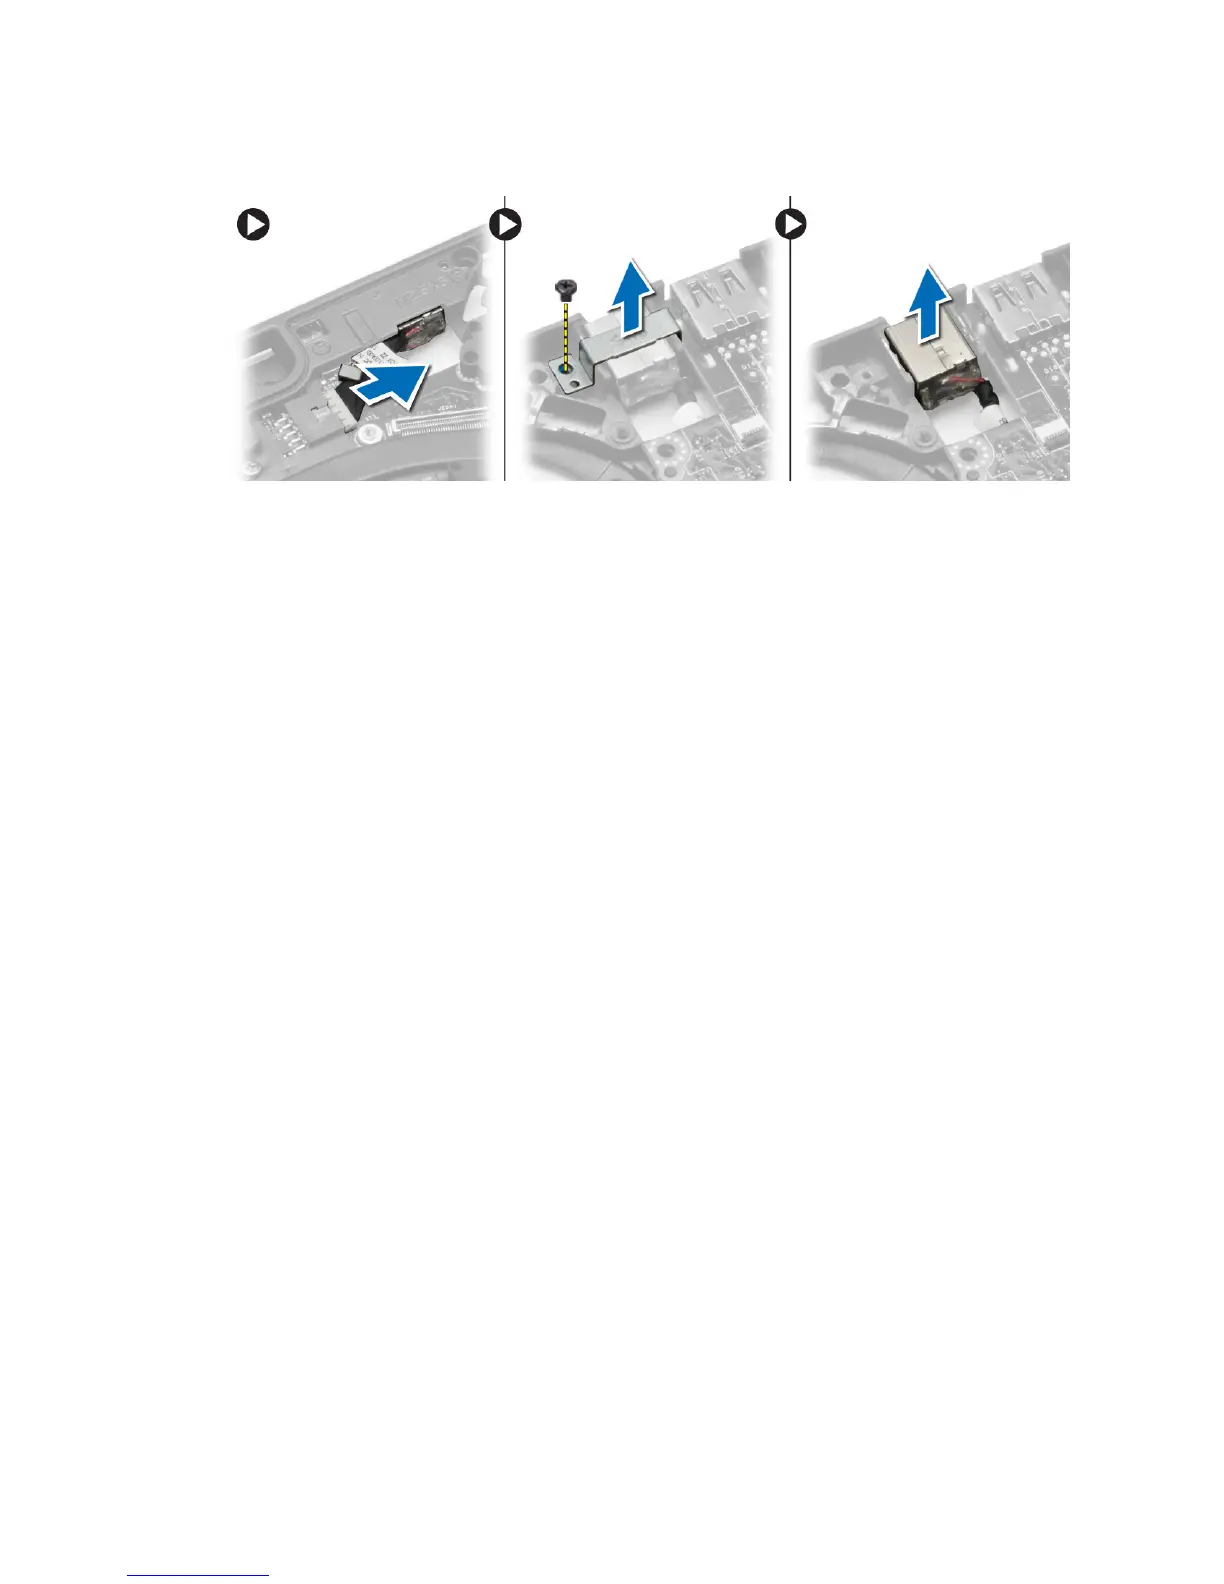
3. Disconnect the power-connector cable from the system board and remove the screw that secures the power
connector to the computer. Remove the power connector from the computer.
Installing the Power Connector
1. Insert the power connector in its slot.
2. Connect the power connector to the system board.
3. Tighten the screw that secures the power connector to the system board.
4. Install:
a. system fan
b. palmrest
c. keyboard
d. base cover
e. battery
f. SD card
5. Follow the procedures in
After Working Inside Your Computer
.
33