Figure 42. Installing the display assembly
Steps
1. Place the palm-rest assembly at the edge of a flat table.
CAUTION:
To avoid damaging the display, do not slide palm rest and keyboard assembly on the display
assembly.
2. Align the screw holes of the palm-rest assembly with the screw holes on the hinges of the display assembly.
3. Replace the two screws (M2.5x6) that secure the right-display hinge to the palm rest and keyboard assembly and open the
right hinge.
4. Replace the two screws (M2.5x6) that secure the left-display hinge to the palm rest and keyboard assembly and open the
left hinge.
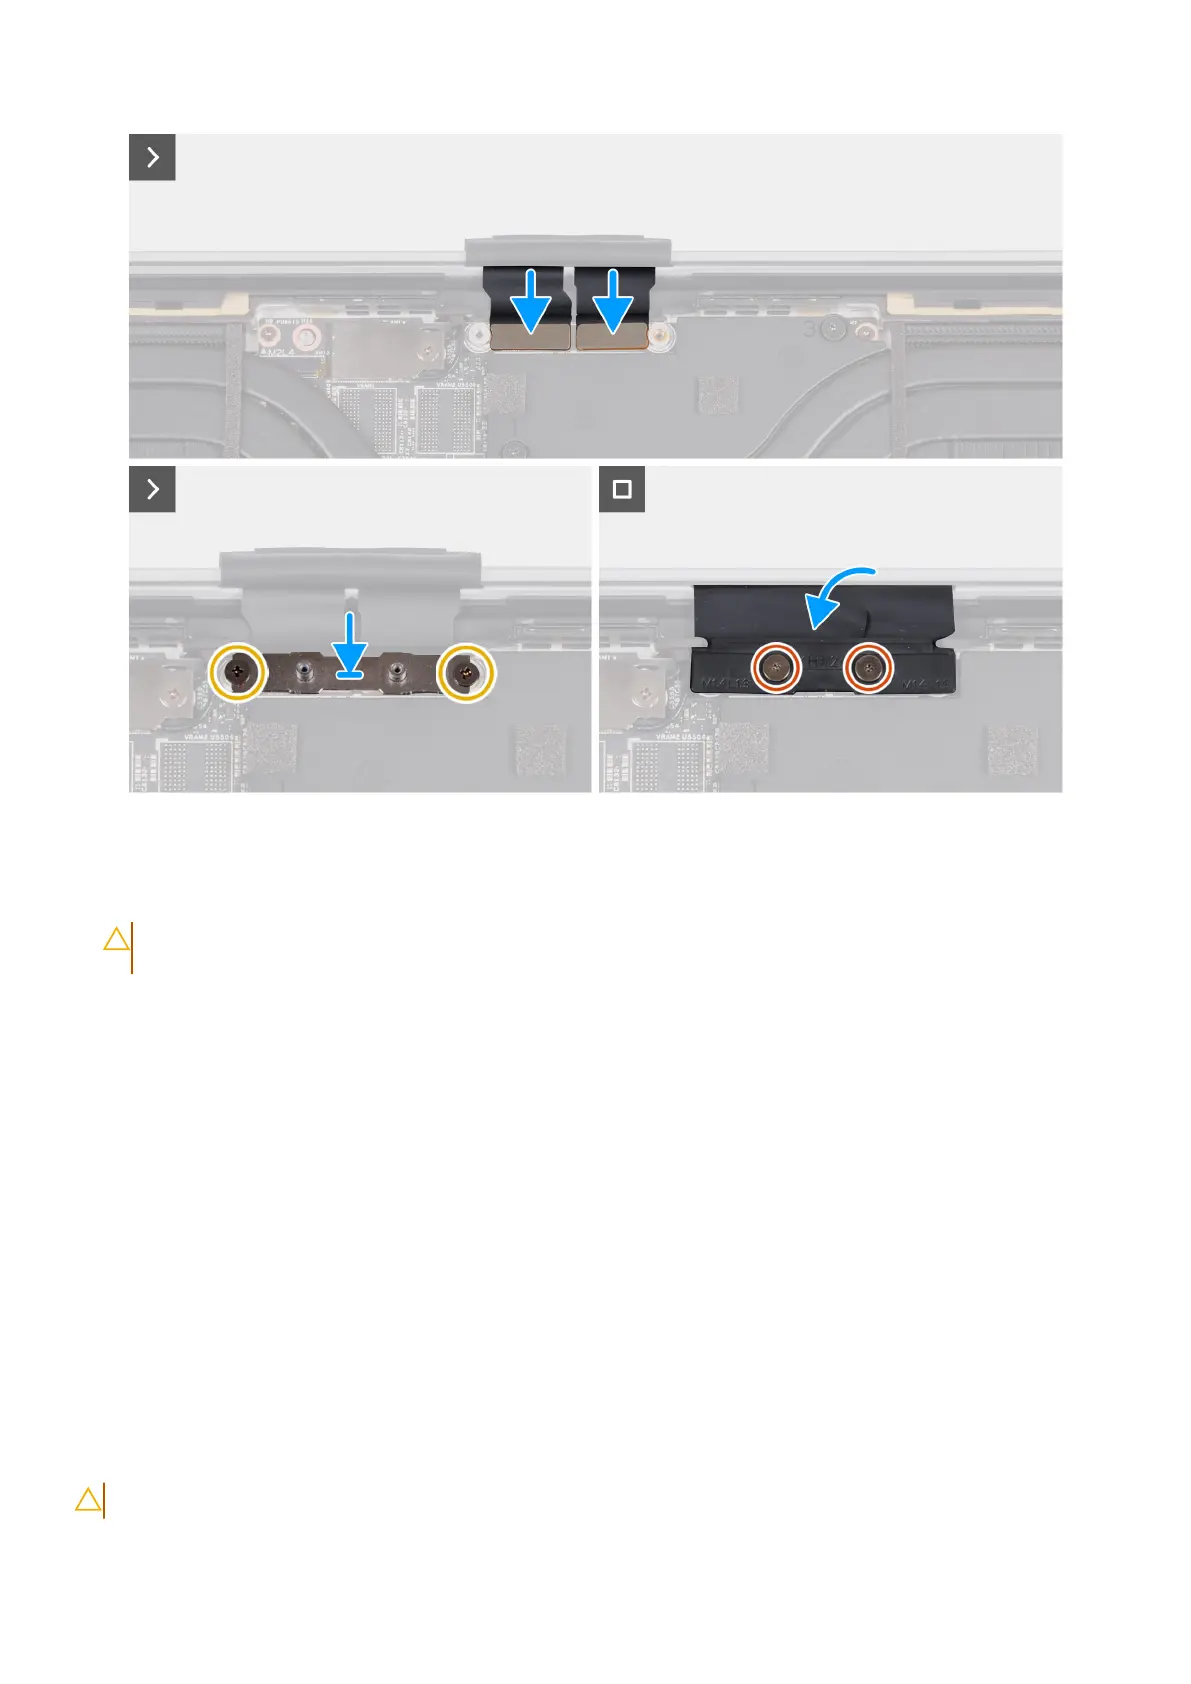
5. Align the screw holes on the display-cable connector bracket with the screw holes on the system board.
6. Replace the two screws (M2x3) that secure the display-cable connector bracket to the system board.
7. Replace the two screws (M1.4x1.3) that secure the display-cable cover to the display-cable connector bracket.
Next steps
1. Install the base cover.
2. Follow the procedure in After working inside your computer.
Type-C bracket
Removing the Type-C brackets
CAUTION: The information in this removal section is intended for authorized service technicians only.
Removing and installing Field Replaceable Units (FRUs) 63