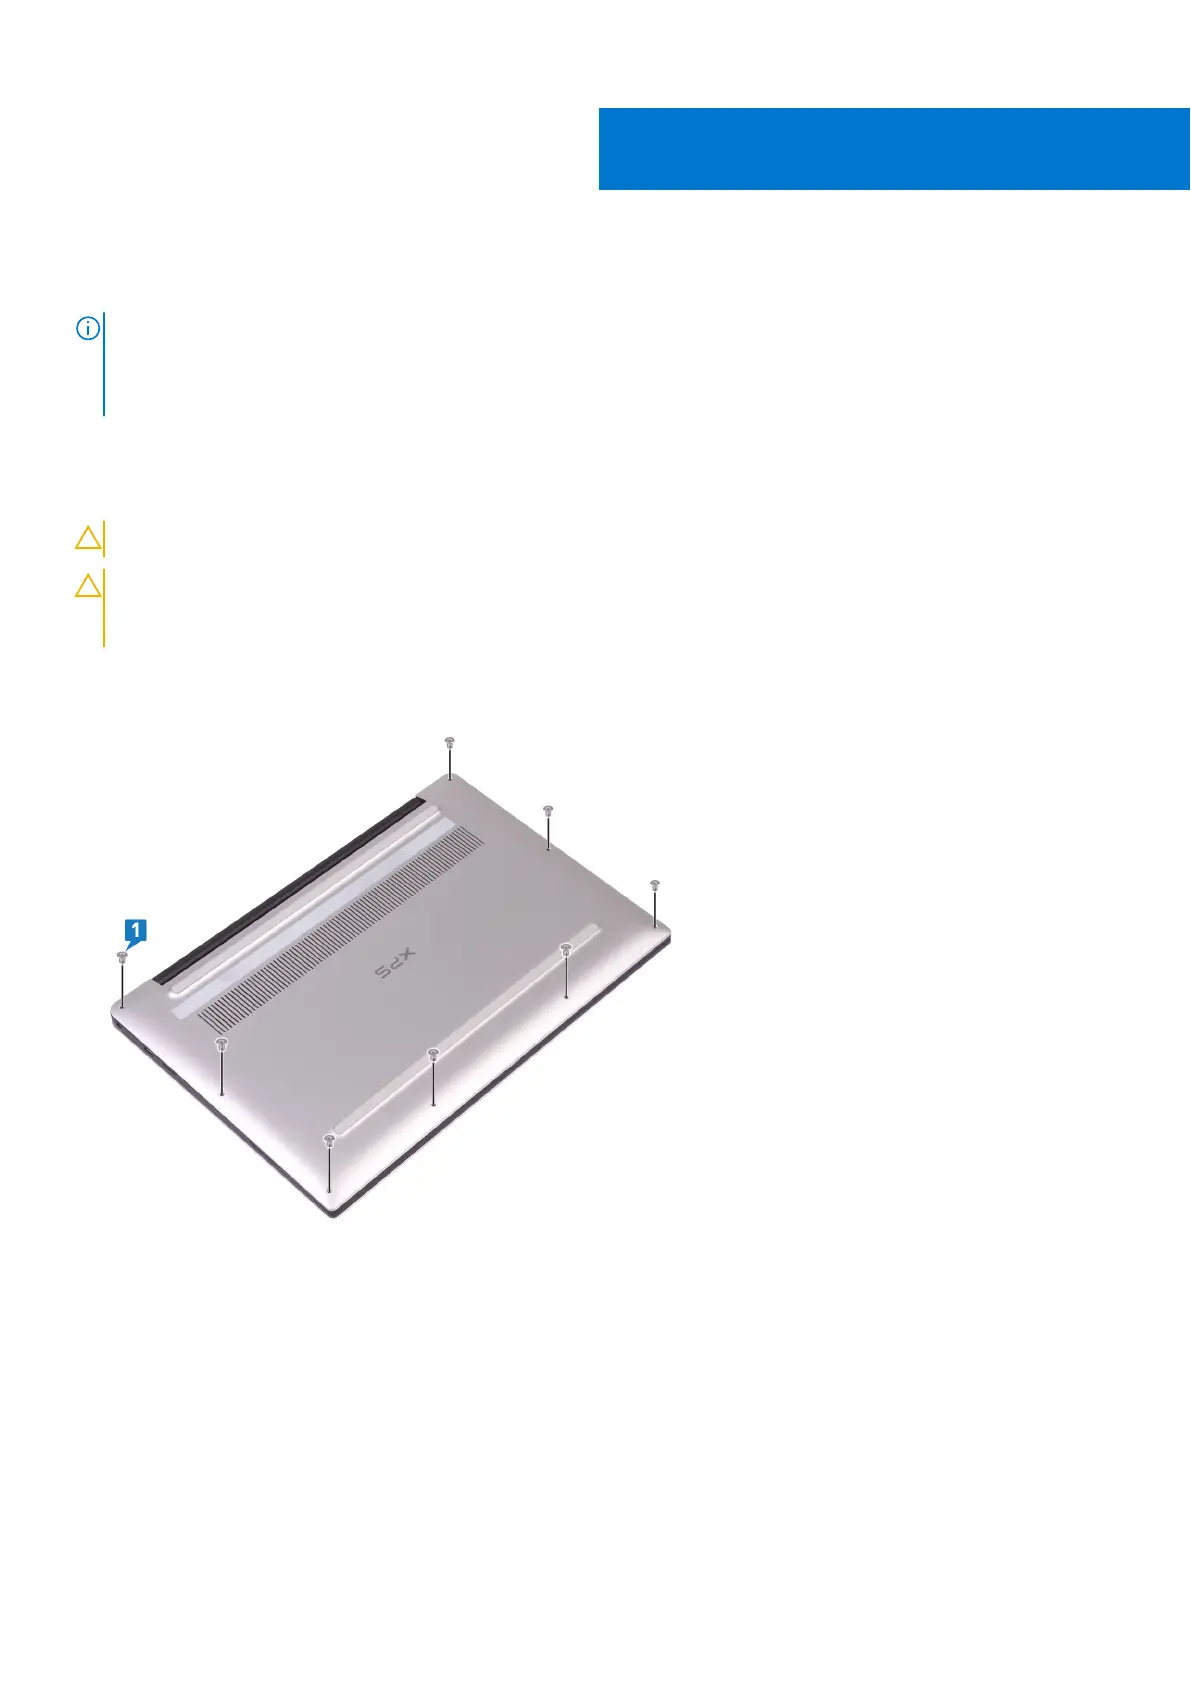
Removing the base cover
NOTE: Before working inside your computer, read the safety information that shipped with your computer and follow
the steps in Before working inside your computer. After working inside your computer, follow the instructions in After
working inside your computer. For more safety best practices, see the Regulatory Compliance home page at www.dell.com/
regulatory_compliance.
Procedure
CAUTION: To avoid causing damage to the computer, do not pry the base cover from the rear near the hinges.
CAUTION: Torx T5 screws can strip easily when removed, particularly if the screws were treated with thread-
locking adhesive. Ensure that the screwdriver bit is inserted firmly and seated straight into the screw head
when removing the screw.
1. Remove the eight screws (M2x3, Torx T5) that secure the base cover to the palm-rest assembly.
2. With the computer face-down, open the computer at an angle.
3. Using a plastic scribe, pry the base cover from the palm-rest assembly starting from the front left and right corner.
6
Removing the base cover 15