6. Remove the CPU fan.
7. Remove the display assembly.
8. Remove the I/O board.
9. Remove the power button with fingerprint reader.
10. Remove the power-adapter port.
11. Remove the system board.
NOTE: The system board can be removed along with the heat sink.
12. Remove the keyboard bracket.
About this task
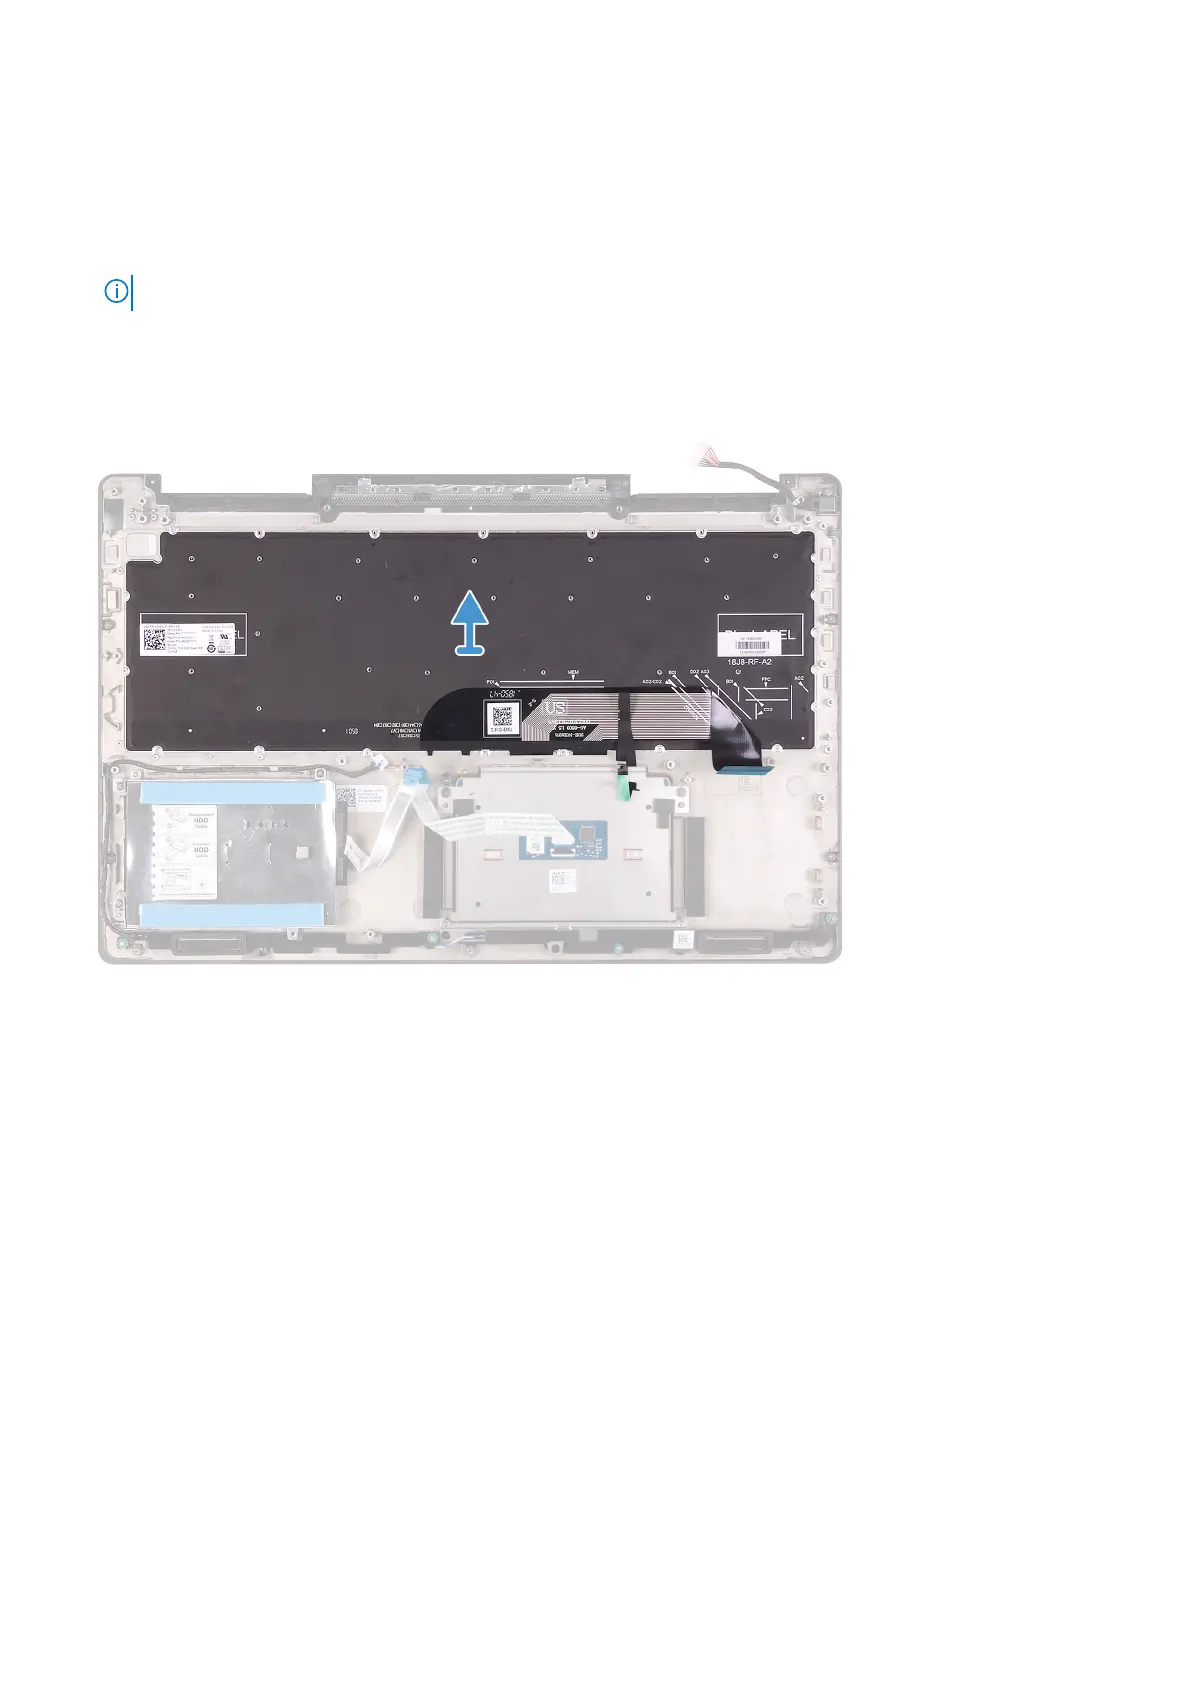
The figure indicates the location of the keyboard and provides a visual representation of the removal procedure.
Steps
After performing the steps in the pre-requisites, lift the keyboard, along with the cables, off the palm-rest assembly.
Installing the keyboard
Prerequisites
If you are replacing a component, remove the existing component before performing the installation procedure.
About this task
The figure indicates the location of the keyboard and provides a visual representation of the installation procedure.
62
Removing and installing components