Installing System Components 87
Front Bezel Inserts
Removing the Front Bezel Insert
NOTE: Before installing a drive in one or more of the front drive bays, first remove
the corresponding insert(s) on the front bezel.
NOTE: Bezel inserts may contain screws on the inside. You can attach the screws
to new drives, as needed.
1
Remove the front bezel. See "Removing the Front Bezel" on page 85.
2
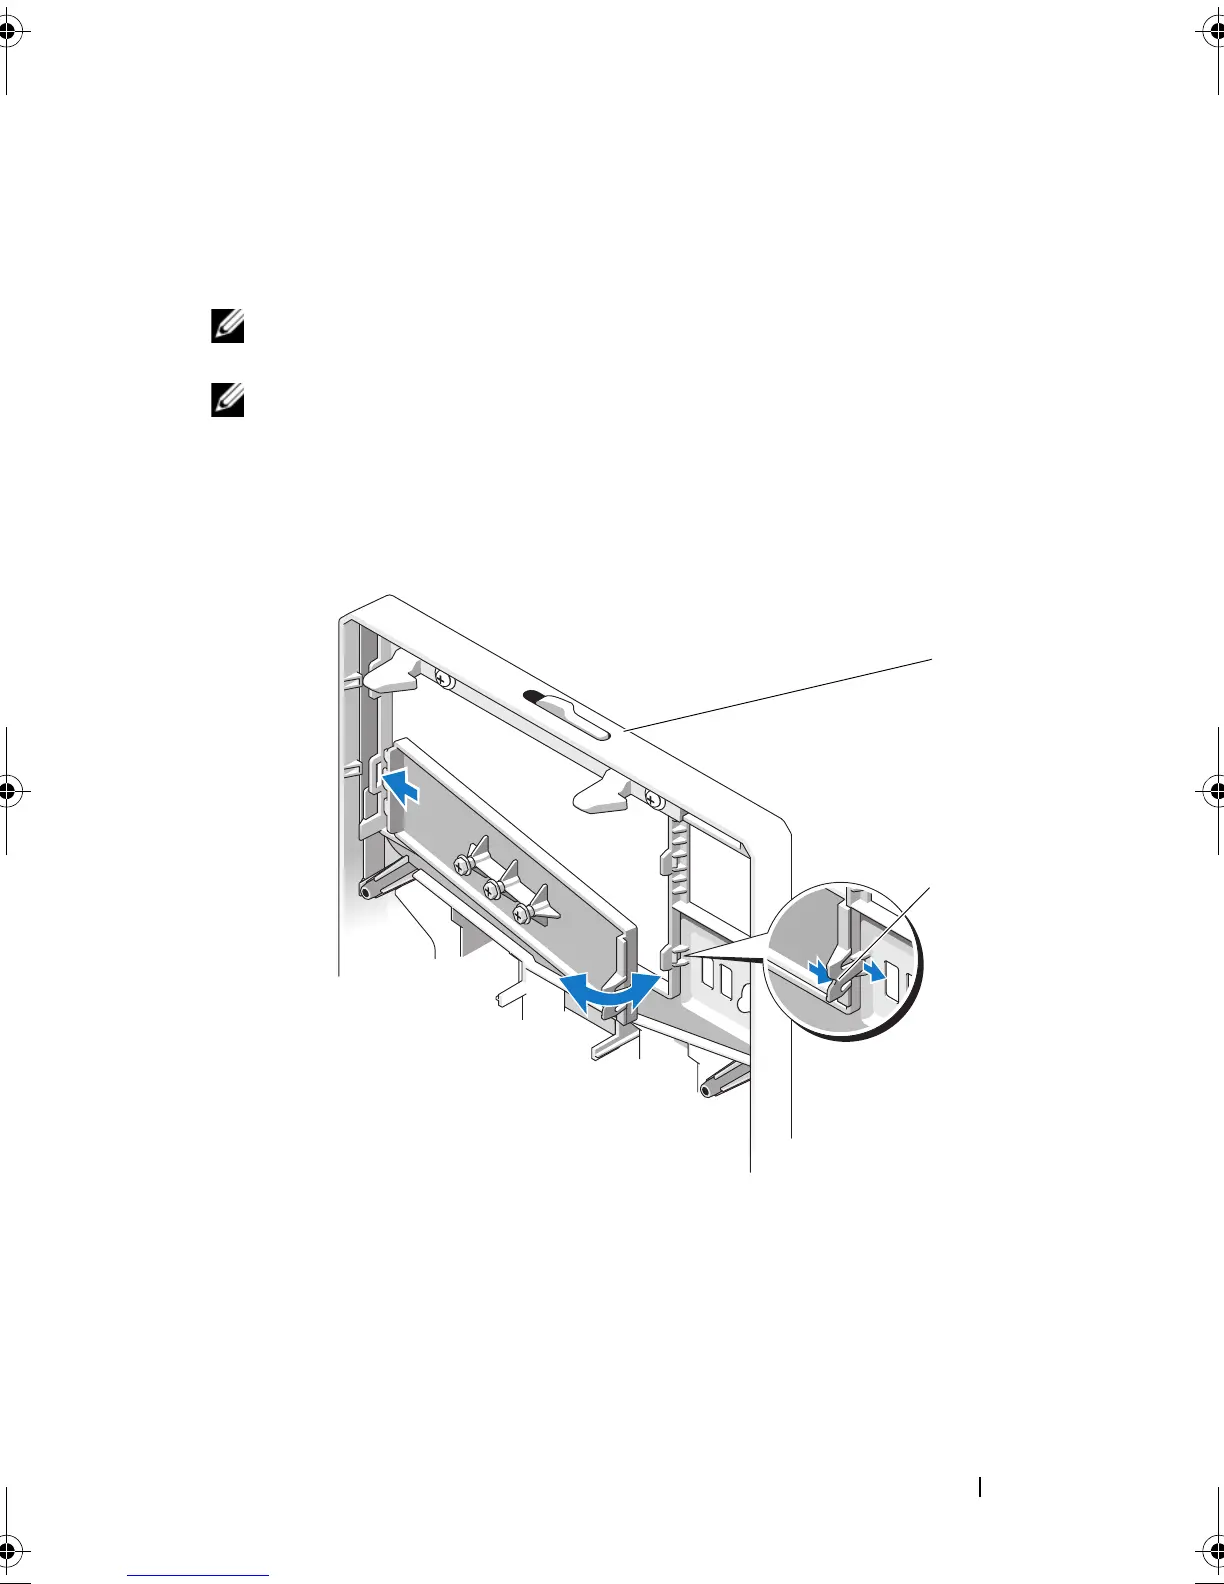
Press the insert tab and pull the insert away from the bezel. See Figure 3-3.
Figure 3-3. Removing and Installing the Front Bezel Insert
1 front bezel 2 insert tab
book.book Page 87 Tuesday, June 9, 2009 4:09 PM