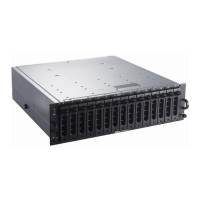
Installing the enclosure
This section describes how to install a new PowerVault MD2460 enclosure into a rack.
NOTE: Review the information in Safety precautions before handling parts.
Topics:
• Required tools
• Unpack the enclosure
• Install the rails onto the chassis
• Install the rails on the rack
• Install the enclosure into the rack
• Install the cable management arms (optional)
• Install the hard disk drives
• Install the front bezel (optional)
Required tools
The following tools are required to install a PowerVault MD2460 enclosure:
● Phillips #1 screwdriver
● ESD wrist strap, and other equipments to prevent ESD damage as described in ESD precautions.
Unpack the enclosure
Examine the packaging for crushes, cuts, water damage, or any other evidence of mishandling during transit. If you suspect that
damage has happened, photograph the package before opening for future reference. Retain the original packaging materials for
use with returns.
Open the package and ensure that all items on the packing list are present.
Take all items out of the package and check whether any item is in poor condition. If you find damage, contact Dell technical
support.
Install the rails onto the chassis
Remove the inner rails from the rail kit and install them on the chassis.
Steps
1. Pull the inner rails forward and remove it out from the rail kit.
3
12 Installing the enclosure
 Loading...