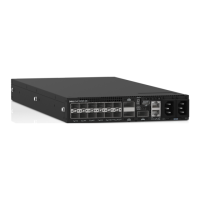
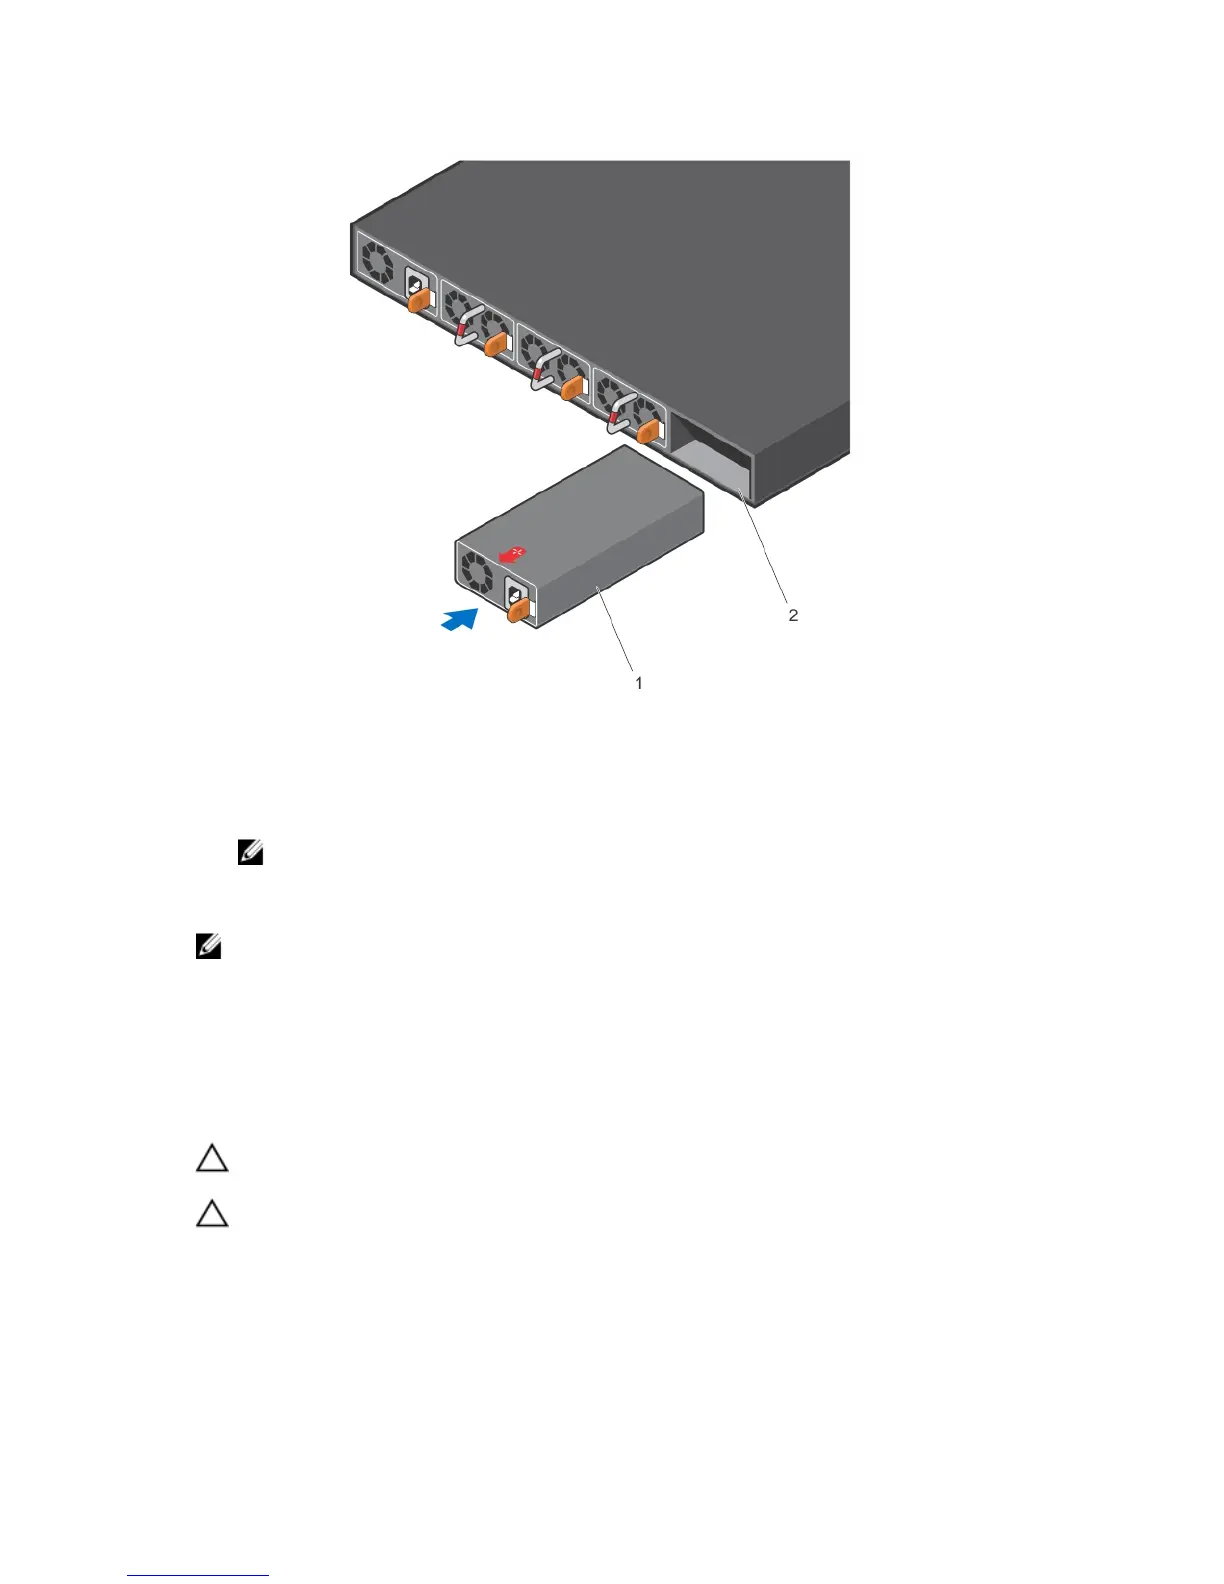
Figure 8. Install the AC Power Supply Unit
1. PSU 2. Switch slot
4. Attach the power cables from the switch PSU to the external power source.
NOTE: The system is powered-up as soon as you connect the power cord between the system
and the power source.
5. Repeat steps 1 through 3 for the second PSU.
NOTE: Ensure that the PSU is correctly installed. When you correctly install the PSU, the power
connector is on the left side of the PSU.
Installing a Fan Module
1. Remove the fan module from the shipping box.
2. Use the grab handle to slide the module into the switch fan slot.
CAUTION: DO NOT mix airflow directions. All fans must use the same airflow direction (I/O to
Utility or Utility to I/O).
CAUTION: Check the fans at six-month intervals and replace them as necessary. To accurately
determine replacement intervals, regularly monitor the speeds of the cooling fans.
Install the Hardware
13