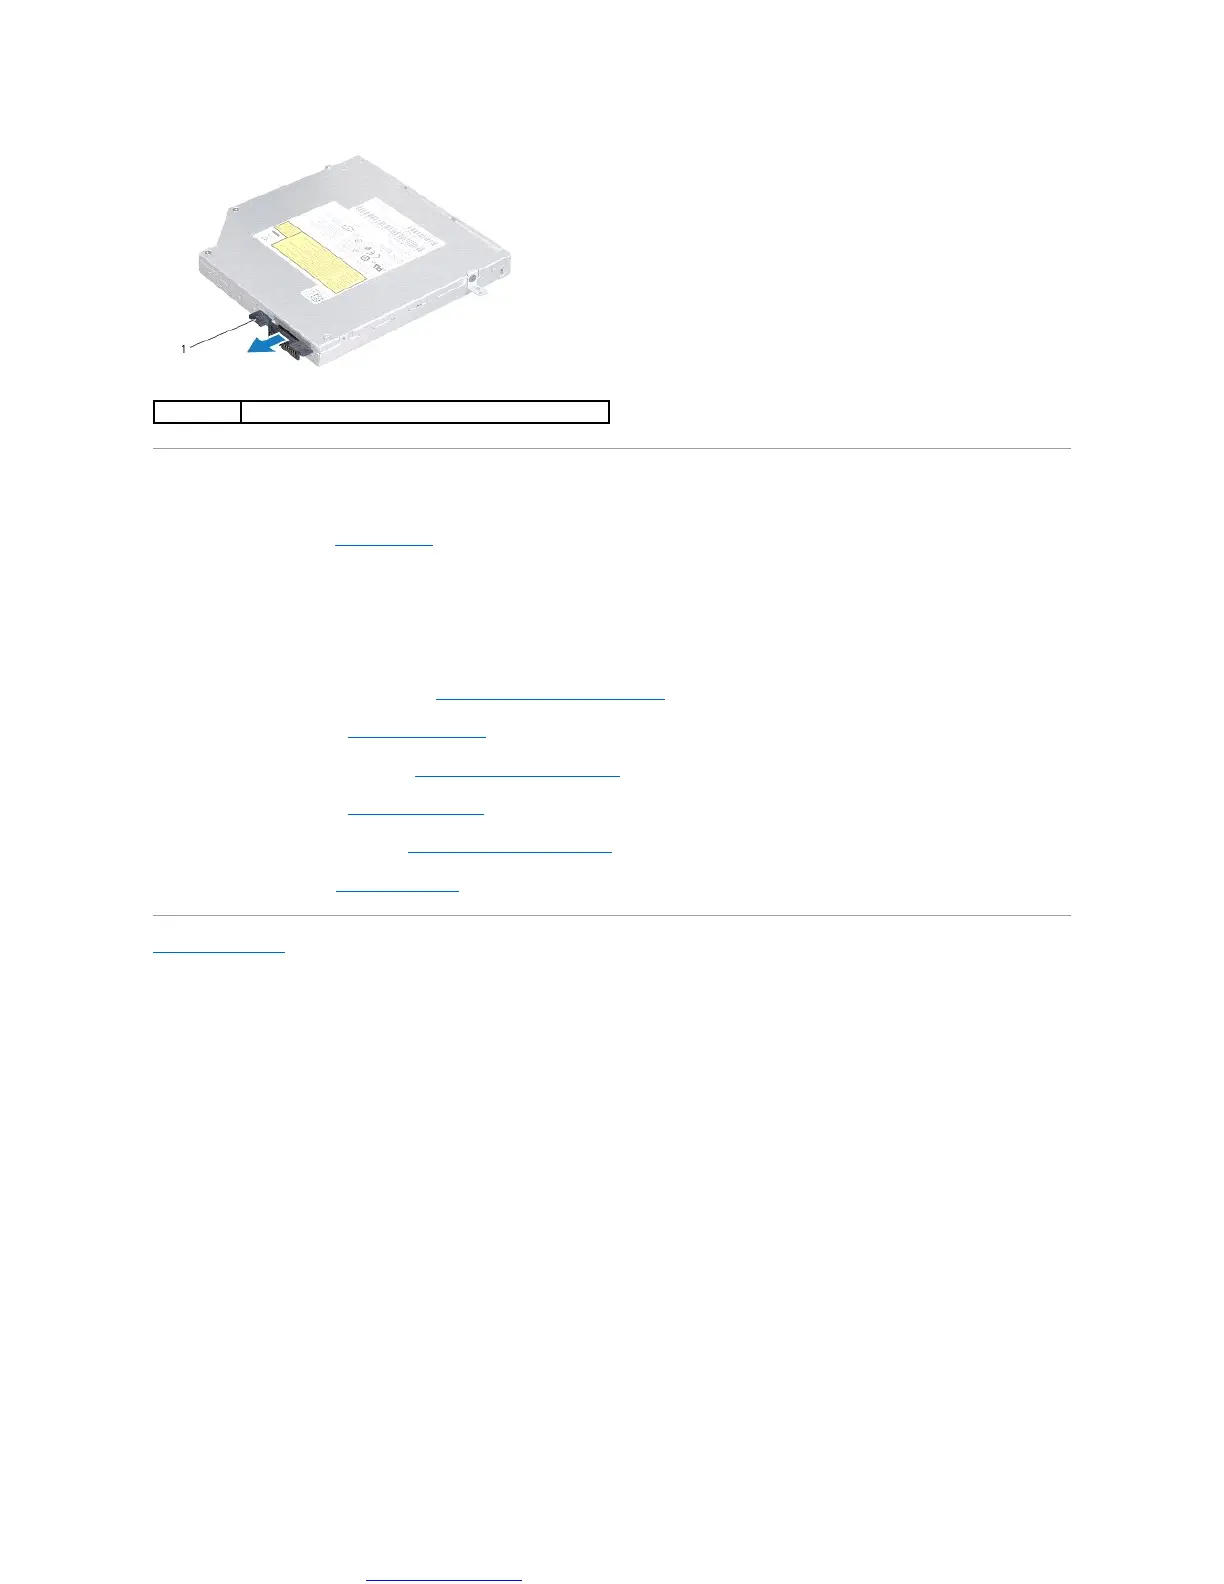
Replacing the Optical Drive
1. Follow the procedures in Before You Begin.
2. Connect the interposer to the optical drive.
3. Align the connector on the optical drive with the connector on the system board and press the optical drive until it is fully seated.
4. Replace the three screws that secure the optical drive to the computer base.
5. Replace the media card reader board (see Replacing the Media Card Reader Board).
6. Replace the palm rest (see Replacing the Palm Rest).
7. Replace the media controls board (see Replacing the Media Controls Board).
8. Replace the keyboard (see Replacing the Keyboard).
9. Replace the center control cover (see Replacing the Center Control Cover).
10. Replace the battery (see Replacing the Battery).
Back to Contents Page