EasyManuals Logo

Dell Z9100-ON Installation Guide

Dell Z9100-ON
45 pages
To Next Page IconTo Next Page
To Previous Page IconTo Previous Page
Page #17 background imageLoading...
Page #17 background image
Figure 6. GND lug assembly
1 Remove the two installed M3 screws from the lower-left side of your chassis.
NOTE: Keep these screws.
2 Remove the bracket assembly from the shipping bag.
3 Clean the bracket and lug surfaces thoroughly and apply an anti-oxidant solution to the mating surfaces.
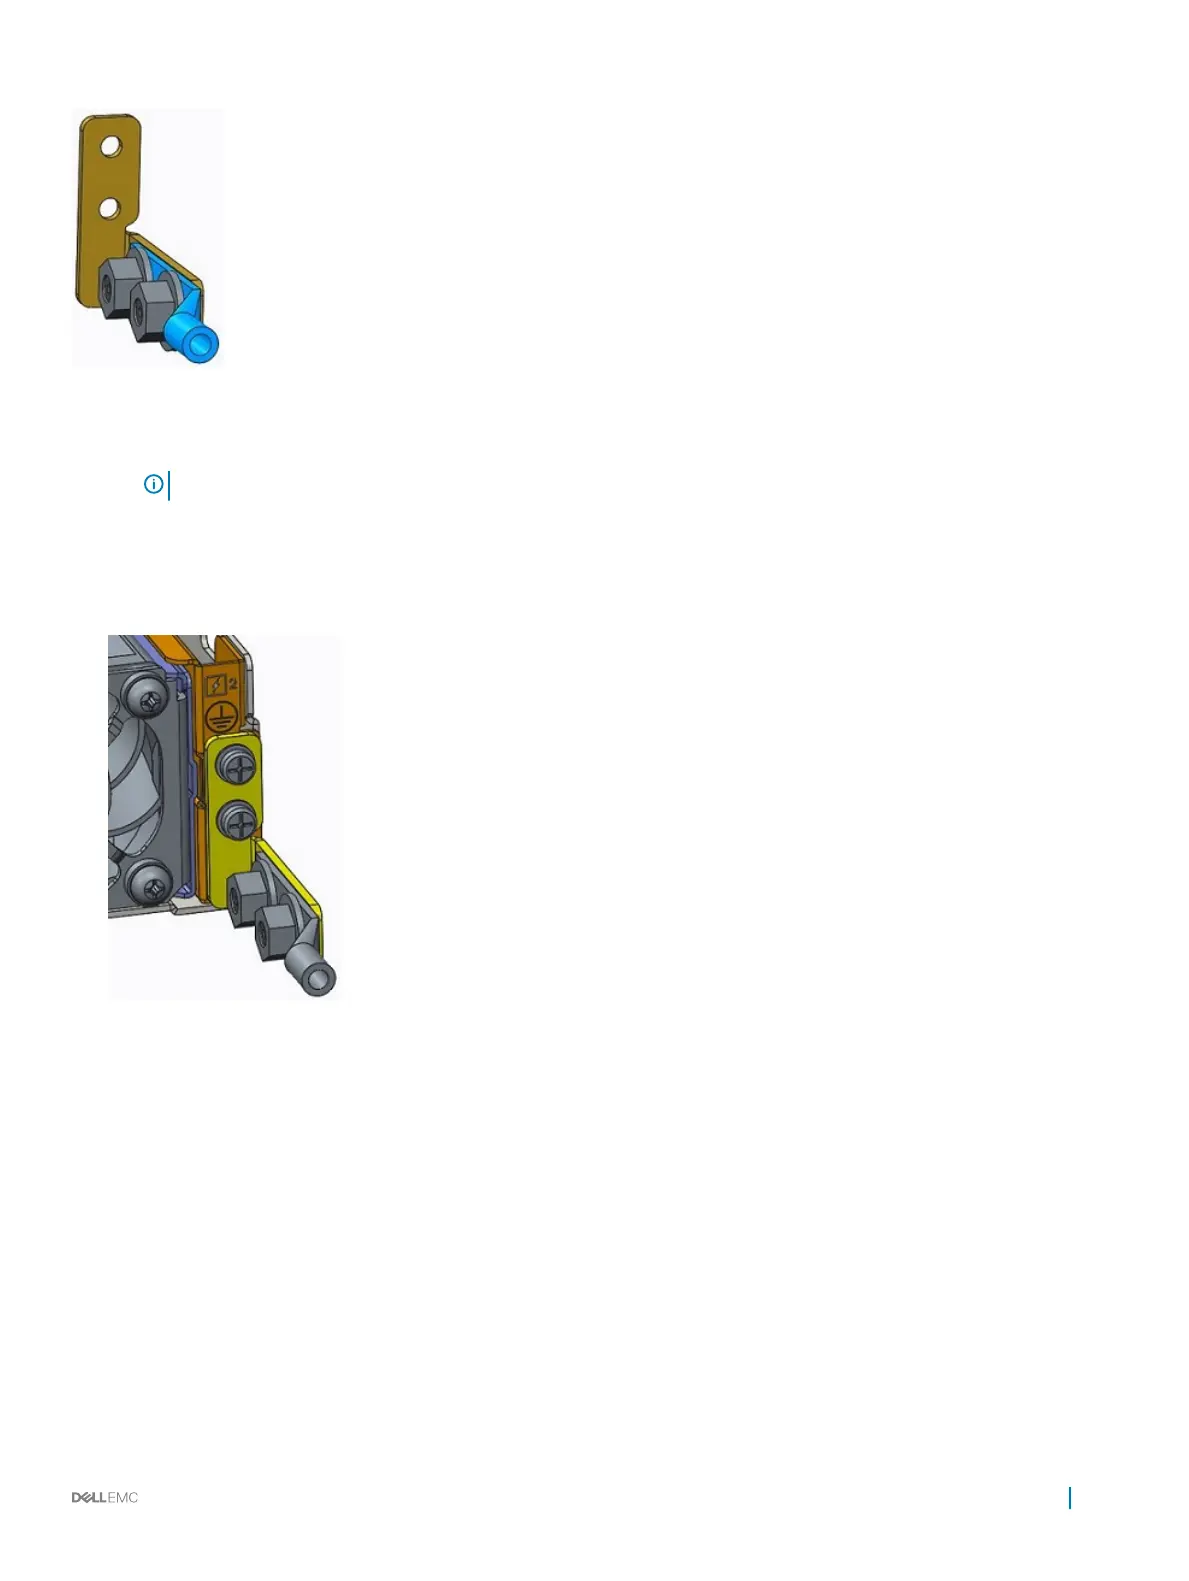
4 Using the two removed screws, attach the GND lug bracket assembly to your chassis, as shown.
Torque the M3 screws to ±4-5 in-lbs.
Figure 7. Attach the GND lug assembly
NEBS compliance
17

Table of Contents

Other manuals for Dell Z9100-ON

Questions and Answers:

Question and Answer IconNeed help?

Do you have a question about the Dell Z9100-ON and is the answer not in the manual?

Dell Z9100-ON Specifications

General IconGeneral
BrandDell
ModelZ9100-ON
CategorySwitch
LanguageEnglish

Related product manuals