5
Before using the appliance for the rst time, be
sure to read the safety warnings.
1. INTRODUCTION
Take a few minutes to read these Instructions for Use. This will
avoid all risks and damage to the appliance.
1.1 Letters in brackets
The letters in brackets refer to the description of the appliance
on pages 2- 3.
1.2 Troubleshooting and repairs
In the event of problems, rst try and resolve them by reading
the information given in sections “17. Messages shown on the
display” and “18. Troubleshooting”.
If this does not resolve the problem or further information is
required, consult the customer services department at the num-
bers indicated on the De’Longhi website.
If repairs are required, contact De’Longhi customer services only.
Addresses can be found on www.delonghi.com.
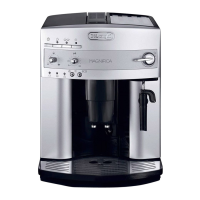
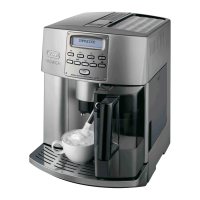
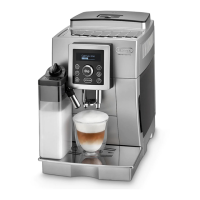
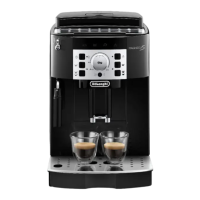
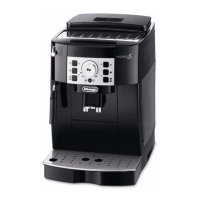
2. DESCRIPTION
2.1 Description of the appliance
(A)
A1. Bean container lid
A2. Coee grinder adjustment dial
A3. Pre-ground coee funnel ap
A4. Bean container
A5. Infuser ap
A6. Removable infuser
A7. Power cord
A8. Water tank lid
A9. Water tank
A10. Coee grounds container
A11. Cup tray
A12. Drip tray grille
A13. Drip tray water level indicator
A14. Drip tray
A15. Condensate tray
A16. Height-adjustable coee spout
A17. Accessories connector ap
A18. Cup shelf
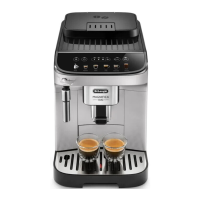
2.2 Description of control panel (B)
B1. ON/standby button
B2. “Coee” drinks menu with Leds
B3. “Milk” drinks menu with Leds
B4. Prole selection button
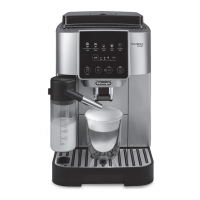
2.3 Description of homepage (main screen) (C)
C1. Selected prole
C2.
Filter spent indicator
C3.
Descaling required indicator
C4.
Milk carafe cleaning required indicator
C5.
Energy saving ON indicator
C6. Appliance settings menu
C7. Direct selection of drinks (*number and type dier accord-
ing to model)
C8. Drink settings customisation bar
2.4 Description of accessories (D) (**number and
type dier according to model)
D1. "Water Hardness Test" strip
D2. Pre-ground coee measure
D3. Descaler
D4. Water softener lter
D5. Hot water spout
2.5 Description of milk carafe (E)
E1. Milk carafe lid
E2. Milk container
E3. Froth adjustment/Clean dial
E4. Milk carafe connector (removable for cleaning)
E5. Milk spout (height-adjustable)
E6. Adjustable milk spout extension
E7. Milk intake tube (silicone)
3. OPERATING THE APPLIANCE FOR THE FIRST
TIME
Please note:
• When using the machine for the rst time, all components
that make contact with water or milk should be rinsed with
hot water. It is advisable to wash the milk carafe (E) in the
dishwasher (see section “13.11 Cleaning the milk carafe
(E)”).
• Any traces of coee that may be found in the grinder are
left by the factory tests carried out on the machine before
it goes on sale — evidence of the meticulous care we have
for the product.
• The rst time the machine is used, the water circuit will
be empty and operation could be very noisy. The noise be-
comes less as the circuit lls.
1. Connect the appliance to the mains supply (g. 1).
 Loading...