11
Installation guide for solar inverters RPI M6A M8A M10A EU V5 EN 2022-08-15
4. Screw the inverter to the mounting plate using 1 M4
mounting screw, spring washer and washer. The
mounting screws are included in the scope of delivery.
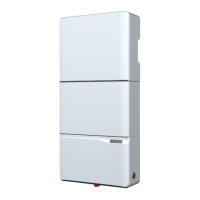
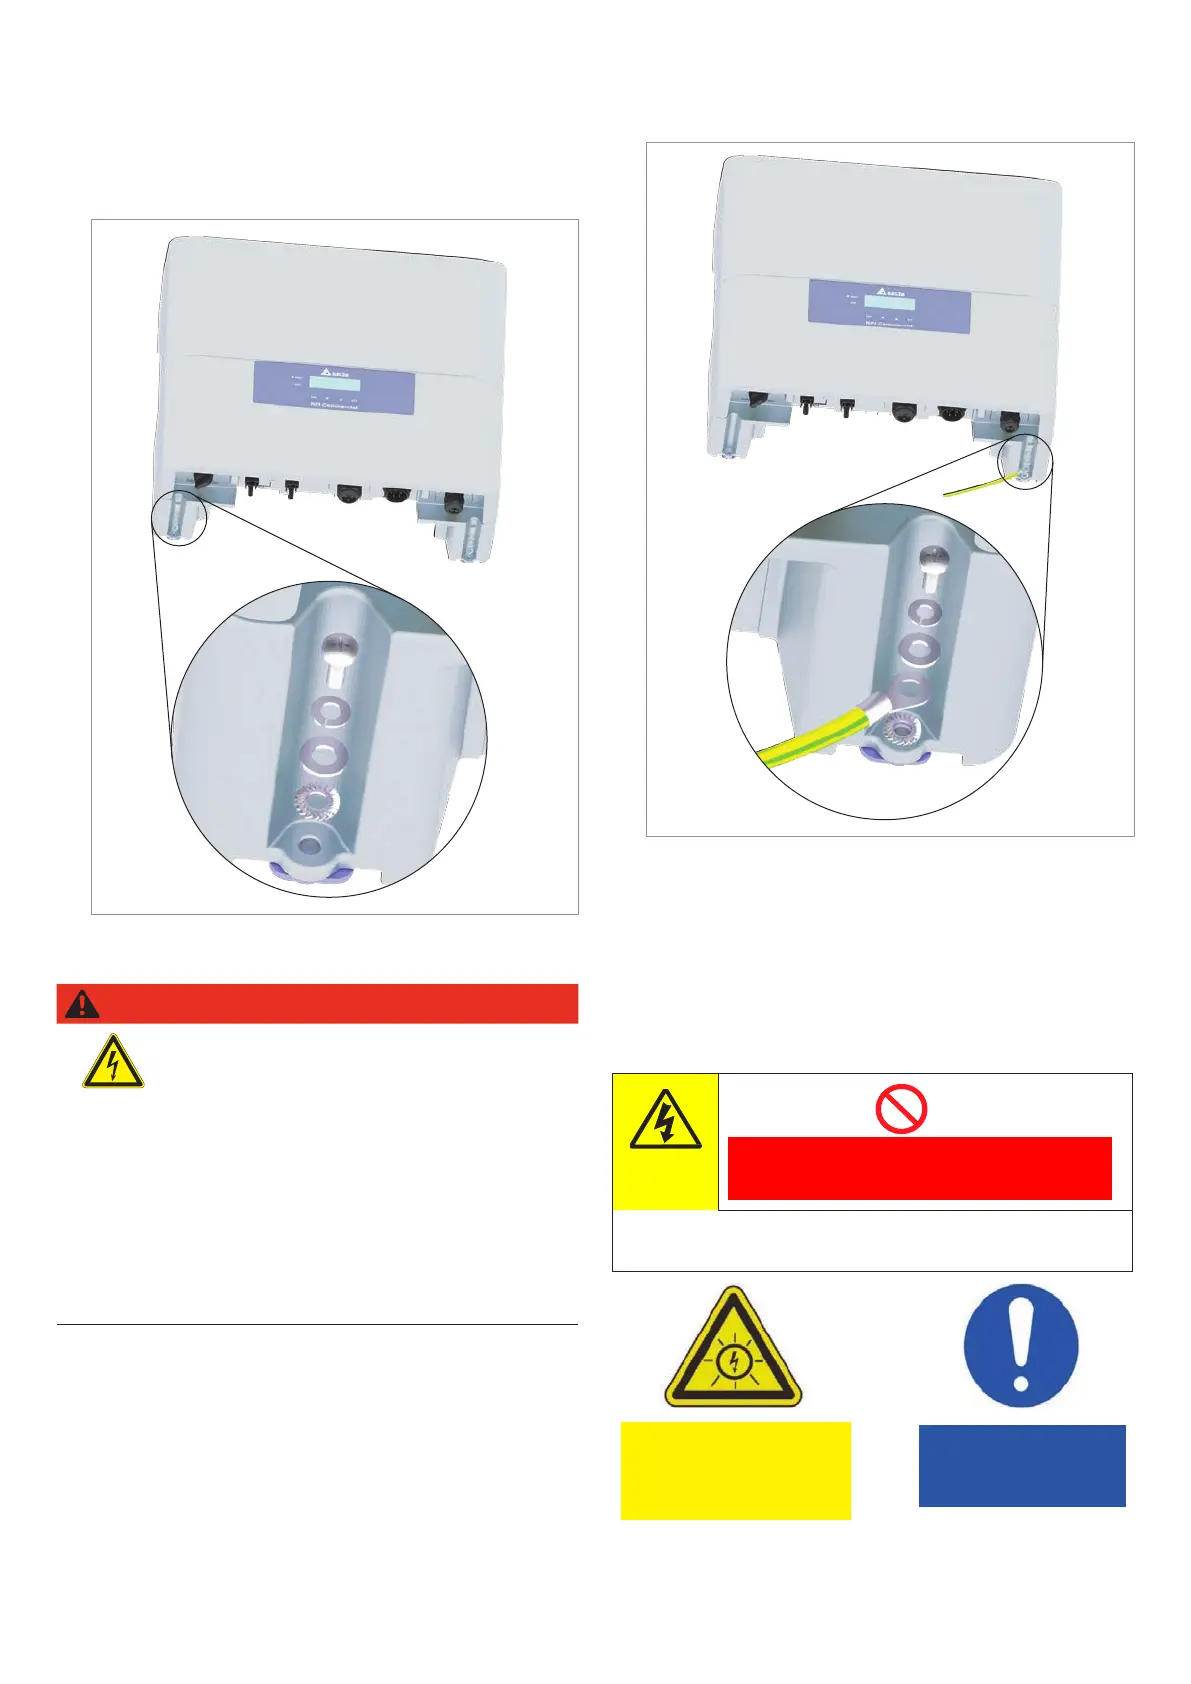
Grounding the inverter housing
WARNING
High current
► Always comply with local regulations re-
lating to grounding cable requirements.
► To increase the safety of the system, al-
ways ground the inverter housing even
when this is not required by the local
regulations.
► Always ground the inverter housing be-
fore connecting the inverter to the grid
and solar modules.
► The cable cross-section must be at
least 6 mm
2
.
5. Attach the grounding cable to the right-hand side and
screw the inverter to the mounting plate.
1 Lock washer
2 Grounding cable with cable lug
3 Washer
4 Spring washer
5 M4 Screw
1
5
4
3
2
6. Perform a continuity check of the grounding conne-
ction. If there is no sucient conductive connection,
scratch away the paint from the inverter housing under
the toothed lock washer to achieve a better electrical
contact.
Attaching warning notices to the inverter
► Attach all necessary warning notices to the inverter.
Always follow the local regulations.
Do not work on this equipment until it is located
from both mains and on site generation supplies.
WARNING
Dual supply
Isolate on-site Generation Unit(s) at ____________________________________
Isolate mains supply at _____________________________________________
Warning - Only persons authorized by DNO may remove the main cut out fuse
Warning
Two voltage sources
- Distribution network
- PV modules
Prior to any work, disconnect
both sources
Installing the inverter
 Loading...