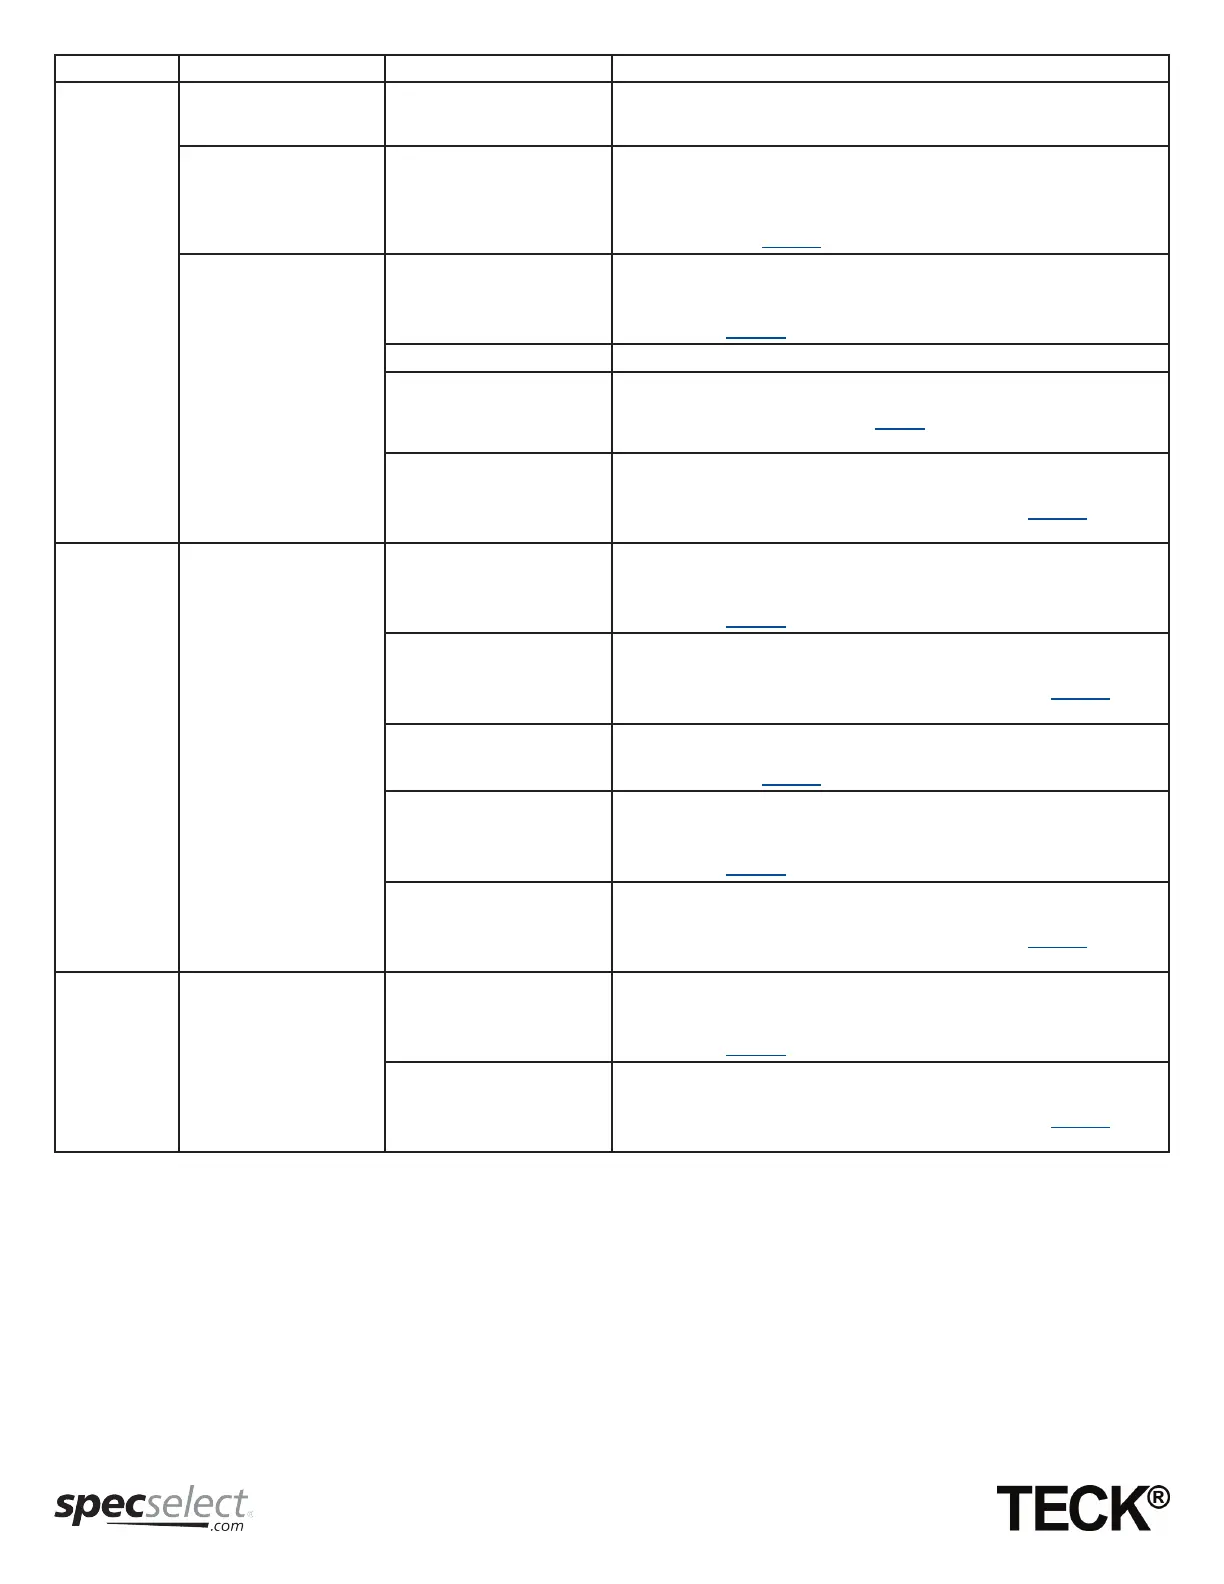
Problem Indicator Cause Solution
Valve will not
flush
Flushometer has been
serviced and DOES NOT
operate
Re-assembled incorrectly. Check that the Cap/Solenoid Assembly has been put on the body properly.
The Regulating Screw should always be on the same side as the inlet stop.
Lights operate as expected
but valve will not flush
Solenoid not connected to
controller or damaged.
1. Verify wiring is connected correctly.
The solenoid is connected black to
black, red to red with the
electronic compartment
.
2. Replace cap/solenoid & regulating screw assembly if required.
See section “Cap/Solenoid & Regulating Screw Assembly Maintenance
(see Figure 18)” on page 21 for instructions.
Valve will flush but shuts
off immediately when
activated
Diaphragm may be dirty or
damaged.
1. Check for damage and alignment of the diaphragm.
2. Replace Diaphragm/Guide Assembly if required.
See section “Diaphragm/Guide Assembly and Seat Maintenance (see
Figure 19)” on page 22 for instructions.
Water supply is turned off. Verify water supply is turned on.
The Regulating Screw may
require adjustment.
Adjust by slowly turning the regulating screw RIGHT (clockwise) (except on
models that have a fixed volume). See section “Flush Volume Adjustment/
Réglage Du Volume De Chasse” on page 7 for detail on adjusting.
Inlet filter may be partially or
completely obstructed.
1. Clean or replace inlet filter
2. Replace inlet filter if required.
See section “Inlet Filter Maintenance (see Figure 16)” on page 19 for
instructions.
Slight water
leak into fixture
Water running into fixture
when flushometer not
activated.
Diaphragm may be dirty or
damaged.
1. Check for damage and alignment of the diaphragm.
2. Replace Diaphragm/Guide Assembly f required.
See section “Diaphragm/Guide Assembly and Seat Maintenance (see
Figure 19)” on page 22 for instructions.
MMO Button may be worn or
obstructed.
1. Clean MMO button assembly.
2. Replace MMO button assembly if required.
See section “MMO Button Maintenance (see Figure 20)” on page 23 for
instructions.
Solenoid damaged. 1. Replace cap/solenoid & regulating screw assembly if required.
See section “Cap/Solenoid & Regulating Screw Assembly Maintenance
(see Figure 18)” on page 21 for instructions.
Diaphragm caught on seat. 1. Check for damage and alignment of the diaphragm.
2. Replace Diaphragm/Guide Assembly if required.
See section “Diaphragm/Guide Assembly and Seat Maintenance (see
Figure 19)” on page 22 for instructions.
Inlet filter may be partially or
completely obstructed.
1. Clean or replace inlet filter.
2. Replace inlet filter if required.
See section “Inlet Filter Maintenance (see Figure 16)” on page 19 for
instructions.
MMO button
not operating
No water flowing from the
flushometer.
Diaphragm not installed
correctly.
1. Check for damage and alignment of the diaphragm.
2. Replace Diaphragm/Guide Assembly f required.
See section “Diaphragm/Guide Assembly and Seat Maintenance (see
Figure 19)” on page 22 for instructions.
MMO button obstructed or
damaged.
1. Clean MMO button assembly.
2. Replace MMO button assembly if required..
See section “MMO Button Maintenance (see Figure 20)” on page 23 for
instructions.
Page - 16 of 25
213631, Rev. A
 Loading...