DAEnetIP2 v2 User Manual
21 Apr 2020
11. Appendix 2. DAEnetIP2 v2 installation
Note these steps are for power on only DAEnetIP2 v2. For installation DAEnetIP2 v2 + relay
board (kit), first you must do the steps from Appendix 3 and then do the steps from point 11.1 or
point 11.2.
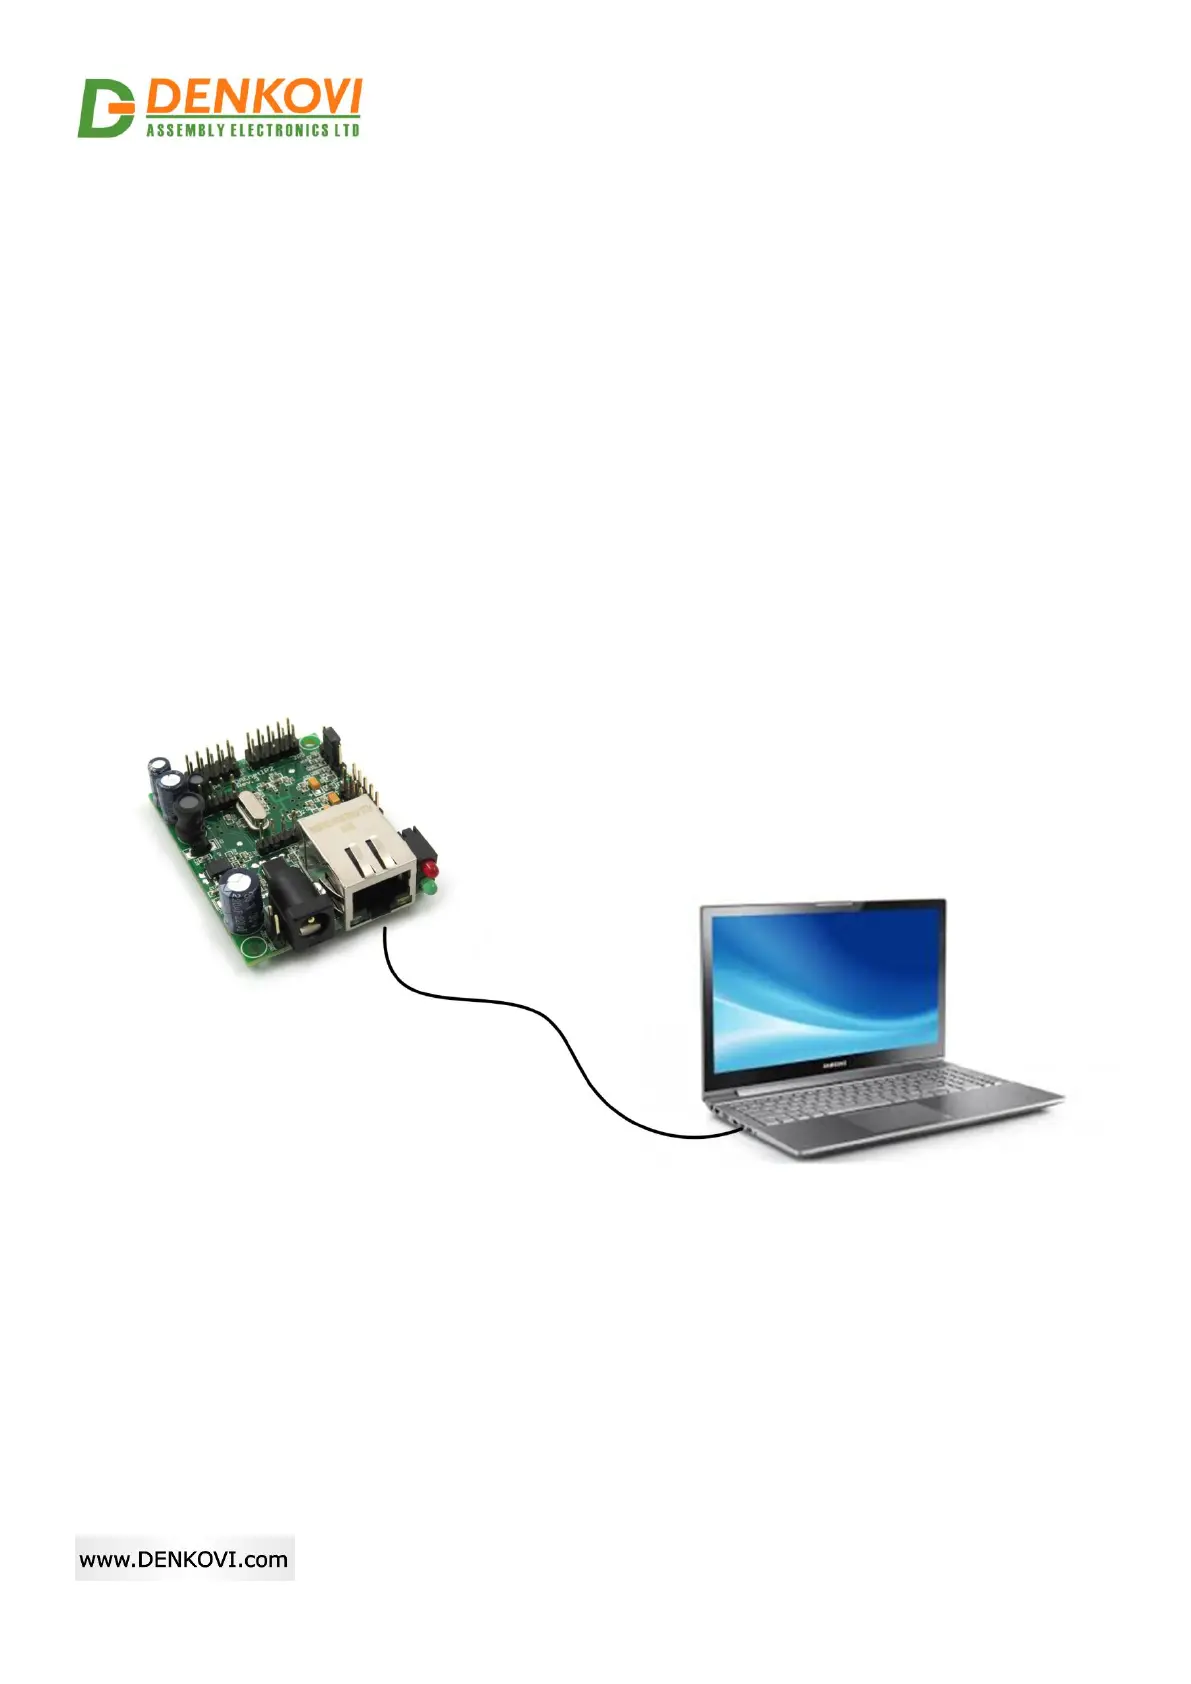
11.1. Connect DAEnetIP2 v2 to computer for first time
Connect the DAEnetIP2 v2 device with your computer via UTP crossover cable. (note that
the device does not support AUTO MDIX)
Supply with voltage in the allowed range. For example - 12VDC stabilized filtered power
source.
Your initial computer IP should be in the device network. So it may be 192.168.1.2. Change
it.
Open web browser and type 192.168.1.100 – default username/password are
“admin”/”admin”
Now you can access all the parameters via your web browser
Figure 11.1. DAEnetIP2 v2 connected directly to computer