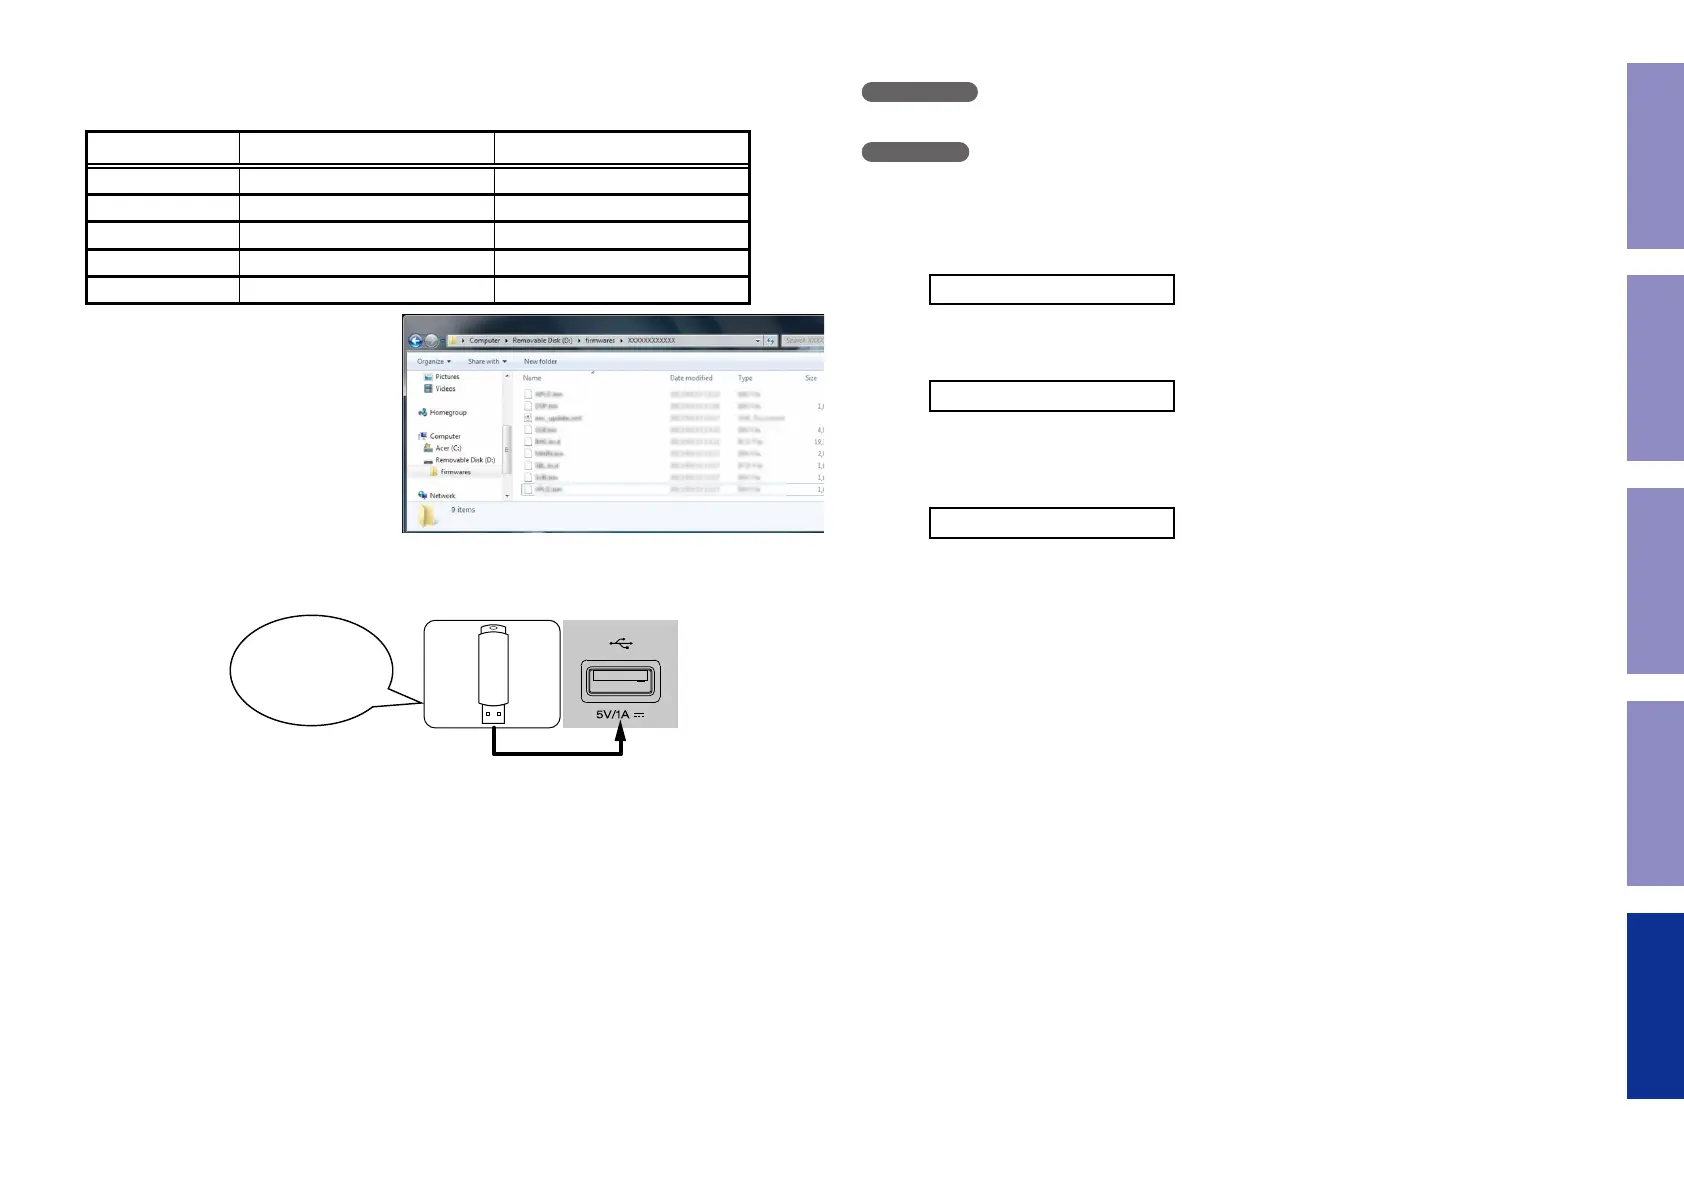
2.3. File structure on USB Memory
Copy the update les to the USB memory with the following structure.
USB memory root
Model Name Model Area Product ID
AVR-X1300WE3 North America (E3) 000100900100
AVR-X1300WE2 Europe (E2) 000100900200
AVR-X1300WJP Japan (JP) 000100900400
AVR-X1300WE1C China (E1C) 000100900500
AVR-S720W North America (E3) 000100900700
+ rmwares
+ 000100XXXXXX
+ APLD.bin
+ DSP.bin
+ enc_update.xml
+ GUI.bin
+ IMG.bcd
+ MAIN.bin
+ SBL.bcd
2.4. Insert the USB memory into the USB port.
NOTE : Remove the LAN cable from this unit when performing updates.
Download firmware
in USB flash drive.
2.5. Start the update.
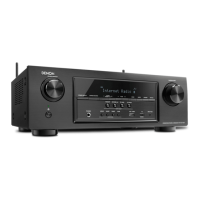
AVR-X1300W
· While holding down buttons "
TUNER PRESET CH +
" and "
STATUS
" simultaneously, press the
power button to turn on the power.
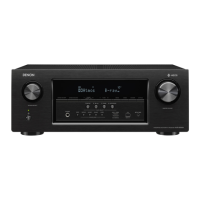
AVR-S720W
· While holding down buttons "
ZONE2 SOURCE
" and "
TUNE +
" simultaneously, press the power but-
ton to turn on the power.
2.6. Display during USB update
After around half minutes, display shows the following message.
USB Update Start
2.7. Press the "ENTER" key on the remote control unit or this unit.
Then start Firmware Update.
UpdateFileCheck
2.8. The rmware update nishes.
When the update is completed, the following message appears on the display, then the unit returns to
the normal status.
UpdatingComplete
---Cautions on Firmware Update---
• Never remove the USB memory before the update is nished.
• Do not turn off the power until updating is completed.
• It takes around 1 hour to complete the update.
Once an update is started, normal operations cannot be performed until it is completed.
The GUI menu settings and image adjustment settings of this unit may be initialized.
Note down the settings before updating, and set them again after updating.
133
Caution in
servicing
Electrical Mechanical Repair Information Updating
 Loading...