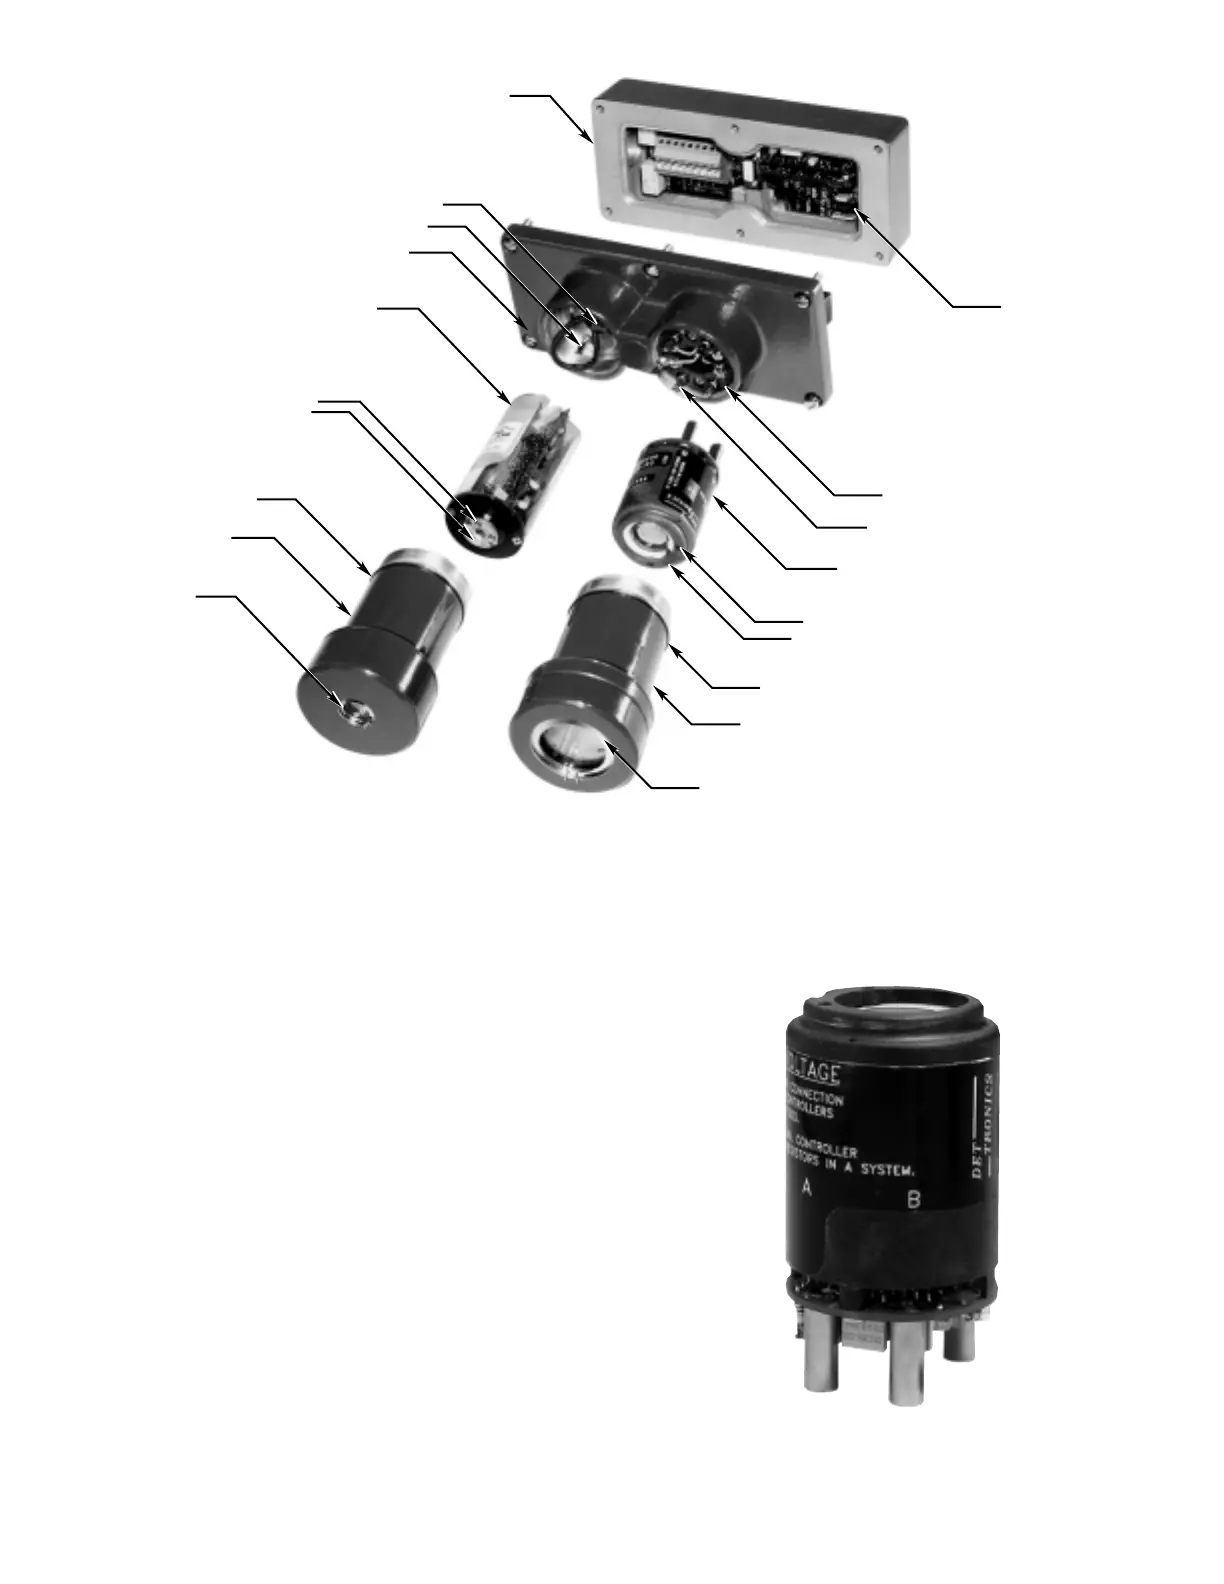
14
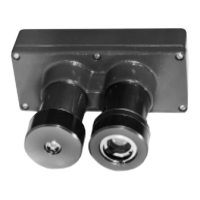
• For the IR module, thread the wire leads and
keyed connector plug through the slotted open-
ing on the side of the IR module. Plug the IR
module intor the two banana plugs inside the
junction box cover (Figure 17). Connect the
keyed plug to the 4-pin connector on the IR
module. Tuck the leadwires inside the module
to prevent binding or wire damage.
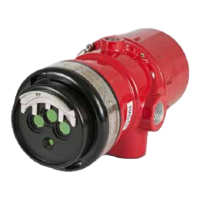
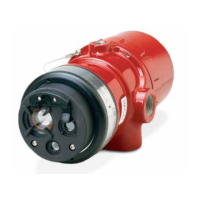
6. Ensure that the O-rings at the base of the sensor
housing are positioned correctly and are in good
condition. (Refer to the “Maintenance” section for
complete information regarding care of O-rings.)
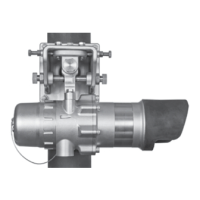
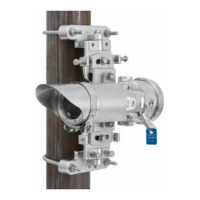
7. Re-install the sensor housing. Hand tighten the
sensor housing into the base until the O-ring is
fully seated.
8. Re-install the cover locking device (if used).
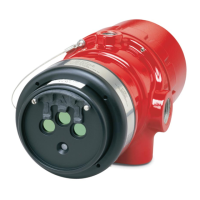
9. Inspect the viewing windows and o
i
rings and
clean if necessary. Also check the position of the
o
i
rings (refer to Figure 2).
10. Perform the “Startup and Checkout Procedure
(Manual o
i
Test)” as described in this manual
before returning the system to normal operation.