ENGLISH
9
OPERATION
WARNING: To reduce the risk of serious personal
injury, turn unit off and remove the battery pack
before making any adjustments or removing/
installing attachments or accessories. An
accidental start‑up can causeinjury.
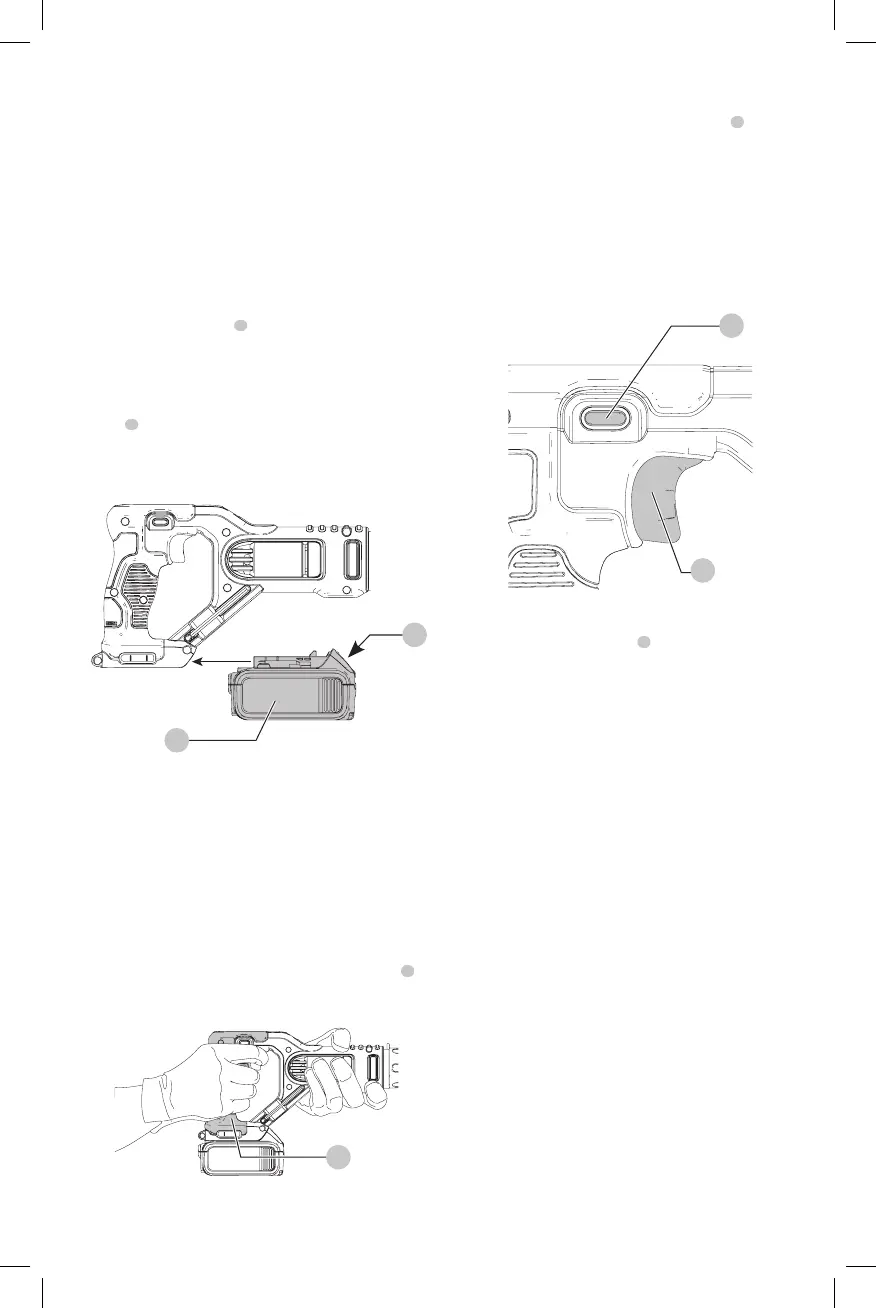
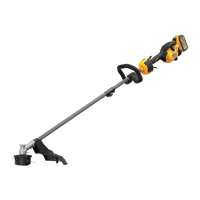
Installing and Removing the Battery Pack
(Fig. F)
NOTE: For best results, make sure your battery pack is
fullycharged.
To install the battery pack
4
into the tool handle, align the
battery pack with the rails inside the tool’s handle and slide
it into the handle until the battery pack is firmly seated in
the tool and ensure that it does notdisengage.
To remove the battery pack from the tool, press the release
button
5
and firmly pull the battery pack out of the tool
handle. Insert it into the charger as described in the charger
section of thismanual.
Fig. F
5
4
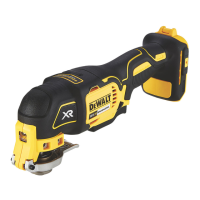
Proper Hand Position (Fig. G)
WARNING: To reduce the risk of serious personal injury,
ALWAYS use proper hand position as shown.
WARNING: To reduce the risk of serious personal
injury, ALWAYS hold securely in anticipation of a
suddenreaction.
WARNING: Cut Hazard. NEVER have any part of
your body near the blades. Serious personal injury
mayoccur.
Proper hand position requires one hand on the handle
6
and one hand on the tool body.
Fig. G
6
Variable Speed Switch (Fig. H)
To turn the tool ON, squeeze the trigger switch
1
. To turn
the tool OFF release thetrigger.
Your tool is equipped with a variable speed switch which
enables you to select the best speed for a particular
application. The farther you squeeze the trigger, the faster
the tool will operate. Use lower speeds for cutting tight
curves or following precise guideline. Higher speeds
are better for gradual curves and straight line cuts. For
maximum tool life, use lower speeds only for short periods
oftime.
7
1
Fig. H
On/Lock‑Off Control Button (Fig. H)
An On/Lock‑Off control button
7
serves as a lock‑off
button. To select the ON position, release the trigger switch
and depress the control button on the right side of the tool,
as shown in FigureH. To select Locked/OFF, depress the
control button on the left side of the tool. When changing
the position of the control button, be sure the trigger
isreleased.
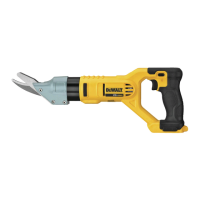
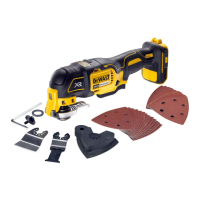
Shearing (Fig. I)
CAUTION: Risk of personal injury or damage
to the tool. Do not use the shear with any kind of
accessory orattachment.
• For accurate work, always clamp or anchor the material
to becut.
• Line up one edge of the tool’s middle blade with the
cutting line and advance blades into the material
without forced effort or unnecessarypressure.
• A little practice will enable you to determine what
forward pressure gives you the smoothestcutting.
• It is important to keep the lower surfaces of the side
blades flat on the material being cut (Fig.I).
• When cutting curves, do not tilt the tool; keep the side
blades flat and level. For best cutting efficiency, keep
bladessharp.