ENGLISH
10
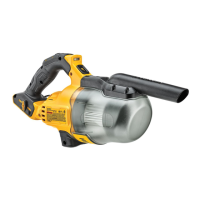
Automatic Filter Cleaning System
This dust extractor has a highly effective filter cleaning
system which minimizes filter clogging. Every 20 seconds,
both filters gets automatically cleaned. The cleaning process
alternates between the filters and continues through the life
of theunit.
NOTE: It is normal to hear a clicking sound during
thisprocess.
NOTE: After extended operation, the automatic filter
cleaning system may not be effective. When this happens,
the tank should be emptied and the filters may need to be
cleaned or replaced.
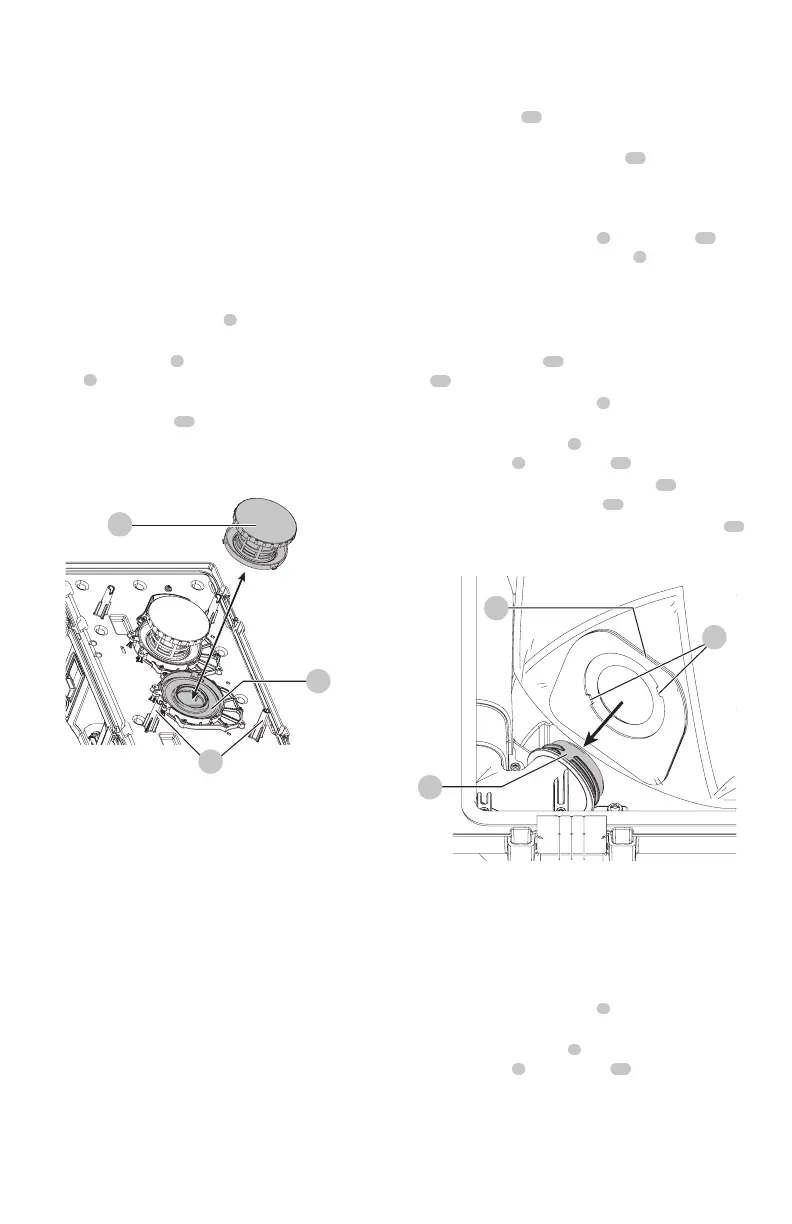
To Remove Filters (Fig. A, H)
1. Press the two position switch
3
to the Off (O) position
and remove thebattery.
2. Release tank latches
4
and remove dust extractor
head
6
from canister. Place dust extractor head on a
level surface on itsside.
3. Turn each HEPA filter
18
counterclockwise, and
carefully remove from dust extractor head, ensuring
debris does not fall into mountinghole.
NOTE: Use care to not damage filtermaterial.
18
Fig. H
20
27
4. Inspect filters for wear, tears or otherdamage.
NOTE: If there is any doubt on the condition of the
filters, they MUST be replaced. DO NOT continue use if
filters aredamaged.
WARNING: Never use compressed air or a brush to
clean filters, otherwise damage to the filter membrane
will occur which will allow dust to pass through the
filter. If needed, rinse with room temperature water
and let air dry. Cleaning of the filters is typically
unnecessary. Even if the filter is covered with dust,
the automatic filter cleaning system will maintain
maximum performance and continue to function. If
visual damage to the filter membrane exists, replace
filters. Filters typically last between six and twelve
months, depending on use andcare.
To Install Filters (Fig. A, H)
WARNING: The filters must always be in place
whilevacuuming.
1. Ensure filter seal
20
is in place and isnot damaged
ordirty.
2. Line up the tabs on the HEPA filter
18
to the notches
on the dust extractor head and using moderate force,
push down and turn clockwise until the filter is secure.
NOTE: Use care to not damage filtermaterial.
3. Place the dust extractor head
6
onto the tank
16
and
secure it by closing the tank latches
4
.
Installing the Paper or Fleece Bag
(Fig.A,G, I)
When vacuuming fine dust, you may also use an additional
paper bag or fleece bag
12
to make emptying the
tank
16
easier.
1. Press the two position switch
3
to the Off (O) position
and remove thebattery.
2. Unlatch the tank latches
4
and remove the dust
extractor head
6
from thetank
16
.
3. Attach the bag by passing the two tabs
21
on the bag
opening past the two notches
22
on thedust extractor.
4. Rotate the bag a quarter turn until the square edge
23
is facingupward.
Fig. I
22
23
21
5. Fit bag inside the tank ensuring it is not folded
orpinched.
6. Replace dust extractor head onto the tank and
latchsecurely.
Removing and Disposing the Bag
(Fig.A, G, J)
1. Press the two position switch
3
to the Off (O) position
and remove thebattery.
2. Unlatch the tank latches
4
and remove the dust
extractor head
6
from thetank
16
.
NOTE: It is normal for there to be a small amount of
dust in the tank even with the the bag properlyinstalled.
3. Rotate the bag until the two tabs align with the two
notches on the dust extractor and remove the bag.
4. Once the bag is removed it can be sealed fordisposal.