12.3
Ploughing/
Grooving
'
Flat
grourf«U>acUr>read
V-
Premium
ado
Head
Fig.
47
12.4 Disc Sanding
Note:
In
this upright position, however,
it is
essential
that
the
Dado
Head
is
covered
by the
standard
sawblade guard (with
the
riving knife assembly
removed)
and
no/the
Shaping
Head guard.
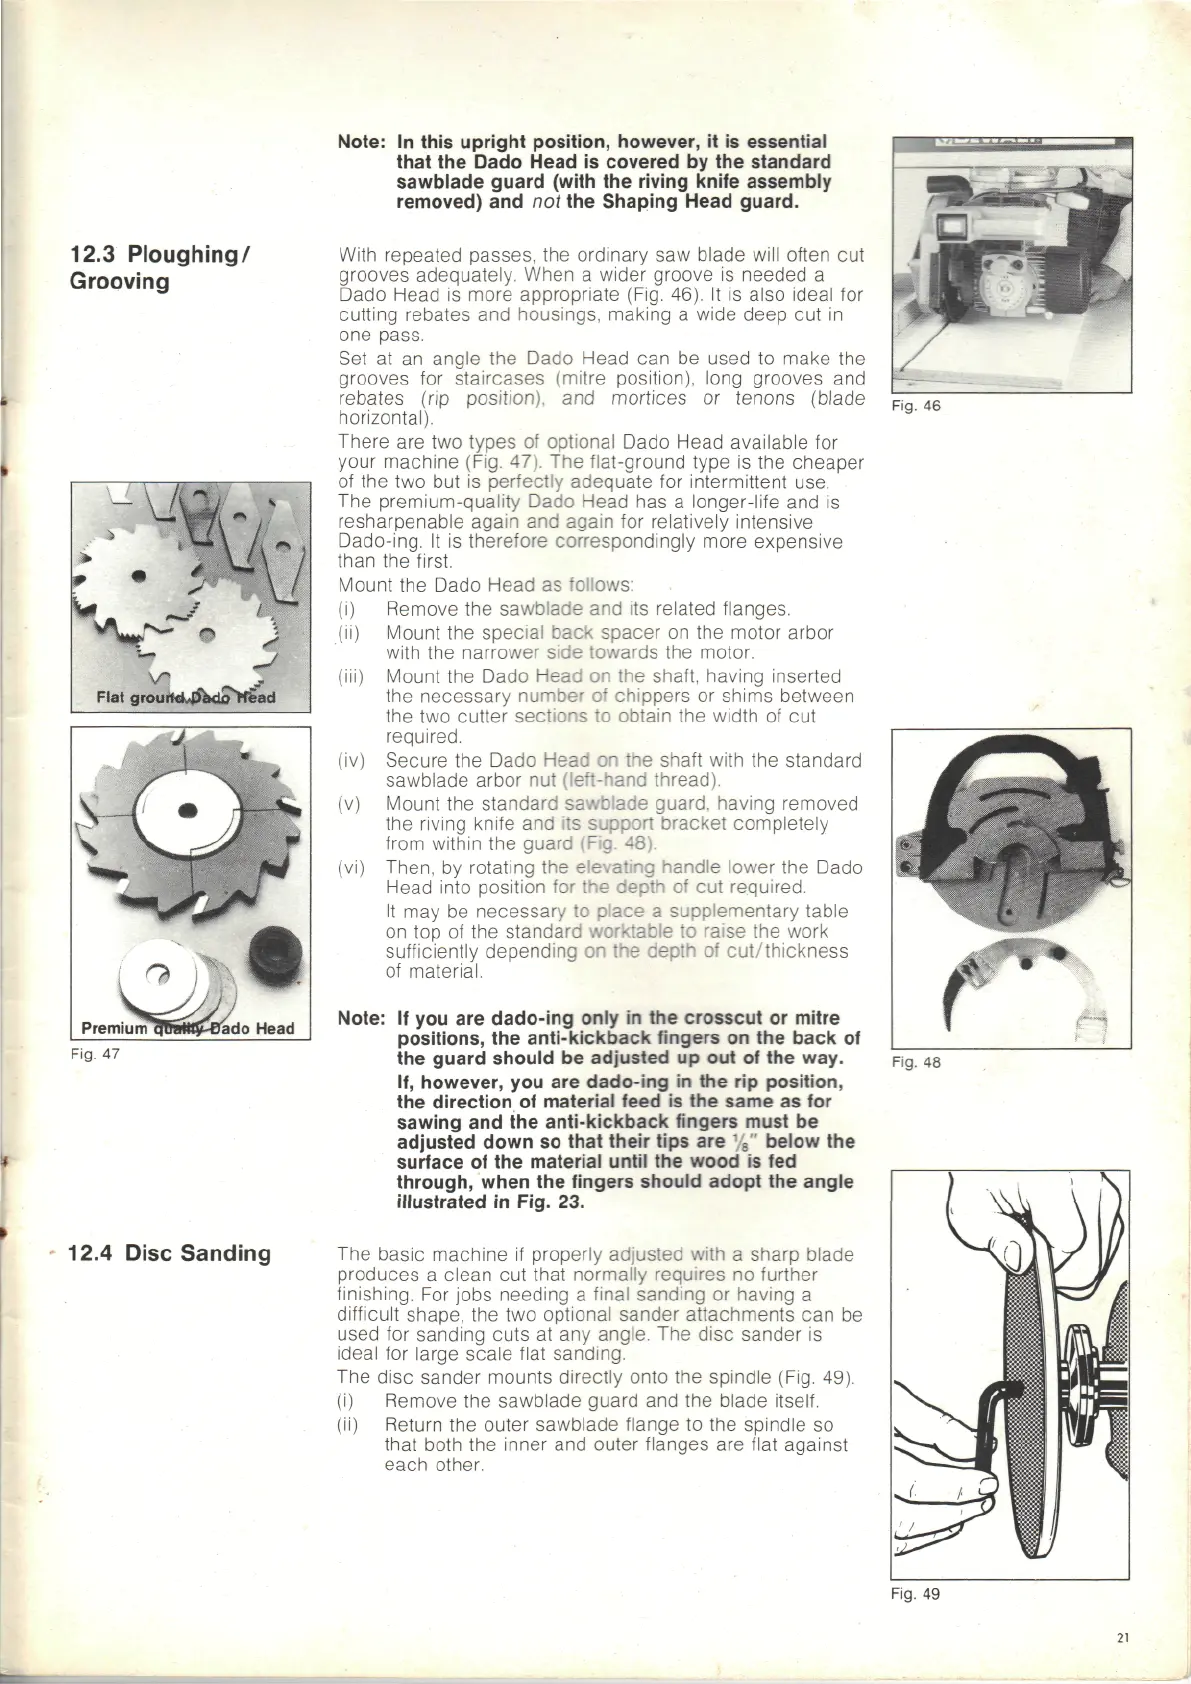
With
repeated passes,
the
ordinary
saw
blade
will
often
cut
grooves adequately. When
a
wider groove
is
needed
a
Dado Head
is
more appropriate (Fig. 46).
It is
also ideal
for
cutting rebates
and
housings, making
a
wide deep
cut in
one
pass.
Set
at an
angle
the
Dado Head
can be
used
to
make
the
grooves
for
staircases (mitre
position),
long grooves
and
rebates
(rip
position),
and
mortices
or
tenons
(blade
horizontal).
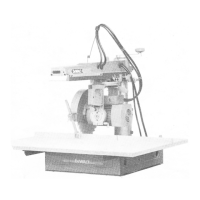
There
are two
types
of
optional
Dado
Head available
for
your
machine (Fig. 47).
The
flat-ground type
is the
cheaper
of
the two but is
perfectly adequate
for
intermittent use.
The
premium-quality
Dado
Head
has a
longer-life
and is
resharpenable again
and
again
for
relatively intensive
Dado-ing.
It is
therefore correspondingly more expensive
than
the
first.
Mount
the
Dado Head
as
follows:
(i)
Remove
the
sawblade
and its
related flanges.
(ii)
Mount
the
special
back
spacer
on the
motor arbor
with
the
narrower
side
towards
the
motor,
(iii)
Mount
the
Dado
Head
on the
shaft, having inserted
the
necessary
number
of
chippers
or
shims between
the
two
cutter
sections
to
obtain
the
width
of cut
required.
(iv)
Secure
the
Dado
Head
on the
shaft with
the
standard
sawblade arbor
nut
(left-hand
thread).
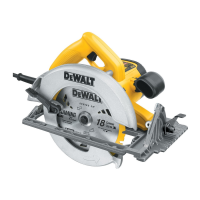
(v)
Mount
the
standard
sawblade
guard, having removed
the
riving
knife
and its
support
bracket completely
from
within
the
guard (Fig. 48).
(vi)
Then,
by
rotating
the
elevating
handle
lower
the
Dado
Head into position
for the
depth
of cut
required.
It
may be
necessary
to
place
a
supplementary table
on
top of the
standard
worktable
to
raise
the
work
sufficiently
depending
on the
depth
of
cut/thickness
of
material.
Note:
If you are
dado-ing
only
in the
crosscut
or
mitre
positions,
the
anti-kickback
fingers
on the
back
of
the
guard
should
be
adjusted
up out of the
way.
If,
however,
you are
dado-ing
in the rip
position,
the
direction
of
material
feed
is the
same
as for
sawing
and the
anti-kickback
fingers
must
be
adjusted
down
so
that
their
tips
are
"
e
"
below
the
surface
of the
material
until
the
wood
is fed
through,
when
the
fingers
should
adopt
the
angle
illustrated
in
Fig.
23.
The
basic machine
if
properly adjusted with
a
sharp blade
produces
a
clean
cut
that normally requires
no
further
finishing.
For
jobs needing
a
final sanding
or
having
a
difficult
shape,
the two
optional sander attachments
can be
used
for
sanding cuts
at any
angle.
The
disc sander
is
ideal
for
large scale flat sanding.
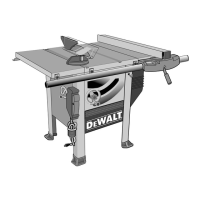
The
disc sander mounts directly onto
the
spindle (Fig. 49).
(i)
Remove
the
sawblade guard
and the
blade
itself,
(ii)
Return
the
outer sawblade flange
to the
spindle
so
that
both
the
inner
and
outer flanges
are
flat
against
each
other.
Fig.
46
Fig.
48
Fig.
49
21