12
ENGLISH
To Check Safety Valve (Fig.A, C)
WARNING: Risk of Bursting. If the safety valve
does not work properly, over‑pressurization
may occur, causing air tank rupture or
anexplosion.
WARNING: Risk from Flying Objects. Always wear
certified eye protection with sideshields.
The safety valve
4
has been set for the highest permitted
pressure of the pressure vessel. It is prohibited to adjust the
safety valve. Actuate the safety valve
4
from time to time to
ensure that it works when required.
1. Loosen the safety valve nut until you can hear the
compressed air being released.
2. Then fully tighten the safety valve nut.
3. Always keep the safety valve
4
and surrounding area clean
and free of obstutructions.
NOTE: If the safety valve
4
is stuck or does not operate
smoothly, contact a DeWALT servicecentre.
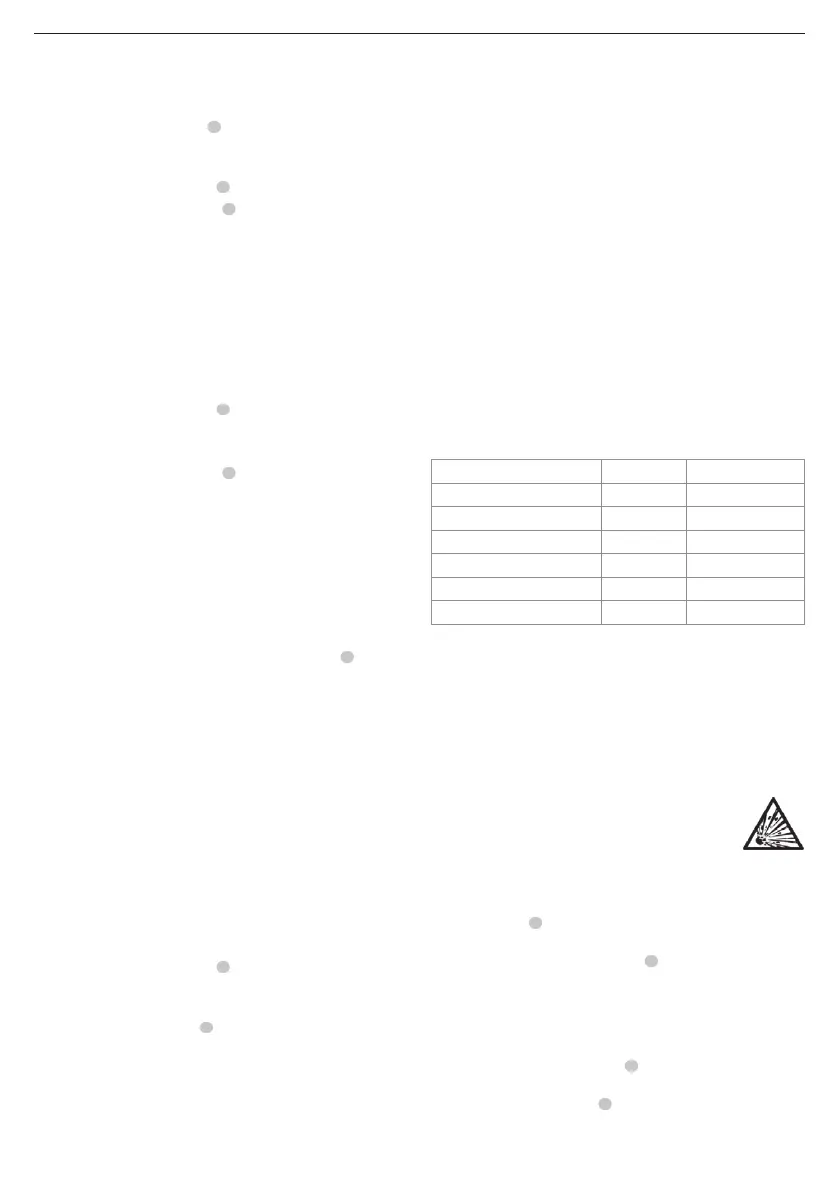
Customer Responsibilities
Before each use Daily or after each use
Check Safety Valve X
Drain Tank X
Check for air leaks X
Check for unusual noise/vibration X
Check hose and tool connection X
Adjustment of pressure control X
WARNING: Risk of unsafe operation. Unit cycles
automatically when power is on. When performing
maintenance, you may be exposed to voltage sources,
compressed air, or moving parts. Personal injuries can occur.
Before performing any maintenance, disconnect power source
from the compressor and bleed off all airpressure.
NOTE: Refer to the Operation section for the location ofcontrols.
MAINTENANCE
Your power tool has been designed to operate over a long
period of time with a minimum of maintenance. Continuous
satisfactory operation depends upon proper tool care and
regularcleaning.
WARNING: To reduce the risk of serious personal
injury, turn tool off and disconnect battery pack
before making any adjustments or removing/
installing attachments or accessories. An accidental
start‑up can causeinjury.
The charger and battery pack are notserviceable.
How to Use Your Unit (Fig.A, C)
How to Stop
WARNING: When loosening the hose coupling from the
quick‑connect coupler
9
, the coupling piece of the hose
must be held by hand in order to avoid injuries caused by
the recoilinghose.
1. Set the Auto On/Off switch
1
to"Off".
2. Turn the One-Turn regulator
6
anti-clockwise to set the
outlet pressure tozero.
3. Remove hose andtool/accessories.
4. Remove battery when not in use.
Before Starting
WARNING: Do not operate this unit until you read
this instruction manual for safety, operation and
maintenanceinstructions.
Before Each Start‑Up
1. Set the Auto On/Off switch
1
to"Off".
2. Remove battery. (Refer toInstalling and Removing the
Battery Pack from the Tool
3. Turn the One-Turn regulator
6
counterclockwise to set the
outlet pressure to zero.
4. Attach hose andtool/accessories.
WARNING: Risk of unsafe operation. Firmly grasp
air hose in hand when installing or disconnecting to
prevent hosewhip.
WARNING: Risk of unsafe operation. Do not use
damaged or wornaccessories.
NOTE: The hose or accessory will require a quick connect plug if
the air outlet is equipped with a quick connect body
9
.
WARNING: Risk of Bursting. Too much air pressure
causes a hazardous risk of bursting. Check the
manufacturer’s maximum pressure rating for air tools
and accessories. The regulator outlet pressure must never
exceed the maximum pressurerating.
NOTICE: Risk of property damage. Compressed air
from the unit may contain wa ter condensation and oil
mist. Do not spray un fil tered air at an item that could be
damaged by moisture. Some air tools and accessories may
require filtered air. Read the in struc tions for the air tools
andaccessories.
How to Start
1. Install the battery into thecompressor.
2. Attach hose andtool/accessories.
3. Set the Auto On/Off switch
1
to "Auto On" and allow
tank pressure to build. Motor will stop when tank pressure
reaches "cut-out"pressure.
4. Turn One-Turn regulator
6
clockwise to increase pressure
and stop when desired pressure isreached.
NOTE: Make sure that the desired pressure is not more
than the maximum pressure of the connected hose or the
connectedtool.
WARNING: Risk of unsafe operation. If any unusual
noise or vibration is noticed, stop the compressor
immediately and have it checked by a trained
servicetechnician.
WARNING: Ensure the regulator is set to a pressure lower
than the maximum operating pressure of thetool.
The compressor is ready foruse.
 Loading...