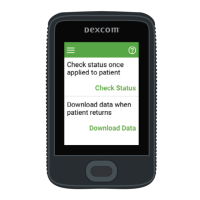
STARTING A SENSOR SESSION
Step 1: Inserting a New Sensor
These instructions describe how to insert the Sensor into your abdomen,
or belly. Please refer to the pictures and complete User’s Guide for further
help. The Sensor must only be placed on your belly.
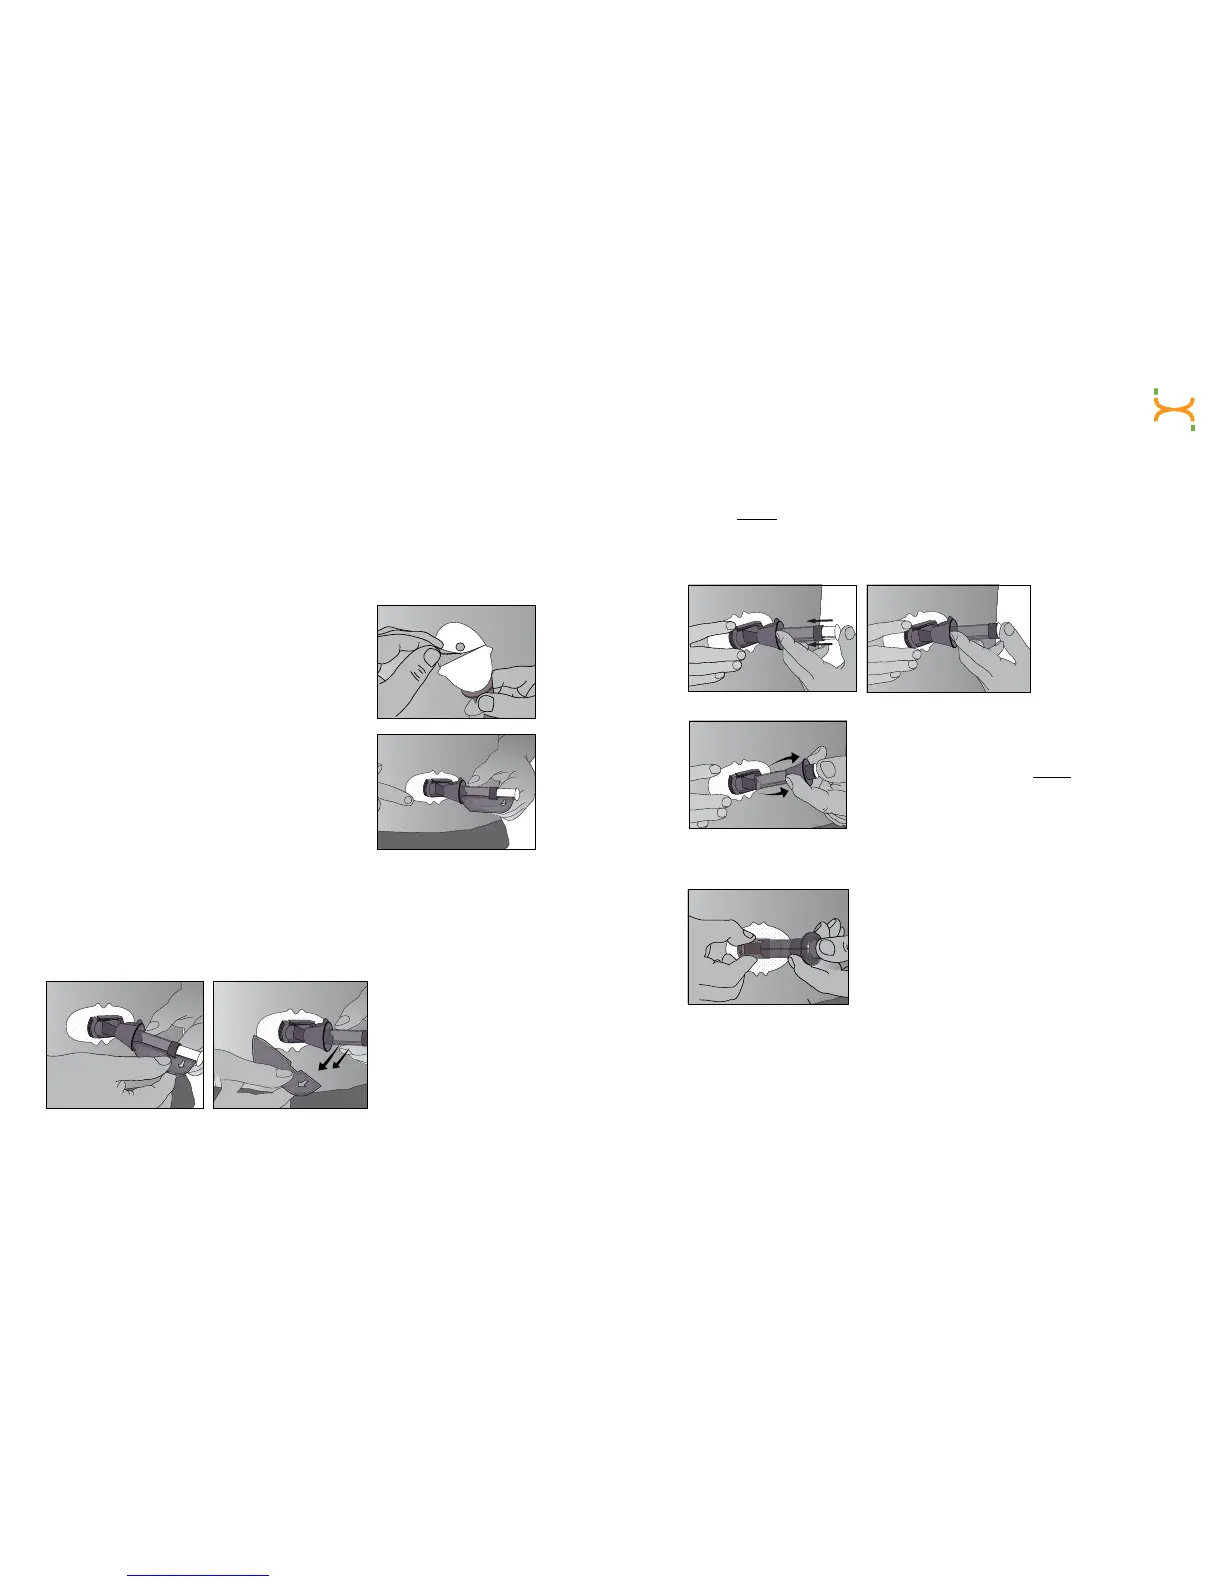
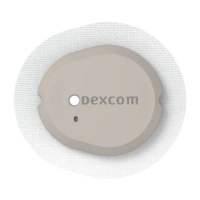
a. After you have cleaned your skin, then
remove the adhesive backing from the
Sensor Pod. Hold the Sensor by the
plastic Applicator and try not to touch
the sticky adhesive patch.
b. Place the Sensor on the area. You can place
theSensoratfacingtotheleftorrightof
your belly button. Make sure the Sensor is
placed in the same direction shown in the
picture to the right. You should not place the
Sensor pointing in the up or down direction.
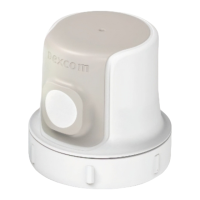
c.AfterplacingtheApplicator,pressrmlyonandaroundtheoutsideof
theadhesivepatchtomakesureitisat.
d. Hold on to the Applicator. Then pull the Safety Lock/Transmitter Key
straight out away from the Applicator, in the direction the arrows
show below.
The Safety Lock
also serves as the
“Transmitter Key.”
Keep this piece to
help you remove the
Transmitter at the end
of your Continuous
Glucose Monitoring
(CGM) session.
Hold down the Pod with one hand. With your other hand, place two
ngersabove the collar on the barrel of the Applicator. Place your thumb
on the plunger. Push the plunger down completely. This action inserts the
needle and Sensor Probe under your skin. When you are pushing down
on the plunger, do not pull back on the collar.
e. To remove the needle, keep holding the
Sensor Pod with one hand. With your other
hand,placetwongersunder the collar. Then
pull the collar back towards your thumb. Stop
when you hear 2 “clicks” or cannot pull back
any more. This step pulls the needle back into
the Applicator and keeps the Sensor Probe
under your skin.
f. Squeeze the ribbed release tabs on the sides
of the Sensor Pod to remove the Applicator.
When you squeeze the front release tabs, the
back tabs will widen, allowing you to pull off
the Applicator. After this step, only the Sensor
Pod will be left on your body. Make sure the
Transmitter Latch is down (against your body)
to remove the Applicator.
h. The used Applicator can be thrown in the trash.
To start your CGM session, you must snap your Transmitter in the Sensor
Pod and tell the Receiver of a new Sensor insertion.