45
Door Switch Removal & Installation
Step 1: Remove front panel (see front panel removal).
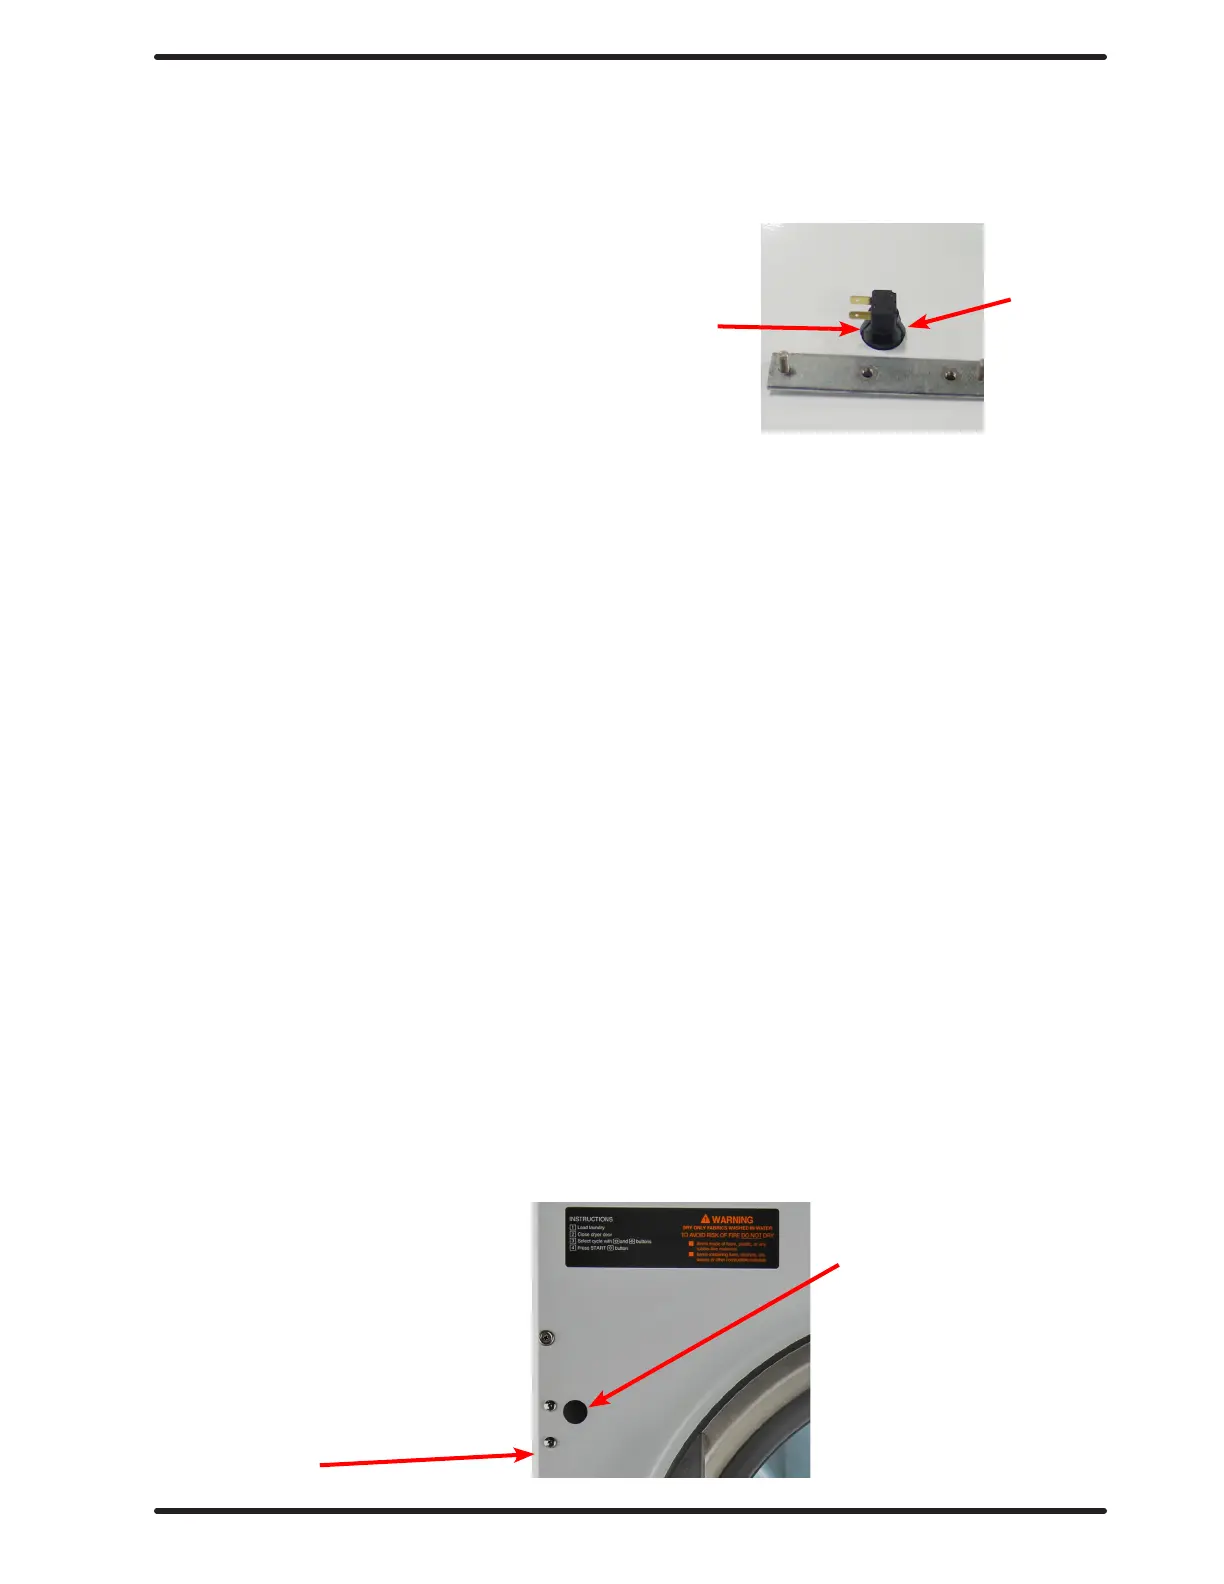
Step 2: Next disconnect door switch wires from back of loading door switch. Remove door switch by
depressing the two tabs on switch and remove from the front of the panel.
Note: For the 80lb, you will have to remove the door switch cover rst by removing the two 3/8”
nuts.
Step 3: Reassemble in reverse order.
Door Switch Operation & Testing
The normally open door switch must be closed (0 ohms resistance) for the motor and heat circuits
to operate. When the door is opened, the door switch opens the 24 volt control circuit.
Clothes Door Reversal (OPL only) 30Lb
Step 1: Remove the loading door from the panel, Open the door and remove the inner hinge plate
cover by removing the two Phillips screws. The clothes door may be removed from the hinge
bracket by unscrewing and removing the top 3/16 allen head pivot screw located at the door
upper hinge point, It will be necessary to use a ¼ allen wrench in the lower fastener. Next lean
the door out of the top of the hinge bracket and lift the door from the bottom hinge pin (optional,
the front panel may be removed without taking o the door).
Step 2: Open upper service door, and remove lint door.
Step 3: Then remove the two left side phillips screws with beveled washers and the two right side
phillips with beveled washers screws.
Step 4: Next disconnect door switch wires from back of loading door switch. Remove door switch by
depressing the two tabs on switch and remove out front.
Step 5: Remove switch plug from left side and switch to right.
Step 6: Install switch in left side switch hole by inserting from front until switch clips snap and lock
into front panel. Move Door switch wiring in the upper compartment from the right side to the left
Step 7: Moving Hinge strap from right side to left side. Remove the four Phillips
countersunk screws and remove hinge strap and release the hinge strap back plate.
Step 8: Remove the left side four button head Phillips screws and transfer to the right
side hinge back up plate.
Step 9: move hinge strap to left side, make sure side with pin is on the bottom, reinsert
the four countersunk Phillips head screws.
Step 10: set door with hinge plate back onto the lower hinge strap pin rst, next using
1/4” allen wrench and lower door hinge fastener and fastening with the 3/16” allen
screw, next replace the inner door hinge plate cover with the two Phillips head screws.
Step 11: Reconnect Door switch harness and replace front panel in reverse operation.
Release
Release
Door switch plug
Optional Hinge
Position
Part # 8533-112-001 7/21
 Loading...