C
Attach the adapter cap.
D
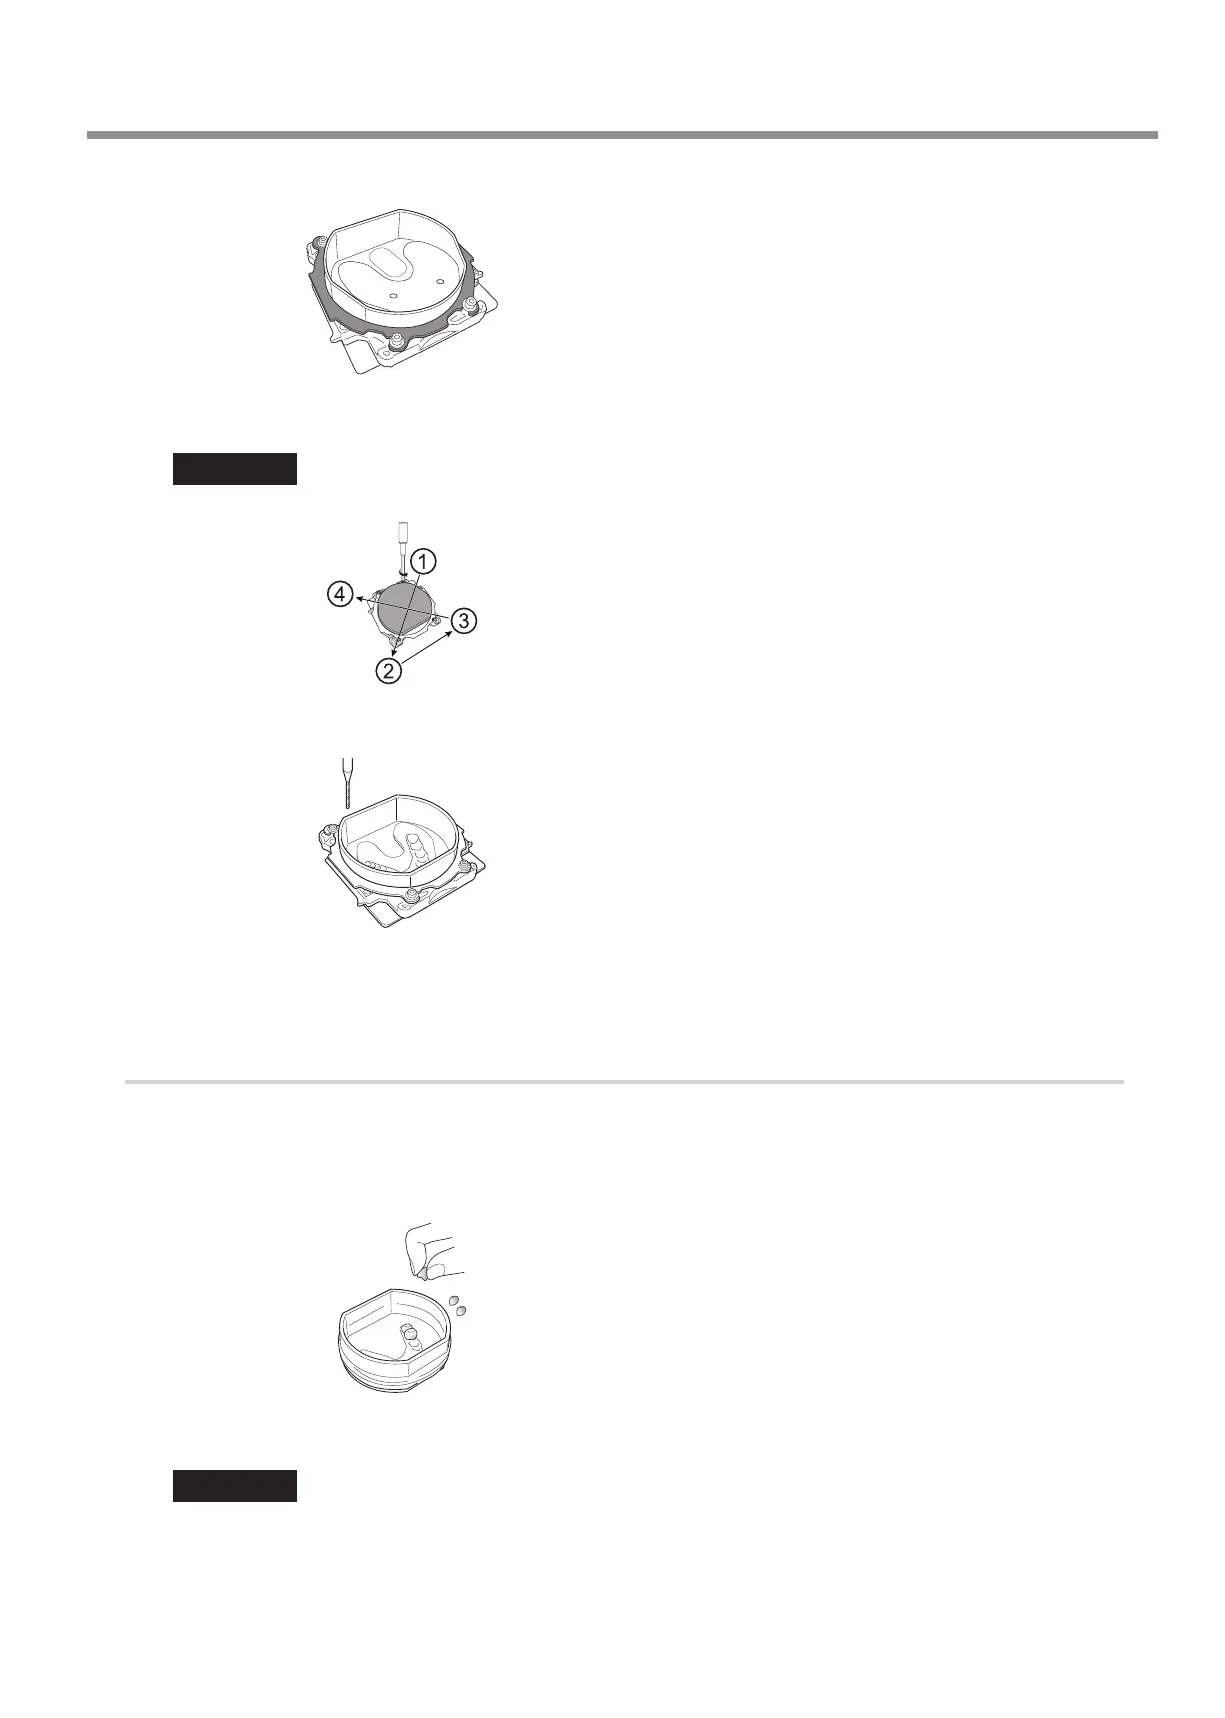
Tighten the cap screws (in four locations).
Tighten the screws until the torque screwdriver clicks.
Important
To x the part in place evenly, tighten the cap screws in order across the diagonals.
E
Mill the tooth mold (the female mold for the articial teeth) into the TR.
Attach the TR to the machine, and then use the CAM data to mill the tooth mold to use in tting the TR with articial teeth.
F
Loosen the cap screws, and then remove the adapter cap and the adapter from the FX.
3.
Arrange the articial teeth on the TR.
A
Apply one to two drops of acrylic resin adhesive to the TR's tooth mold.
B
Check the shape of the tooth mold and the orientation of the articial teeth.
C
Push the articial teeth onto the TR's tooth mold.
D
Check that the articial teeth have been attached to the tooth mold without any gaps.
Important
The articial teeth have an orientation that matches the tooth mold. Attach teeth with the proper orientation.
Usage Method
9