6) CIRCUIT PRIMING
- The pressure level inside the blood compartment of the oxy-
genating module shall not exceed 100 KPa (1 bar / 14 psi).
Clamp the venous reservoir outlet and remove the pump seg-
ment from the arterial pump head. Fill the pump segment by
keeping it at the same height as the Venous Reservoir and slow-
ly opening the clamp occluding it. By slowly bending downward
the tube segment to be filled, the air in the tube will be routed to
the oxygenator. The complete priming of the oxygenating mod-
ule is completed by gravity.
Once the D 905 EOS is filled, place the pump segment in the
arterial pump.
7) OPEN VENOUS AND ARTERIAL LINES
Remove the clamp from the venous and arterial lines and
increase flow up to 2000 ml/min.
8) OPEN THE PURGING/RECIRCULATION LINE
Once the steps up to and including point 7 have been carried out,
increase the arterial pump speed until the flow reaches the maximum
value of 5l/min. Open the purging/recirculation stopcock for some
seconds in order to prime the oxygenator purging/recirculation line.
9) PURGE THE AIR CONTAINED IN THE CIRCUIT
During this phase it is necessary to tap the entire circuit in order
to facilitate the removal of microbubbles from the tube walls.
After some minutes in which the flow is maintained at a high
rate, all air will be evacuated.
10) CLOSE THE PURGING/RECIRCULATION LINE
After 3-5 minutes in which the flow is maintained at a high rate,
all air will be evacuated and it is possible to close the
purging/recirculation line from the dedicated stopcock.
11) CLOSE THE VENOUS AND ARTERIAL LINES
- Do not use pulsatile flow during priming.
- Check the correct dosage of anticoagulant in the system
before starting the bypass.
- SORIN GROUP ITALIA recommends the use of the pump
speed control to reduce or stop the arterial flow slowly.
- Do not use the pump on/off switch until the pump speed is
zero.
- If the reduction connector (D523C) and a circuit have been
connected to the coronary outlet port, check the priming of
the connected line.
- Clamp the line some centimetres away from the outlet.
- Do not create a negative pressure at the coronary outlet.
Negative pressure in the blood compartment could cause
microbubble formation.
G. INITIATING BYPASS
1) OPEN THE ARTERIAL AND VENOUS LINES
Remove first the clamp from the arterial line, then remove the
clamp on the venous line. Start bypass with a blood flow appro-
priate to patient size.
Check constantly the blood level in the Venous Reservoir.2)
CHECK THE CORRECT OPERATION OF THE HEAT EXCHANGER
Check the temperature of the venous and arterial blood.
3) SELECTION OF THE APPROPRIATE GAS FLOW
The suggested gas/blood flow ratio in normothermia is 1:1 with
a Fi0
2
of 80:100%.
- Always open the gas flow after the blood flow. The
gas/blood flow ratio must never exceed 2:1.
- The pressure in the blood compartment must always exceed
that of the gas compartment.
This is to prevent gas emboli appearing in the blood com-
4
ENGLISH
partment.
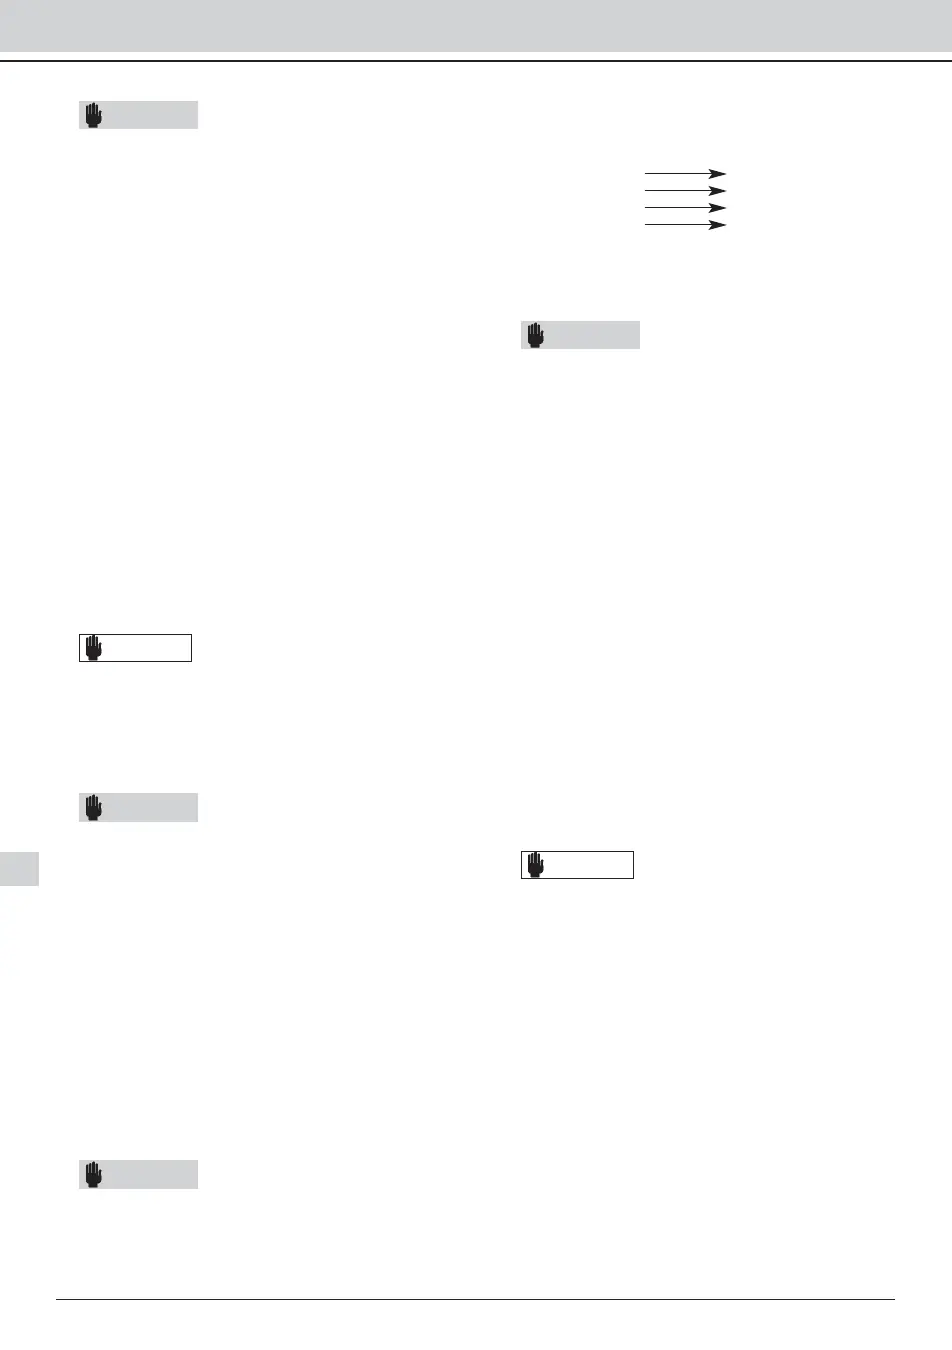
4) BLOOD GAS MONITORING
After a few minutes of bypass operation, measure the gas con-
tent of the blood. Depending on the values found, adjust the rel-
evant parameters as follows:
High pO
2
Decrease FiO
2
Low pO
2
Increase FiO
2
High pCO
2
Increase gas flow
Low pCO
2
Decrease gas flow
H. DURING BYPASS
1) CHECK THE VENOUS RETURN
If a higher venous return flow is necessary lower both the oxygena-
tor and the venous reservoir with respect to the patient position.
- The ACT (Activated Coagulation Time) must always be
longer than or equal to 480 seconds in order to ensure ade-
quate anticoagulation of extracorporeal circuit.
2) LOW FLOW RECIRCULATION
(Hypothermia associated with circulatory arrest).
a) Reduce the gas flow to less than 500 ml/min.
b) Open the purging/recirculation line and clamp the Venous
Reservoir inlet line (fig.2, ref.13).
c) Reduce the flow from the arterial pump to 2000 ml/min.
d) Clamp the oxygenator arterial line (fig.2, ref.5).
e) Recirculate at a maximum flow of 2000 ml/min. throughout
the patient's circulatory arrest.
f) To restart bypass after circulatory arrest, open the venous
and arterial lines and slowly increase the blood flow.
g) Close the purging/recirculation line (lever in “CLOSE” posi-
tion).
h) Adjust gas flow.
3) VENOUS/CARDIOTOMY RESERVOIR MANAGEMENT
As reported in the Description (chapter A), the D905 EOS
enables the separation of the Cardiotomy Reservoir from the
Venous Reservoir. This separation is achieved by opening (up
position) or closing (down position) the connection lever locat-
ed on the top of the cardiotomy reservoir.
This option is suggested when the liquid from the suckers must
be separated from the venous blood in order to be:
1. rejected (i.c. cristalloid cardioplegia)
2. processed apart (i.c. blood cardioplegia with high potassium
level, sucked blood)
If you need to add priming solution directly into the Venous
Reservoir use the “Cardiotomy Bypass Port” (fig.2, Ref.15).
With the connection key in up position the hardshell reservoir
acts as a standard Venous Reservoir.
4) CONTINUOUS AIR PURGE
The purging/recirculation stopcock in “PURGE” position fea-
tures the continuous air purge evacuating from the gas
exchange module during bypass.
In this condition and at full arterial blood flow, the continuous
purge diverts from the arterial line only few mls/min.
I. TERMINATING BYPASS
Must be carried out after consideration of each individual patient's
state. Act as follows:
1) Turn the gas flow off.
2) Turn the thermocirculator off.
3) Slowly decrease the arterial flow to zero while closing the
venous line.
4) Clamp the arterial line.
5) Open the recirculation line.
6) Increase arterial flow until 2000 ml/min.
7) In the case of separation of blood recovered by the aspirators:
a) remove the pos-lock on the connection key (fig.2, ref. 3) and
connect the adapter D 523C (provided with the product)
b) recover the blood collected in the Cardiotomy Reservoir with an
autotransfusion machine connected to the adapter with a 1/4” line
CAUTION
WARNING
WARNING
CAUTION
WARNING
WARNING
 Loading...