Quick start Step 3: Connect hardware and power up
Digi WR54 Hardware Reference
16
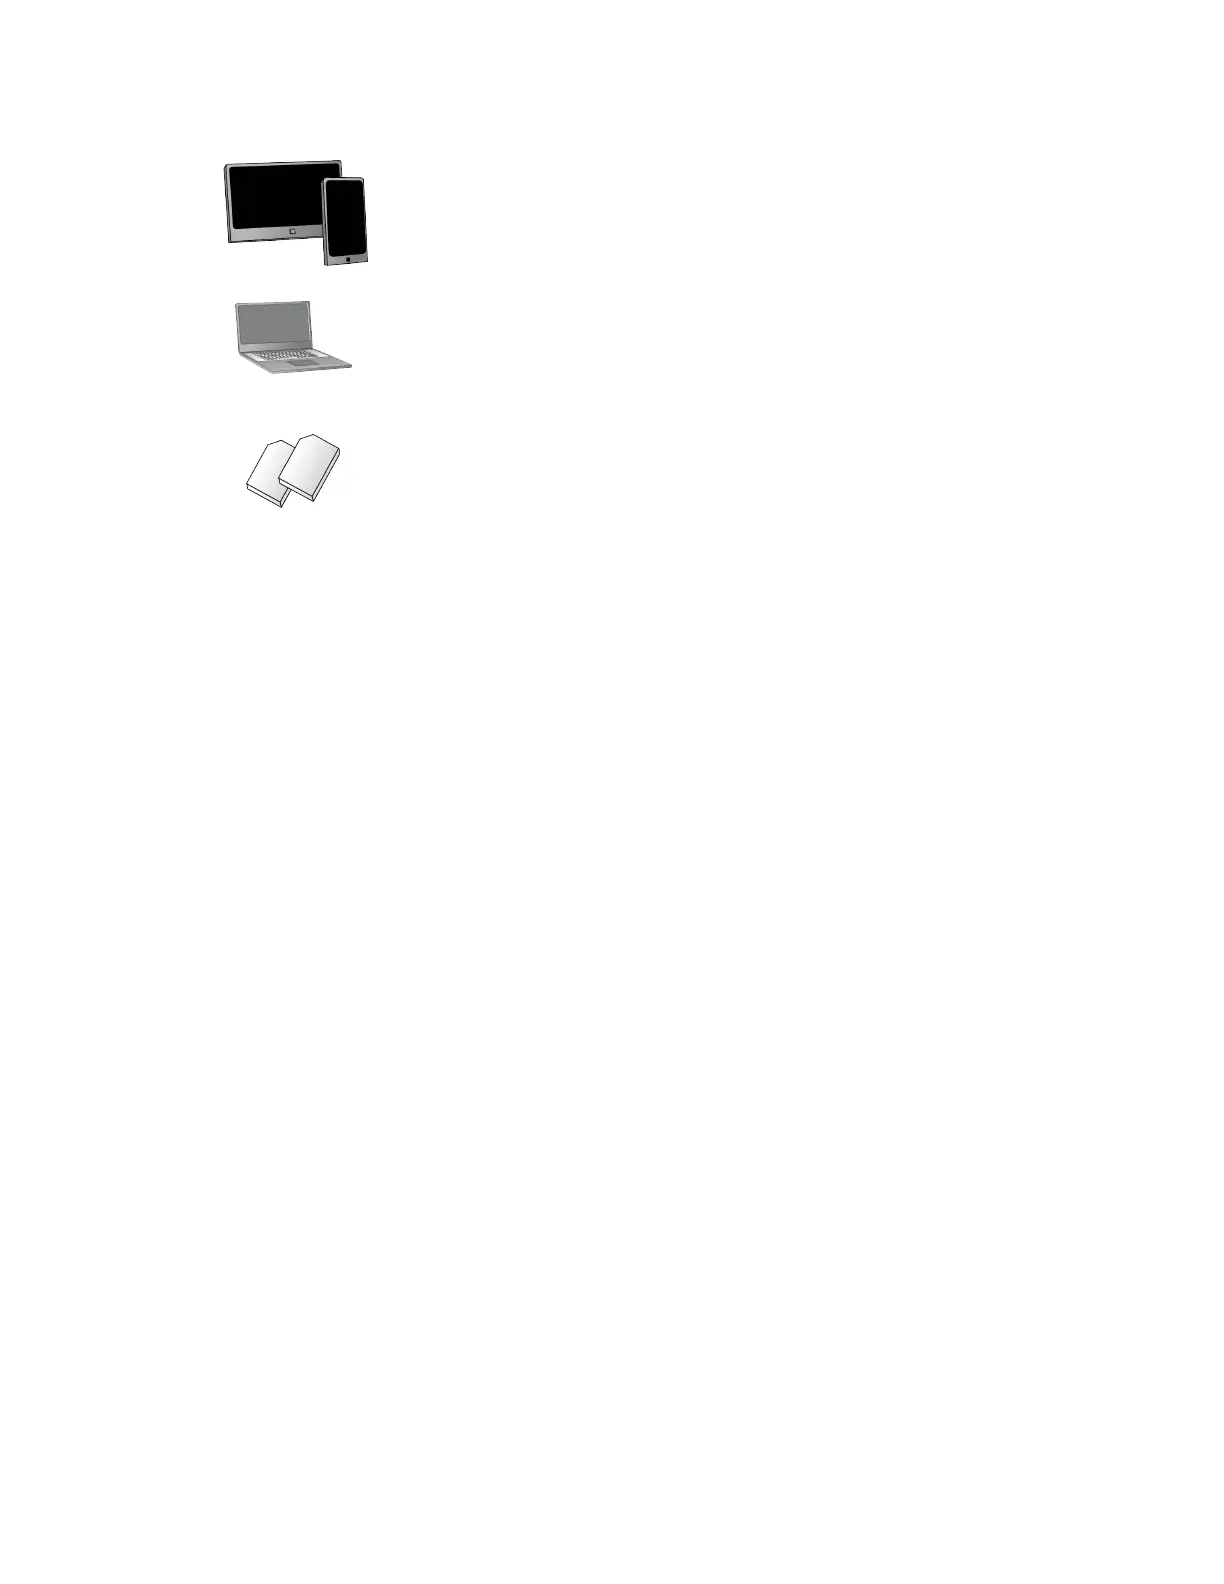
Smart phone or tablet
Use a smart phone or table to to automatically register your WR54 in your Digi
Remote Manager account and connect to your cellular network.
Laptop or personal computer
If you intend to access the WR54 local web interface via a browser, use an
Ethernet cable to connect your WR54 to a laptop or PC.
SIM card(s)
Acquire SIM cards as needed. Note the carrier, network APN (Access Point
Name), and SIM pin (if any) for each card.
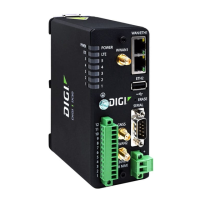
Step 3: Connect hardware and power up
a. Install SIM card(s). See Install SIM cards.
b. Attach antenna(s).
c. Connect DC power. See WR54 power connector for details.
d. Power on the WR54 by pressing the Power button on the front panel.
e. Indicator LEDs blink to show status during startup.
f. Wait for the power LED to stop blinking. The device is ready.
Step 4: Access the WR54 local web interface
a. Use an Ethernet cable to connect the WR54 ETH2, ETH3, or ETH4 port to your PC.
b. Open a browser and go to 192.168.1.1.
c. Log into the WR54:
User name: Use the default user name: admin
Password: Use the unique password printed on the bottom label of the device (or the
printed label included in the package)
The WR54 Getting Started Wizard appears.
Next steps
Congratulations! You have completed the Quick start.
To manage and configure your WR54 remotely
using Digi Remote Manager, see Digi Remote
Manager User Guide.