8 www.dimplex.com
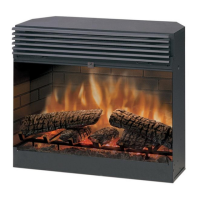
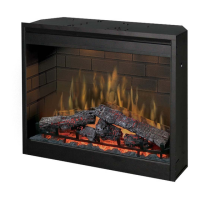
Fireplace Installation
replace that is prone to damp-
ness.
2. Cap the top of the chimney ue
to prevent rain from entering.
3. Plan your electric power sup-
ply.
4. Install an outlet into the exist-
ing replace. If an outlet is not
installed into the existing re-
place the power cord can also
run along the front of the hearth
to an outlet near the replace.
5. Ensure the insert power is off
(see Operation). Plug the insert
into the outlet and slide the unit
into the existing replace.
6. Push the insert into the rebox
and center within the open-
ing. Adjust the four feet on the
bottom of the insert by turning
counter clockwise to raise and
clockwise to lower so that is
level with the existing replace
hearth.
7. Install the trim kit onto the re-
place insert (if applicable) and
push the trim and or insert back
until the trim is at against the
nished wall.
WARNING: The replace
insert can be used with
existing replace and screens.
Due to the heat produced
from the heater, existing
replace screens must
provide adequate air ow in
front of the unit. Do not use
existing replace doors
that close, sealing off the
replace insert from the
room. If installed behind
bi-fold doors, doors must
be open to allow heat to be
exhausted.
WIRING
CONTROL RECEIVER
REMOTE
FLICKER
MOTOR
SWITCH
3-POSITION
SWITCH
LOW HEAT
SWITCH
HIGH HEAT
MOTOR
THERMAL
CUTOUT
ELEMENT
L
N
M
LED
LOGS
LED
DRIVER
BOARD
DFI2310 ONLY
LOWER
LIGHTS