7
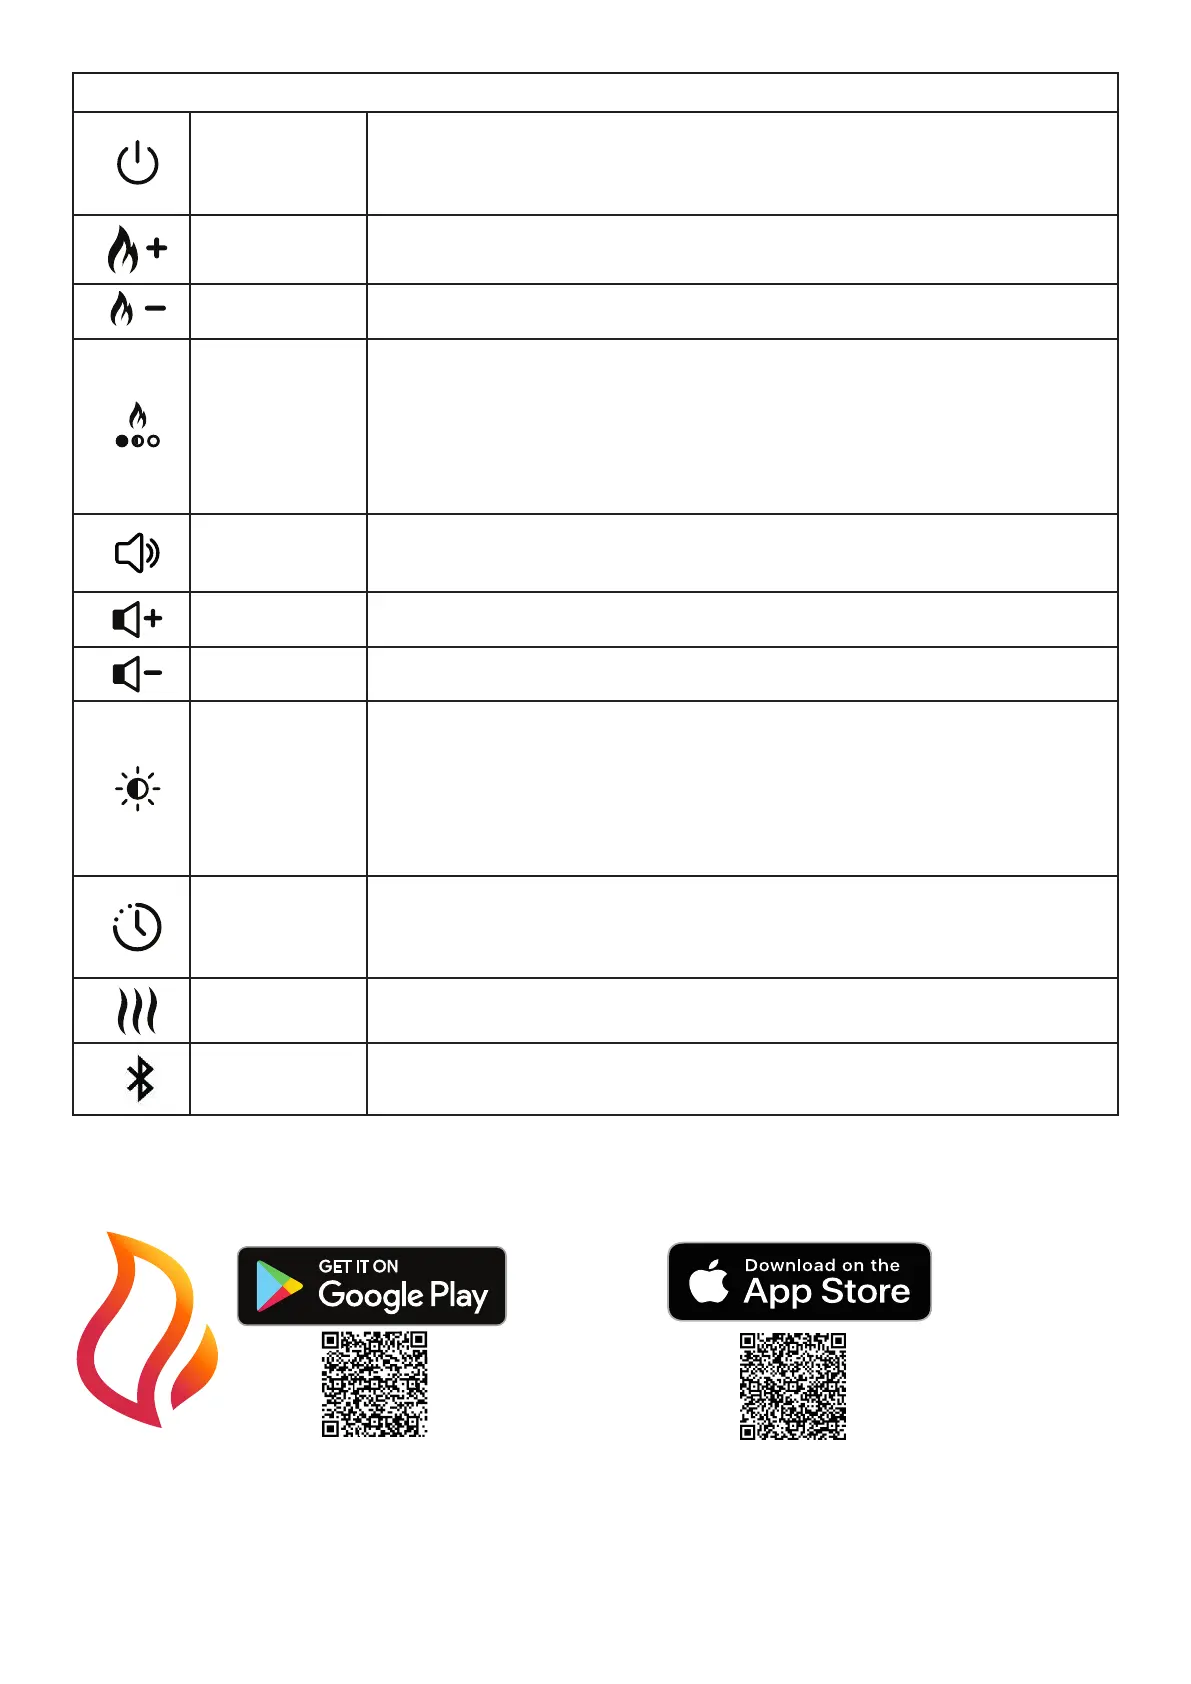
MANUAL & REMOTE CONTROL OPTIONS
Standby
Press to turn on the unit or to put it into standby mode. There is a brief delay after
pressing this button before the unit turns on.
Note: When the unit is turned on there is a 45 second warm up sequence before
the ame eect starts.
Increase Flame
Press repeatedly (or press and hold) to increase ame intensity.
The unit will emit an audible beep when max level reached.
Decrease Flame
Press repeatedly (or press and hold) to decrease ame intensity.
The unit will emit an audible beep when min level reached.
Flame Theme
Press repeatedly to cycle through the dierent Flame themes below:
1 - Natural Flame
2 - Blue
3 - Violet
4 - Red
5 - Aquamarine
6 - Prism Mode - the ames will cycle through the dierent colours.
Volume and
crackle sound
(Manual controls)
Press repeatedly to cycle through volume levels from OFF to level 6.
Increase Volume
(Remote)
Press repeatedly (or press and hold) to increase the volume level of the crackling
sound eect.
Decrease Volume
(Remote)
Press repeatedly (or press and hold) to decrease the volume level of the crackling
sound eect.
Brightness
Press repeatedly to cycle the top light brightness settings:
B1 - Brightness level 1
B2 - Brightness level 2
B3 - Brightness level 3
B4 - Brightness level 4
B5 - Brightness level 5
B6 - Pulsating eect
Timer
Press repeatedly to set the duration of the timer. The replace goes into standby
after the time has elapsed.
The timer can be set for 1 hour (1 presses), 2 hour (2 presses) and Timer OFF (3
presses).
Heat
(If Applicable)
Press to turn heat on/o.
Bluetooth
Press this button for pairing remote handset - refer to ‘PAIRING THE REMOTE
CONTROL’.
FLAME CONNECT APP
The replace is capable of being controlled using the Flame Connect App for mobile devices. This is available to down-
load to your device from Google Play or Apple App stores. Follow the on screen instructions for set-up.
NOTE: The replace will not operate using the provided remote control when the app is open on a mobile device.
NOZZLE INSERTS
Nozzle inserts have been supplied and tted to the nozzle opening. These inserts are used to alter the prole of the
ame eect. These inserts can be removed if a dierent ame prole is preferred. In addition to these inserts, inserts for
blocking the ame in certain areas have also been supplied. To t these inserts, remove the exisitng inserts that have
been supplied and tted to the product. Break the blocking inserts into the required length. Snap the inserts into the
nozzle opening in the desired location. See (Fig 13) for further details.