4 www.dimplex.com
→ Activated by pressing the corresponding button on the
remote or “waving” in-front of the gWave
TM
- wave up to
turn on and wave down to turn o.
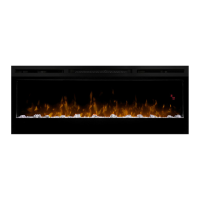
• When On the ame eect is visible in the unit.
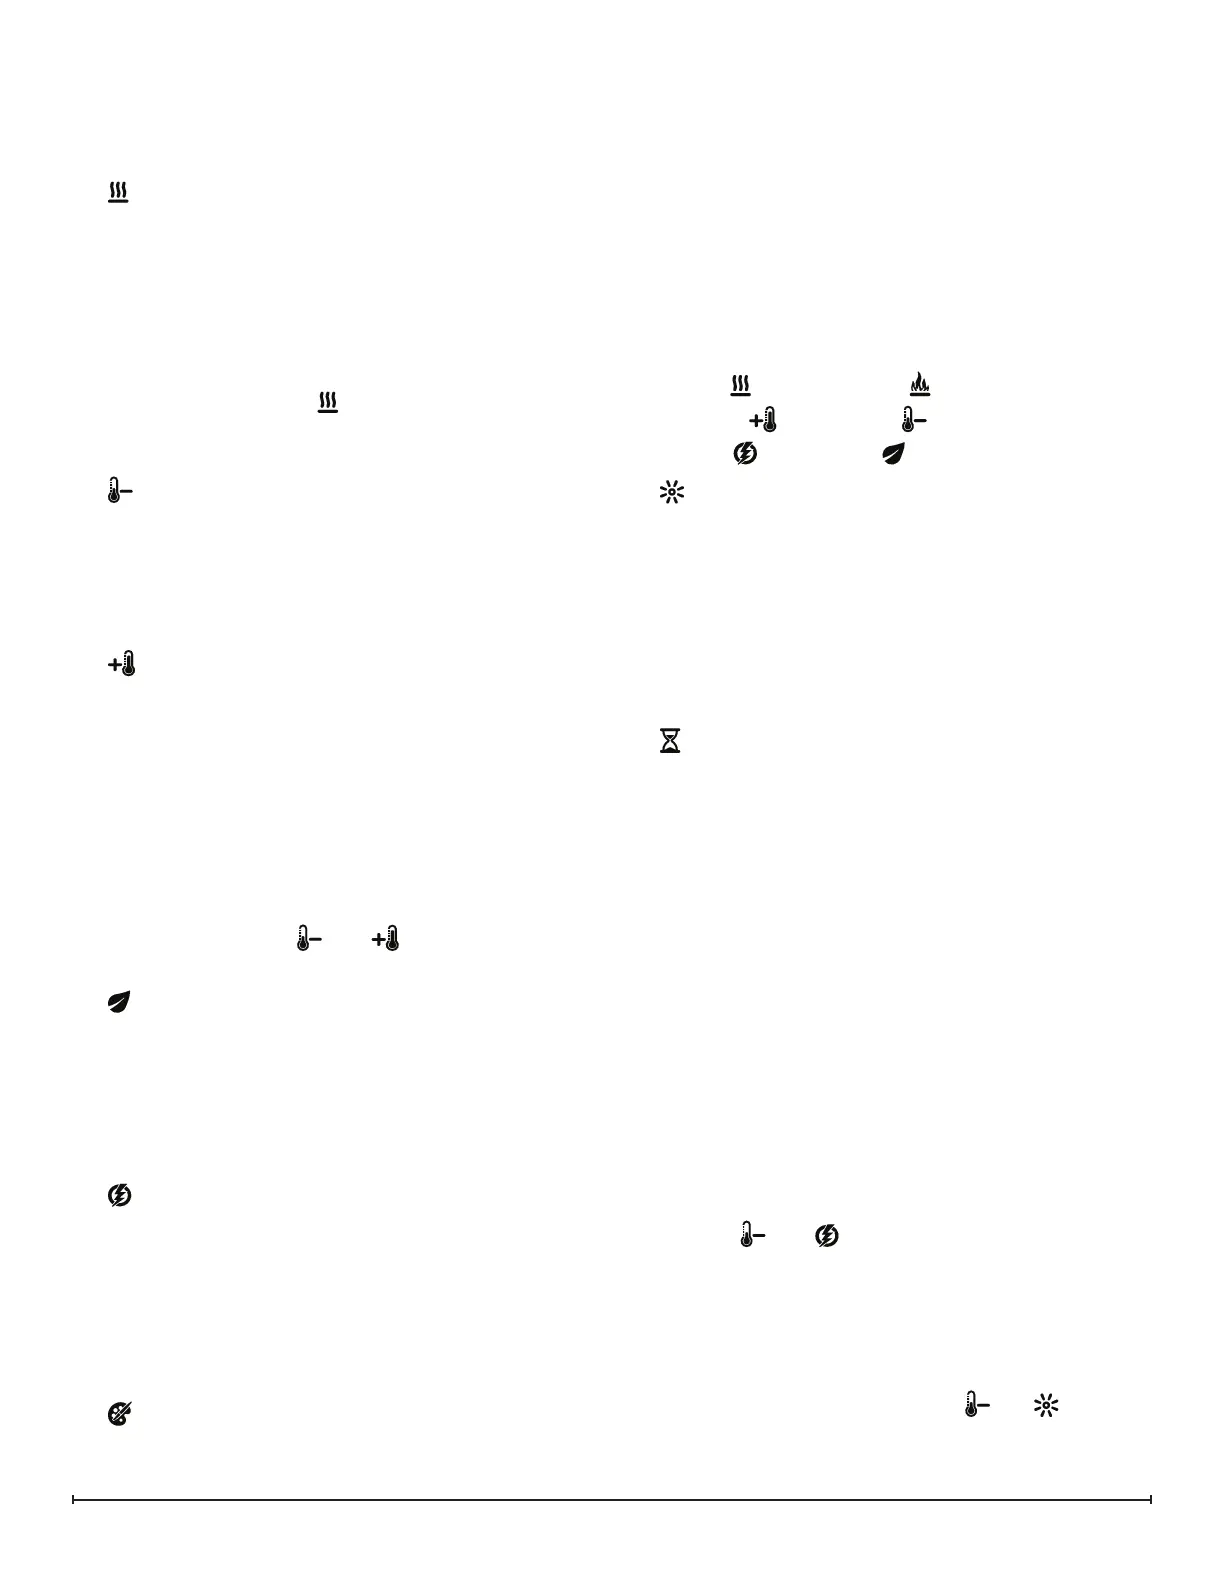
3. Heat On/O: Turns the heater On or O.
→ Activated by pressing the corresponding button on the
remote or holding your hand in-front of the gWave
TM
for 3
seconds.
• Indicated by the icon and intake temperature being illumi-
nated on the Floating Display™ and the heater turning On
or O.
!
NOTE: The heater can be operated when the ame is
not visible. In this case the
icon will remain on the Float-
ing Display™ until the heater is turned o or the ames are
turned back on.
4. Temperature Down: Decreases the heat output.
→ Adjusted by repeatedly pressing the corresponding but-
ton on the remote.*
• Indicated by set point temperature on the Floating Dis-
play™ decreasing and the speed of the fan decreasing to
reduce the amount of heat being projected into the room.**
5. Temperature Up: Increases the heat output.
→ Adjusted by repeatedly pressing the corresponding but-
ton on the remote.*
• Indicated by the set point on the Floating Display™
increasing and the speed of the fan increasing to increase
the amount of heat being projected into the room.
* The rst time the button is pressed the current tempera-
ture set point will be displayed for 5 seconds.
** The temperature can be adjusted from 5 °C to 30 °C (41
°F to 86 °F).
!
NOTE: Pressing the then will toggle between °C
and °F.
6. Eco: Runs the heater in a reduced wattage range
when activated.
→ Adjusted by pressing the corresponding button on the
remote when the heater is on.
• Indicated by the icon being illuminated on the Floating
Display™ and the speed of the fan will decrease propor-
tionally.
7. Boost: Turns On/O the heater boost function.
Runs the unit at the full rated wattage.
→ Activated and adjusted by repeatedly pressing the cor-
responding button on the remote.
• Indicated by the heater running at full heat, for a prede-
termined amount of time, to quickly heat up a cold room/
space. The Boost can be set for a maximum of 20 minutes,
in 5 minute increments.
8. Multi-Fire XD™: Scrolls through the dierent
media theme color presets for the media, ame base
and top lights.
→ Changed by repeatedly pressing the corresponding but-
ton on the remote.
• Cycles through the dierent preset ambient lighting set-
tings of the unit, this includes dierent combinations of
colors of the top lighting, ame base and media lighting (if
applicable).
!
NOTE: The last option is a personalized color setting
(“P”), where using the buttons on the remote the lighting
of the unit can be adjusted to any shade of any color. The
initial setting is no light (Red=0, Blue=0, Green=0) and can
be adjusted, while the display is ashing, by pressing the
outlined buttons (below) to adjust the tones.
Red Tones:
increase and the decrease.
Green Tones:
increase and decrease.
Blue Tones:
increase and decrease.
9. Brightness: Changes the brightness of the lights
in the unit.
→ Adjusted by repeatedly pressing the corresponding but-
ton on the remote.
• Indicated by the second digit on the Floating Display™
changing to show: “A” (high), “b” (low), “C” (high with media
icker) and “d” (low with media icker).
!
NOTE: Media icker is not an option on the Multi-Fire
XD™ levels 5, 6 or P.
10. Sleep timer: Turns the unit o after a preset
duration (from 30 minutes (0.5h) to 8 hours, in ½ hour
increments).
→ Activated and adjusted by repeatedly pressing the cor-
responding button on the remote.
• Indicated by the Floating Display™ changing to indicate
30 minutes (0.5 h) through 8 hours. The replace will
automatically turn o when the sleep timer reaches zero
minutes. The sleep timer can be cancelled at any time by
pressing the sleep timer button repeatedly until the sleep
timer will no longer be visible.
11. Numerical Display
→ Default display will be the heater air intake temperature
or settings (e.g. Multifire XD, Brightness, etc.)
Disable Heat
If desired, depending on the season, the heater on the unit
can be disabled. The unit will operate in the same fashion,
with remainder of the controls.
Pressing the
then will enable or disable the heater.
When in the heat disable mode, the temperature reading/
setting on the On Screen Display
TM
displays nothing (“--”).
!
NOTE: The heater will not work when the unit is con-
trolled with gWave
TM
either.
Checking Software Level
The revision can be checked by press and at the
same time.