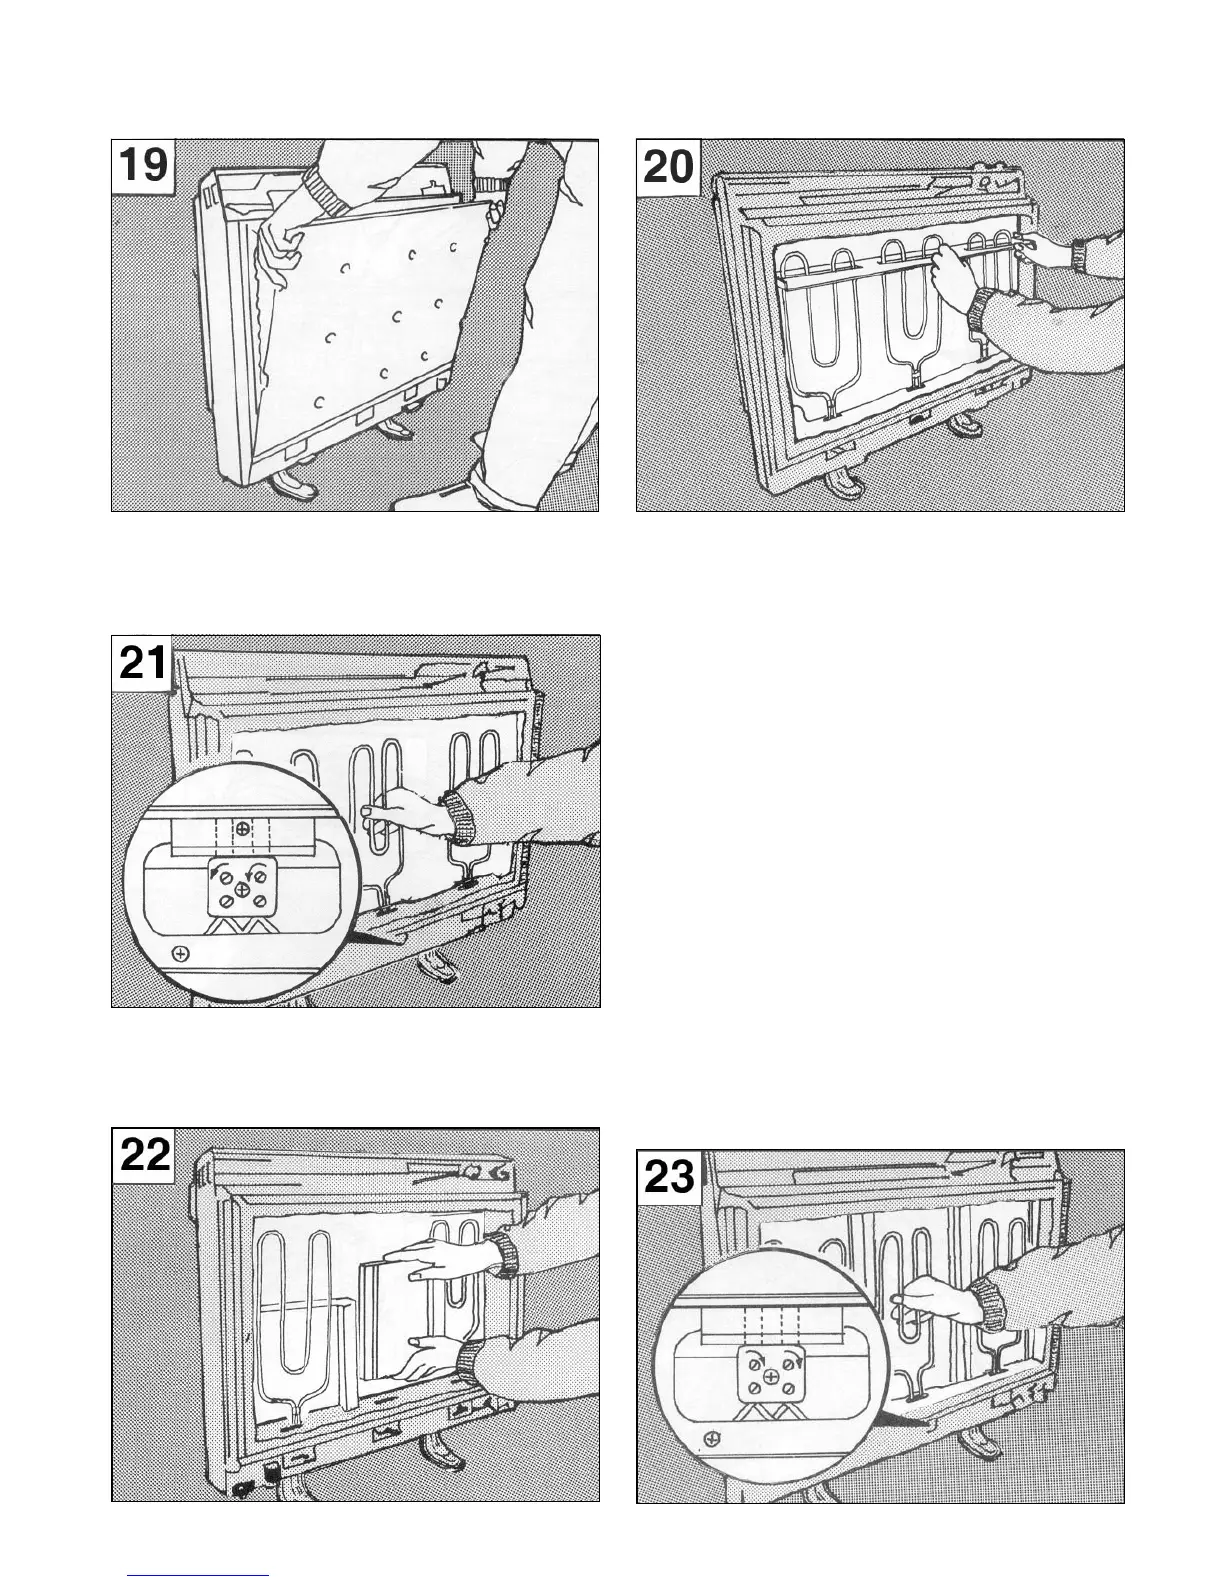
23. Replace the element which had been removed by
carefully passing the ends through the base insulation
slots into the terminal blocks below. Position the insulator
on the element end in contact with the terminal block
ceramic as shown, and tighten the connection screws. At
this point check that all element connections are tight.
21. Remove one element to allow access for the back
row of bricks. On the XL/XLS24N remove the element to
the right of centre, on the XL/XLS18N remove the central
element and on the XL/XLS12N remove the left hand
element. Loosen the two screws securing the element tails
in the ceramic block, and lift the element up and out of the
heater.
22. Position the bottom rear layer of bricks with the recess
over the slots in the base insulation slab. Push the bricks
fi rmly to the back of the heater, then fi t the top row of
bricks.
19. Carefully lift the bottom of the front inner skin panel
out of the retaining fl ange at the base of the heater, taking
care not to damage the insulation attached to this panel.
20. Remove the internal packing by sliding it up and off
the elements, taking care not to damage the insulation.