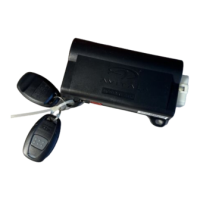
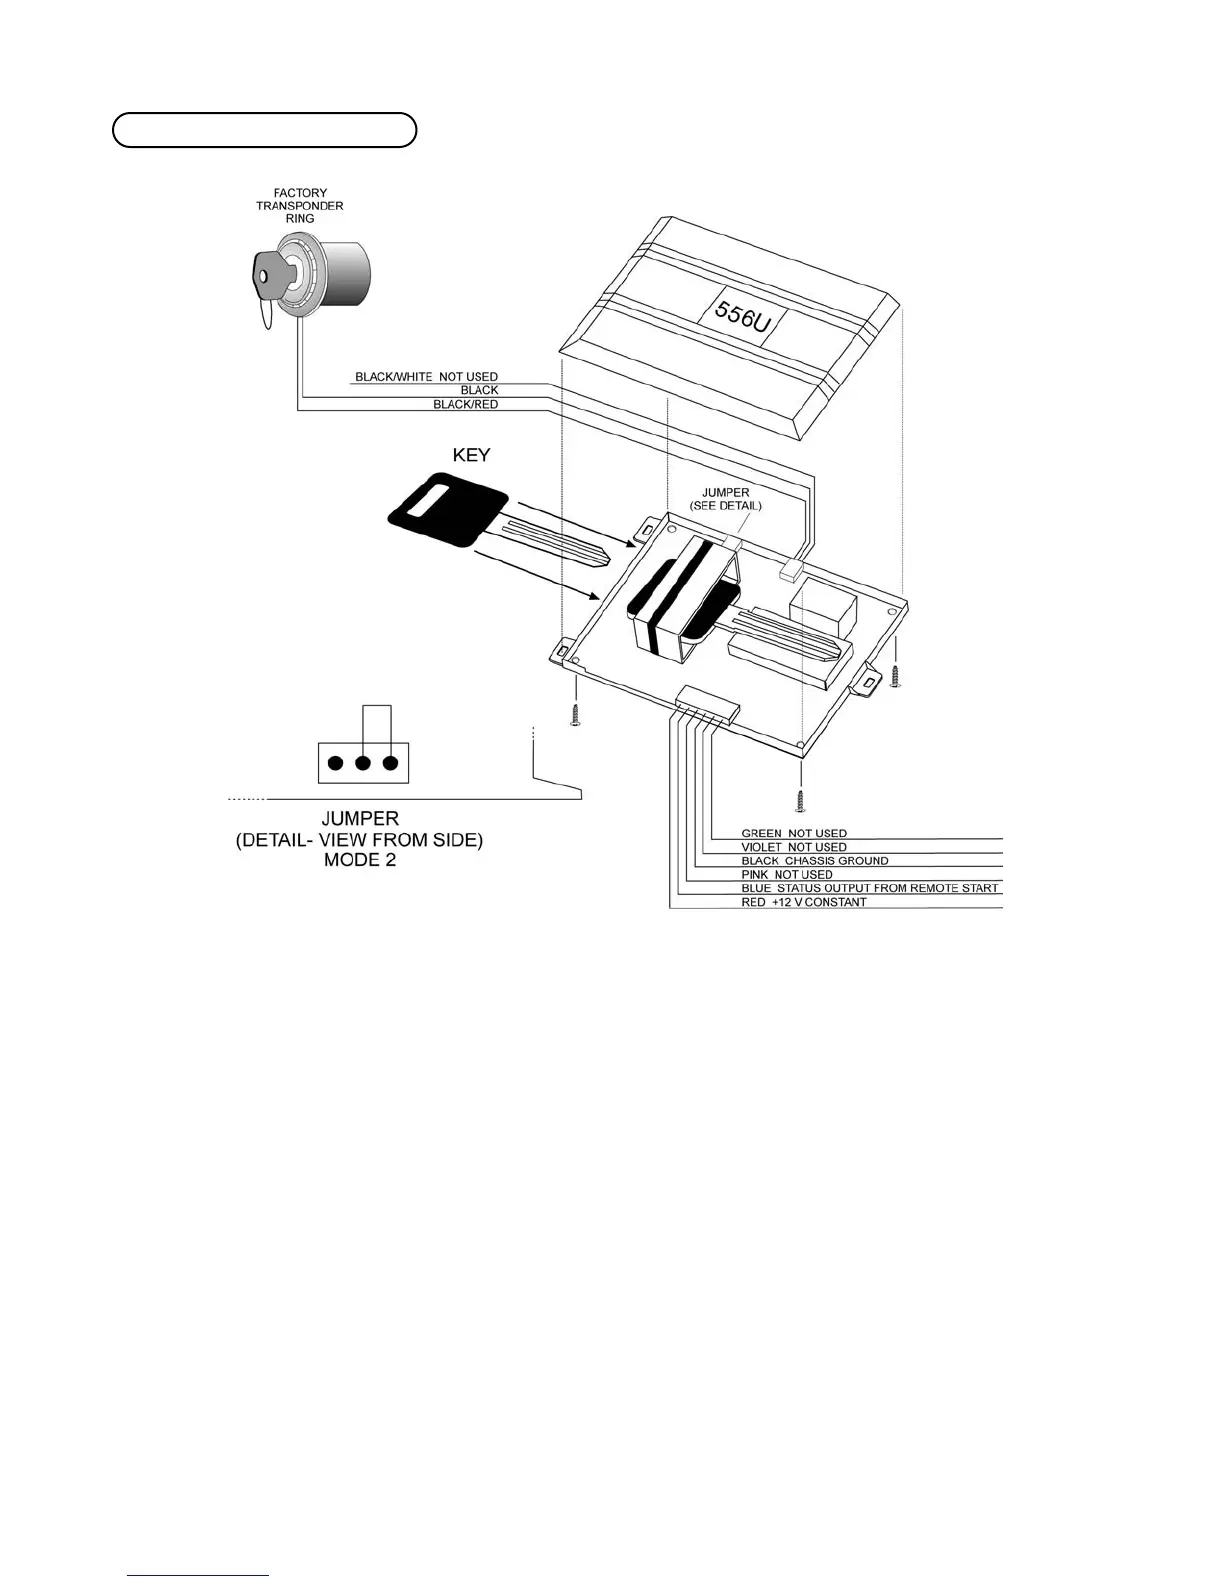
1. Open the control module and place the vehicle’s coded key through the center of the black receiver ring as shown.
2. Reassemble the control module. This will secure the key inside.
IIMMPPOORRTTAANNTT!!
When using the ring method of installing the 556U, the ring from the 556U MUST
be in front of the factory receiver ring. It CAN NOT be on top of, or behind the factory receiver
ring. See illustration below.
3. Disassemble the steering column shroud and place the antenna ring around the vehicle’s ignition switch as
shown, and plug into the control module.
4. Plug the 6-pin power plug into the control module.
5. Connect the BLACK wire to chassis (ground).
6. Connect the red wire to a fused source of constant 12V.
7. Connect the blue wire to the status output (blue wire) of the remote start system that provides a latched
negative (-) ground while the remote start is active.
8. Test unit before reassembling the steering column.
9. Reassemble the steering column shroud.
SSttaannddaarrdd IImmmmoobbiilliizzeerr IInntteerrffaaccee
33
© 2004 Directed Electronics, Inc. N556U 09/04