© 2006 Directed Electronics, all rights reserved
6
SETUP/INSTALLATION
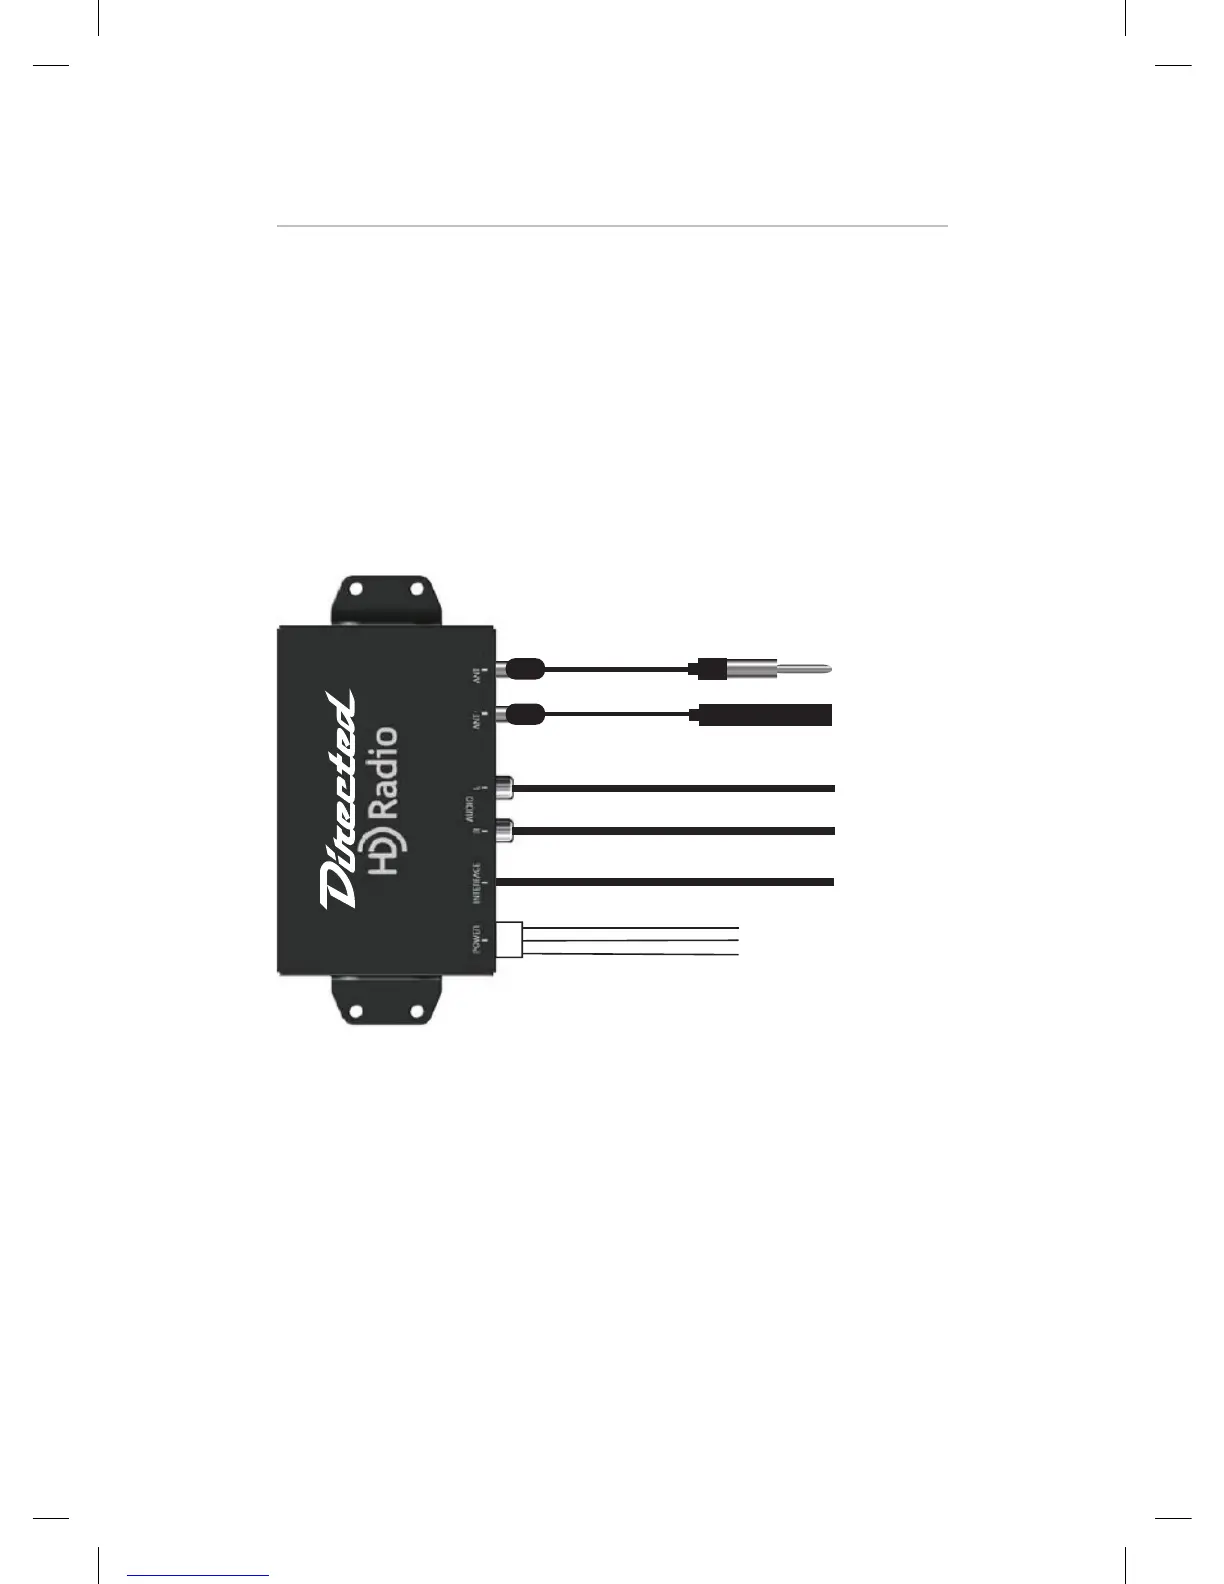
Mounting the Commander module:
The unit comes with 2 brackets. There are two holes located on each
side of the unit that allow the 4 screws the unit comes with to hold the brackets
into place. The module is small enough to be mounted under a seat, in the trunk,
or possibly behind the dash depending on the vehicle. Avoid mounting near any
movable parts, places where there can be moisture, near high temperatures, or
areas that are susceptible to electric interference. Be sure the unit has proper venti-
lation. For example a rear seat in a car may not have enough space for proper air
circulation.
Power Harness:
Yellow - +12 volt constant. This wire should show 12 volts regardless of the posi-
tion the key is turned to in the ignition. It is located in the top right pin of the 4 pin
connector plug.
Note: If your sound system is set up with remote
amplifiers or line inputs the audio outputs can be con-
nected directly to you system with RCA cables from
these Audio Output jacks.