66
© 2004 Directed Electronics, Inc. Vista, CA
is detected within 5 seconds of transmission, the sensors and the multiplex trigger input on the BLUE wire will
be shunted until 5 seconds after the ground is removed. This allows the customer to access the trunk, remote
start the vehicle, or roll the windows down without first disarming the alarm. (See
Bypassing Sensor Inputs
section of this guide.)
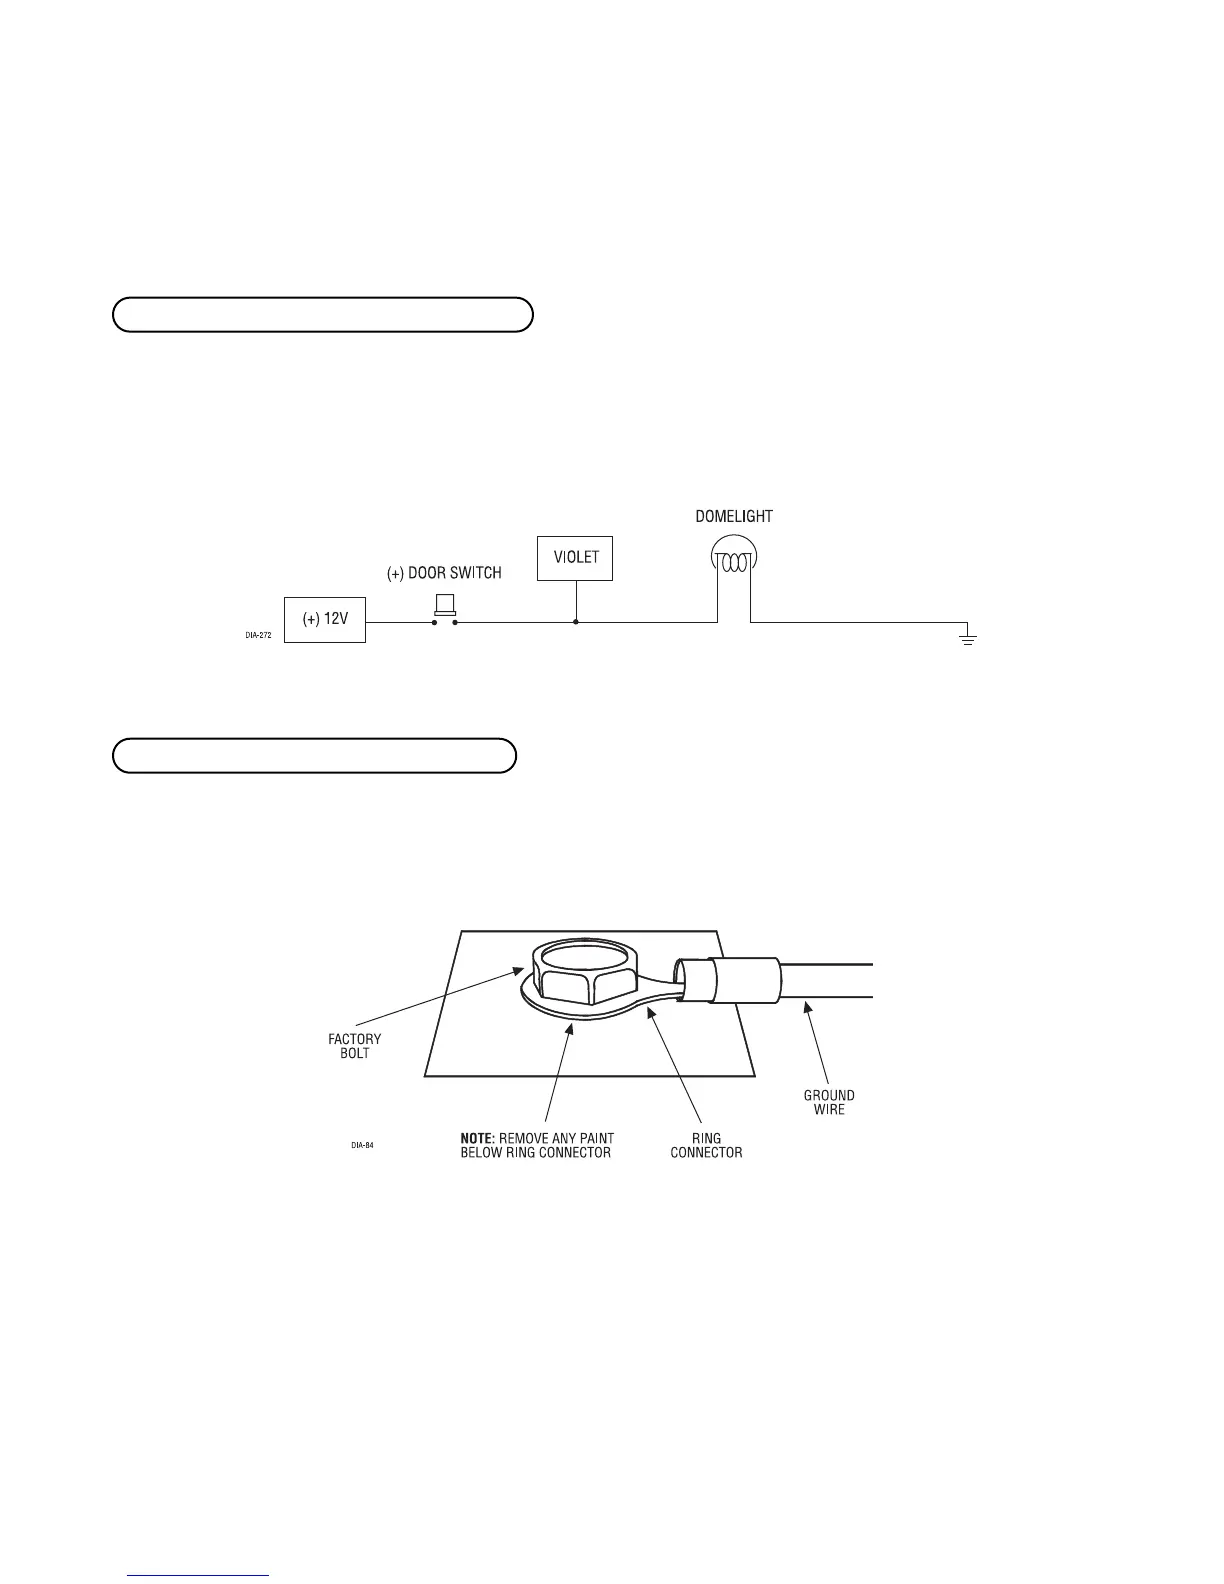
This wire is used in vehicles that have a positive (+) switched dome light circuit. Connect the violet wire
to a wire that shows (+)12V when any door is opened, and ground when the door is closed. This wire will report
Zone 3.
Remove any paint and connect this wire to bare metal, preferably with a factory bolt rather than your own screw.
(Screws tend to either strip or loosen with time.) We recommend grounding all your components, including the
siren, to the same point in the vehicle. See the following diagram.
Connect this wire to an ignition source. This input must show (+)12V with the key in run position and during
cranking. Make sure that this wire cannot be shorted to the chassis at any point. This wire will report Zone 5.
HH11//88 BBLLAACCKK ((--)) cchhaassssiiss ggrroouunndd ccoonnnneeccttiioonn
HH11//77 VVIIOOLLEETT ((++)) ddoooorr ttrriiggggeerr iinnppuutt,, zzoonnee 33
 Loading...