13
WEL - IP1891
GB
4.1 Preparation of the jointed arm
If necessary reverse the jointed arm assembly as indicated in
the figure if the direction the door opens in requires it.
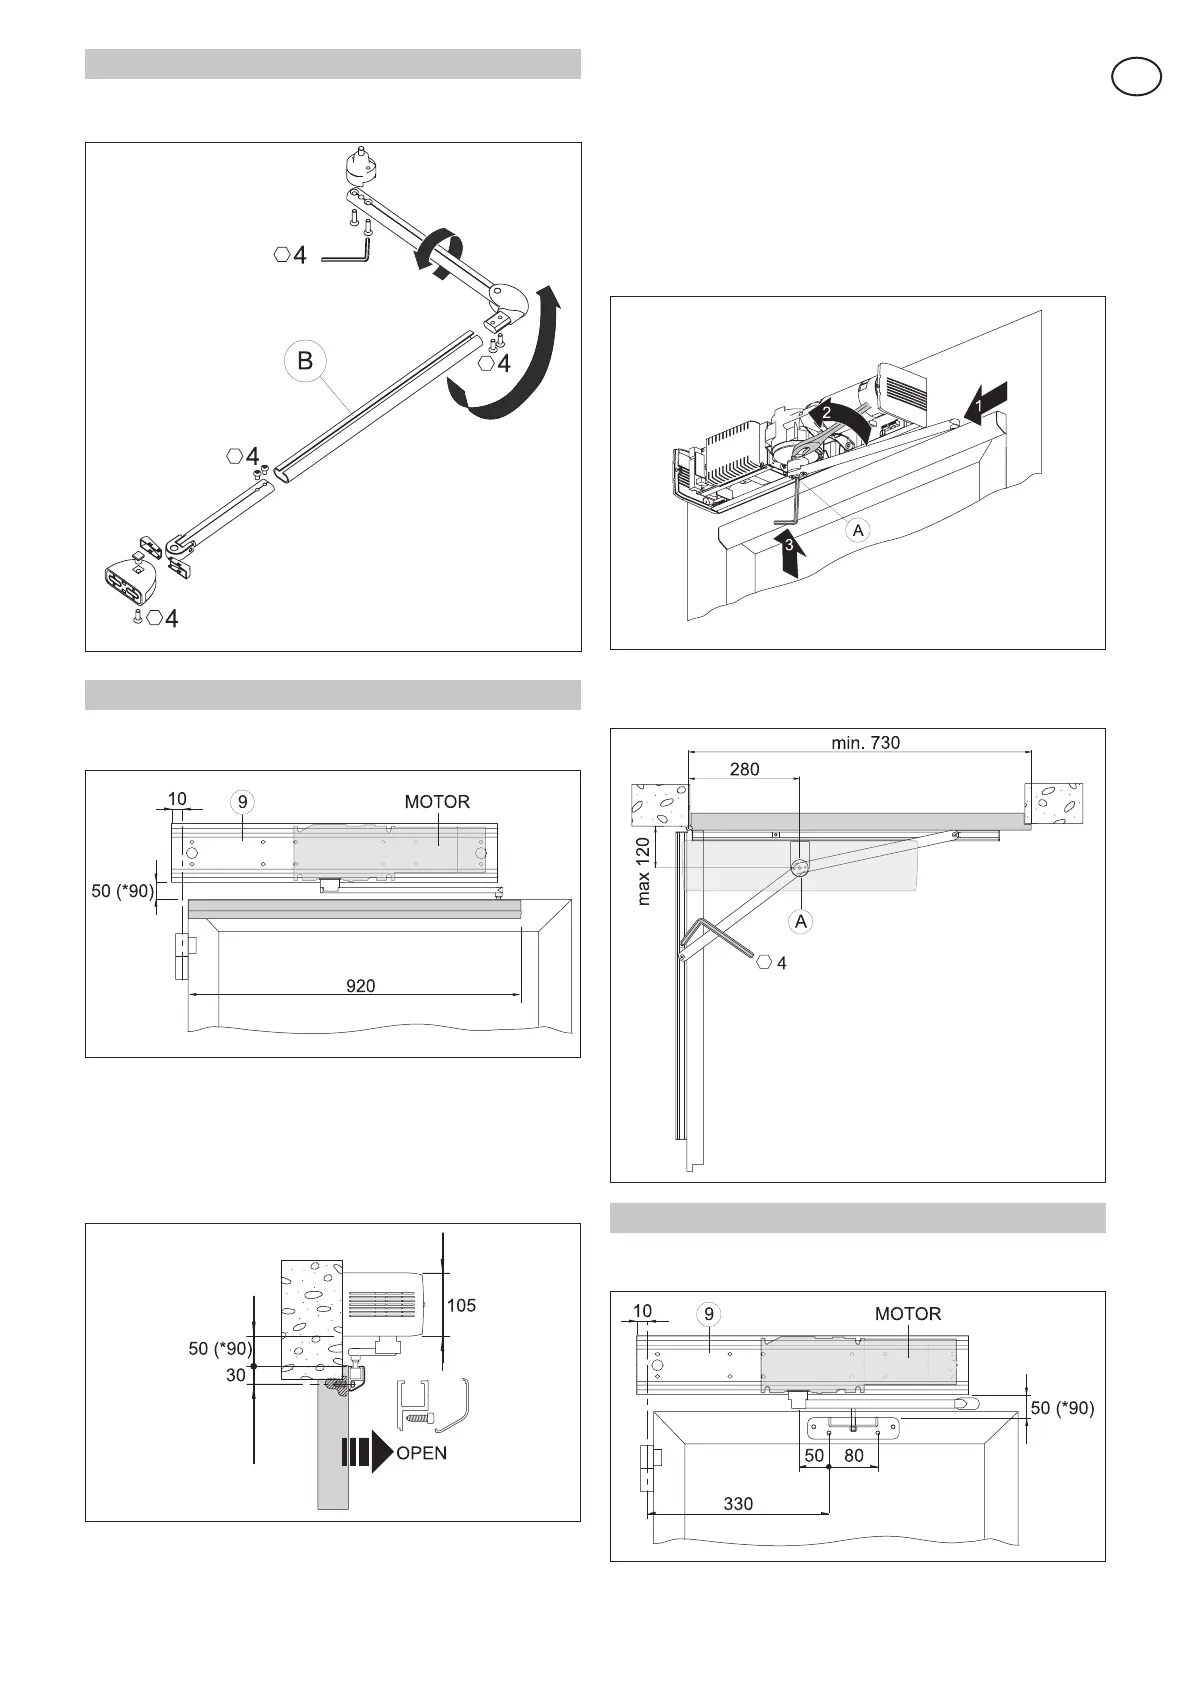
5. INSWING DOOR ARM INSTALLATION
Use the inswing door arm WELBS for doors that open inwards
as seen from the geared motor side.
Fasten the base plate [9] to the wall so it is stable and level using
the measurements indicated in the figure.
Fix the sliding guide on the door wing as indicated in the figure (if the door
wing is not as wide as the guide, cut off the excess part of the guide).
(*) If necessary use the WELD40 extension to lengthen the
measurement between the automation and the arm to 90 mm.
Reposition the components on the base plate.
Note: in the version with the WELBS jointed arm, the motor must
always be positioned on the opposite side the hinge.
Place the sliding arm into the guide.
Fix the arm to the automation at point [A].
Important: fixing the arm to the door wing for automation with
a WELS and WELE closure spring is difficult because of the
thrust of the spring. By using a 24 mm long spanner as indicated
in the figure, make the movement necessary to insert the arm
into the motor.
Move the door manually and check that it opens and closes
properly without friction.
Regulate the door open stop in the guide as shown in figure.
6. INSTALLATION WITH WELBRAS ARM
Use the WELBRAS inswing door arm for doors that open inwards
as seen from the geared motor side.