Page 4
5. Set-up and Basic Adjustment
A grinding test run is carried out on each grinder in our factory. This is
why you may find ground material residue in the grinding
mechanism!
You have received your grinder in operating condition. Now you only
need to mount the hopper and connect the grinder to the mains plug.
Proceed as follows
5.1 Usage Location
Place the grinder on a level, vibration-free surface.
Never operate the grinder in moist, or even worse, in
wet surroundings!
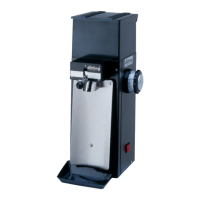
5.2 Mounting the hopper
5.2.1 Position the hopper (pos.1) in the bayonet in the grinder’s lid.
Note: The hole in the hopper-adapter has to line up with the safety
screw (pos. 2) in the lid.
5.2.2 To lock the hopper grab the hopper with both hands and turn it
clock-wise until it clicks in.
5.2.3 Secure the hopper with the safety screw (pos.2). Use the pro-
vided long allen wrench (2mm).
5.2.4 Open the hopper slider (pos. 18) in the adapter.
4. Safety Devices of the Grinder
Thermal overload circuit breaker
The motor of the grinder is protected by a thermal overload circuit
breaker, which interrupts the motor’s electric circuit in the event of
electric overload. The trip switch, item 20, must be pressed to enable
the grinder to be re-started.
Motor protector
The winding of the motor is protected by a thermal switch (thermo
pill/bimetal), which will trip when the motor heats up significantly. The
grinder cannot be started again. Let it rest for appr. 30 minutes. The
thermal switch will re-connect the motor automatically.
The user has no influence whatsoever on this cir-
cuit breaker. If the circuit breaker trips repeatedly,
an authorised service partner must be consulted, as
the motor’s winding may be damaged.
Micro-switch at the grinder’s lid
The grinder’s lid is secured by a mico-switch, which will block the mo-
tor in case the lid is open. The grinder can only be started with the lid
closed. (see chapter 7)