Page 12
9.1.2 Switch off the grinder and pull the mains plug. Place the grinder
on its side and unscrew the fastening screws. Store the screws and
washers in a safe place. Re-position the grinder on its rubber feet.
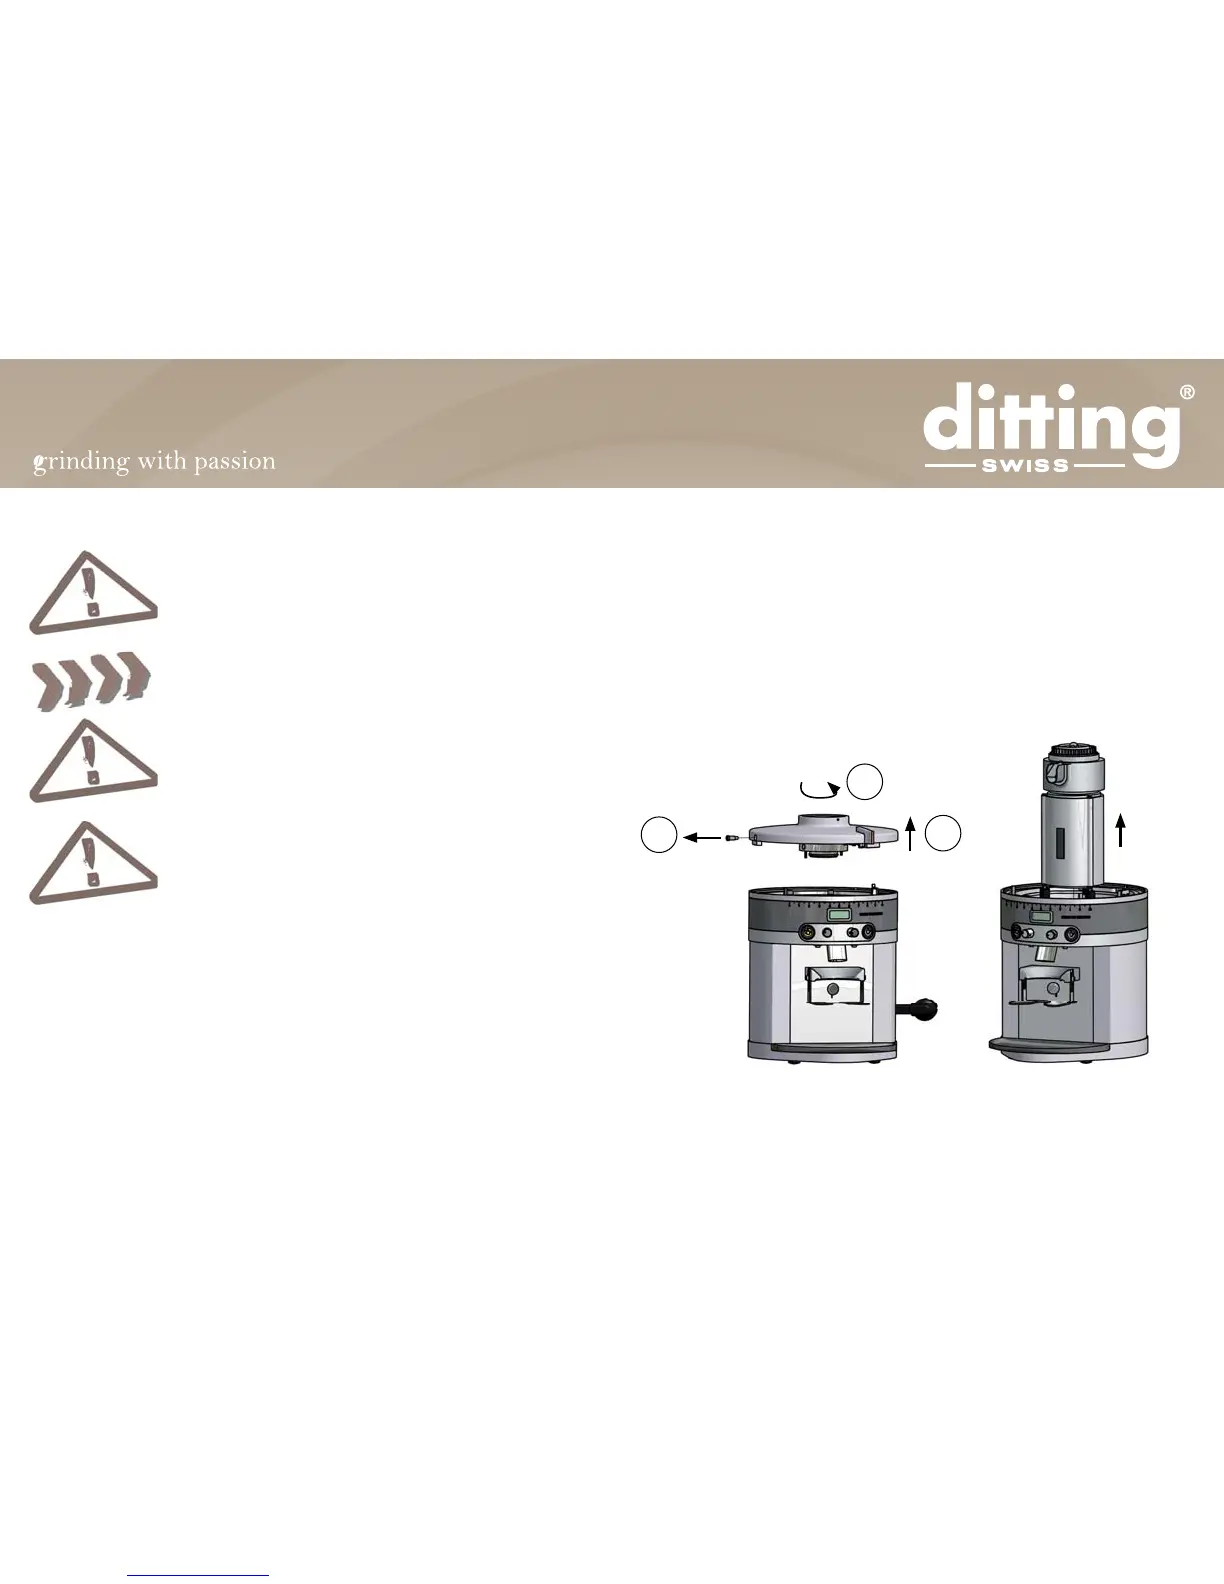
9.1.3 Remove the lid’s safety screw (pos. 4) and turn the lid to the
coarsest setting. Lift off the lid from the grinder.
9.1.4 Release the motor’s plug-in connector. Carefully pull the integrat-
ed grinder out of the casing.
9.1.5 Carefully vacuum out the grinder casing and the integrated grind-
er’s spout and clean with a brush. Do not damage any cables!
9. Service
Always pull out the main plug from the socket before
carrying out maintenance or cleaning work on the
grinder!
Do not let any foreign objects fall into the grinding
mechanism!
Inspect the grinder regularly for damage, particu-
larly to the electrical cable, plug, etc.
Any required repairs may only be conducted by
authorized specialist personnel. For this reason,
please contact a customer service repair facility,
your dealer or us directly as the manufacturer.
Observe the safety instructions under 1.2!
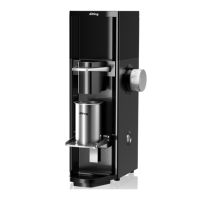
9.1 Exchange of the built-in grinder EK11
In case of a defect in the built-in grinder it can easily be exchanged in
one piece. Service hours can be minimised and the grinder is quickly
ready for operation.
9.1.1 Close the hopper slide, grind all remaining coffee beans out of the
discs, loosen the safety screw (pos.2) and take off the hopper.
1
2
3